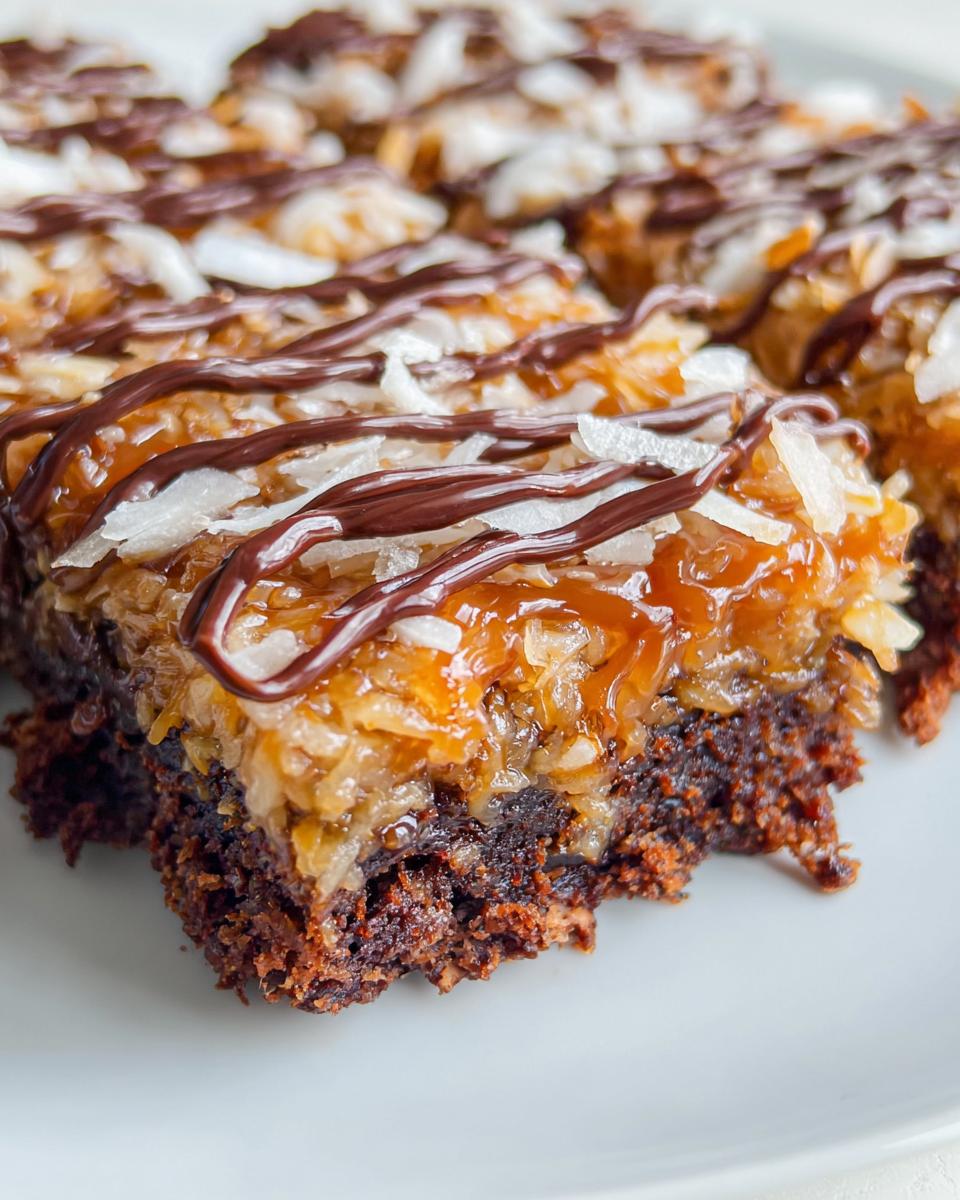
There's something magical about baking Samoa Brownies, especially when the sweet aroma of chocolate and coconut fills the kitchen. I remember making these with my grandmother during rainy afternoons, her laughter mixing with the sound of melting chocolate. These brownies are rich, soft, and perfectly layered with caramel and coconut, making them not just a treat but a warm hug for the soul. They are easy to whip up, making them a favorite for family gatherings and celebrations.

What Is Samoa Brownies?
Samoa Brownies are a delightful dessert that combines rich chocolate brownies with a layer of toasted coconut and luscious caramel. This indulgent treat is perfect for satisfying your sweet cravings and is sure to please everyone at the table. They are simple to prepare and a great way to bring a taste of nostalgia into your home.
- Prep Time: 10 minutes
- Cook Time: 30 minutes
- Total Time: 40 minutes
- Servings: 12 brownies
Why You'll Love Samoa Brownies
- Quick Preparation: With just a 10-minute prep time, these brownies come together in no time, perfect for unexpected guests or sweet cravings.
- Simple Ingredients: Made with a box brownie mix and a few pantry staples, these treats are easy to whip up without a lengthy shopping list.
- Beginner-Friendly: Whether you're a novice or an experienced baker, this recipe is straightforward and forgiving.
- Perfect for Gatherings: Their rich flavors and delightful textures make them a hit at parties, potlucks, and family gatherings.
- Make-Ahead Convenience: You can prepare them in advance and store them, making life a little sweeter on busy days.
Ingredients You'll Need
- 1 box brownie mix: prepared according to the package directions. This is the base of your brownies.
- 2 cups shredded coconut: unsweetened or sweetened, depending on your preference. Toasting it lightly can enhance the flavor.
- 16 ounces caramel ice cream topping: for drizzling, giving that rich, gooey layer.
- ½ cup semi-sweet chocolate chips: melted, for a decadent finish. You can substitute with dark chocolate for a more intense flavor.
Using quality ingredients makes a difference; try to choose organic or premium brands for the best taste. If you're looking for a gluten-free option, ensure your brownie mix is labeled as such.
Step-by-Step Instructions
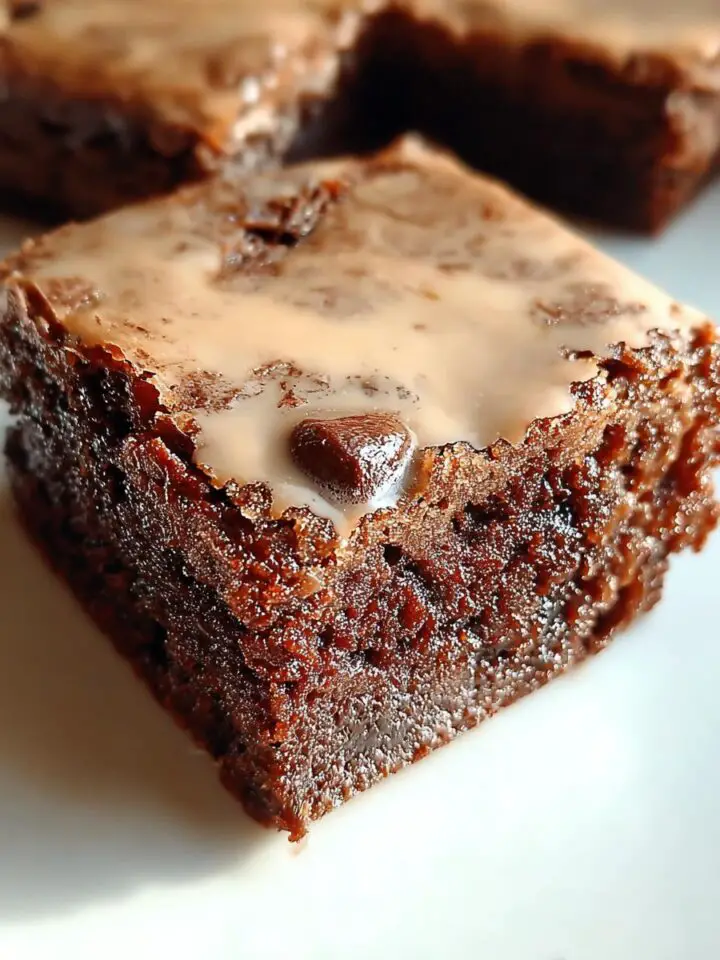
Preparing the Brownie Base
- Preheat your oven to the temperature specified on the brownie mix package.
- In a mixing bowl, prepare the brownie mix according to the package directions. This usually involves adding eggs, oil, and water.
- Once mixed well, pour the batter into a greased baking pan, spreading it evenly with a spatula.
- Pro Tip: For an extra fudgy texture, consider adding an additional egg or a bit of melted butter to the brownie mix.
Baking the Brownies
- Bake the brownies in the preheated oven according to the package instructions, typically around 25-30 minutes.
- Check for doneness by inserting a toothpick into the center; it should come out with a few moist crumbs.
- Once baked, remove the brownies from the oven and allow them to cool in the pan on a wire rack for about 10-15 minutes.
- Pro Tip: For easier cutting later, let the brownies cool completely before adding toppings.
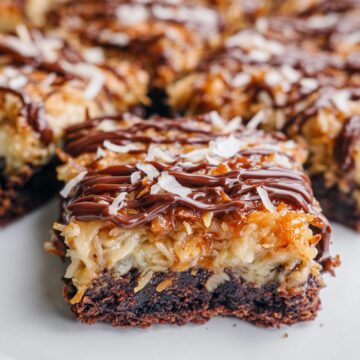
Adding the Toppings
- Once the brownies are cool, spread the shredded coconut evenly over the top, pressing it down gently.
- Drizzle the caramel ice cream topping generously over the coconut layer, ensuring an even distribution for that ooey-gooey goodness.
- Finally, melt the semi-sweet chocolate chips in the microwave or over a double boiler, then drizzle the melted chocolate over the caramel layer.
- Pro Tip: Use a fork to create a swirl effect with the chocolate and caramel for a beautiful presentation.
Variations
- Try adding chopped nuts, like pecans or walnuts, for added crunch.
- Substitute the caramel topping with dulce de leche for a different flavor twist.
- Use a gluten-free brownie mix to make these brownies gluten-free.
- Add a pinch of sea salt on top for a sweet and salty contrast.
- Incorporate seasonal ingredients, like pumpkin spice, during the fall for a festive touch.
Serving and Storage Tips
Serving
For a delightful presentation, cut the Samoa Brownies into squares and serve them on a beautiful platter. They pair perfectly with a scoop of vanilla ice cream or a dollop of whipped cream for an extra indulgence. A sprinkle of toasted coconut on top adds a lovely finishing touch!
Storage
Store the brownies in an airtight container at room temperature for up to 3 days. For longer storage, freeze them in a single layer, then transfer to a freezer-safe container for up to 2 months. Reheat in the microwave for a few seconds before serving for that fresh-baked taste.
Common Mistakes
- Overmixing the batter: This can lead to tough brownies. Mix just until combined.
- Not cooling the brownies: Cutting too soon will result in messy squares. Allow them to cool completely.
- Skipping the greasing: Forgetting to grease the baking pan can cause sticking. Always prepare the pan properly.
- Using low-quality ingredients: Cheap chocolate or toppings can affect flavor. Choose quality ingredients for the best results.
Helpful Notes
- For a dairy-free option, use dairy-free chocolate chips and caramel sauce.
- Add a teaspoon of coconut extract for an extra coconut flavor.
- Substitute the brownie mix with homemade brownies if you prefer from-scratch baking.
- Feel free to mix in chocolate chunks for added texture.
Frequently Asked Questions
Can the recipe be frozen?
Yes, you can freeze Samoa Brownies! After they have cooled completely, wrap them tightly in plastic wrap and then in aluminum foil. They can be stored in the freezer for up to 2 months. Just thaw them at room temperature before serving.Can ingredients be substituted?
Absolutely! You can substitute the brownie mix with a homemade brownie recipe if you prefer. For a gluten-free version, ensure your brownie mix is gluten-free. You can also use dark chocolate chips instead of semi-sweet for a richer flavor.How to store leftovers?
Store leftover Samoa Brownies in an airtight container at room temperature for up to 3 days. If you want to keep them fresher for longer, refrigerate them for up to a week, or freeze them for 2 months.Can the recipe be made ahead?
Yes, these brownies are perfect for making ahead of time. You can prepare and bake them a day or two in advance. Just add the toppings the day you plan to serve them for the best taste and texture.Final Thoughts
I truly hope you give these Samoa Brownies a try; they are such a lovely way to bring a little sweetness into your life. Each bite is a reminder of cozy moments and shared laughter, making them perfect for gatherings or just a special treat at home. Enjoy them warm or chilled, and share them with family and friends for an experience full of joy and nostalgia. Happy baking, and may your kitchen be filled with love and delicious aromas!
Samoa Brownies
Equipment
- Mixing bowl
- baking pan
Ingredients
For the Brownies
- 1 box brownie mix prepared according to the package directions
For the Topping
- 2 cups shredded coconut
- 16 ounce caramel ice cream topping
- ½ cup semi-sweet chocolate chips melted
Instructions
- Prepare the brownie mix according to the package directions and pour it into a baking pan.
- Bake according to the package instructions. Once baked, allow to cool.
- Spread the shredded coconut over the brownies.
- Drizzle the caramel topping over the coconut layer.
- Finally, drizzle the melted chocolate chips over the caramel.

Leave a Reply