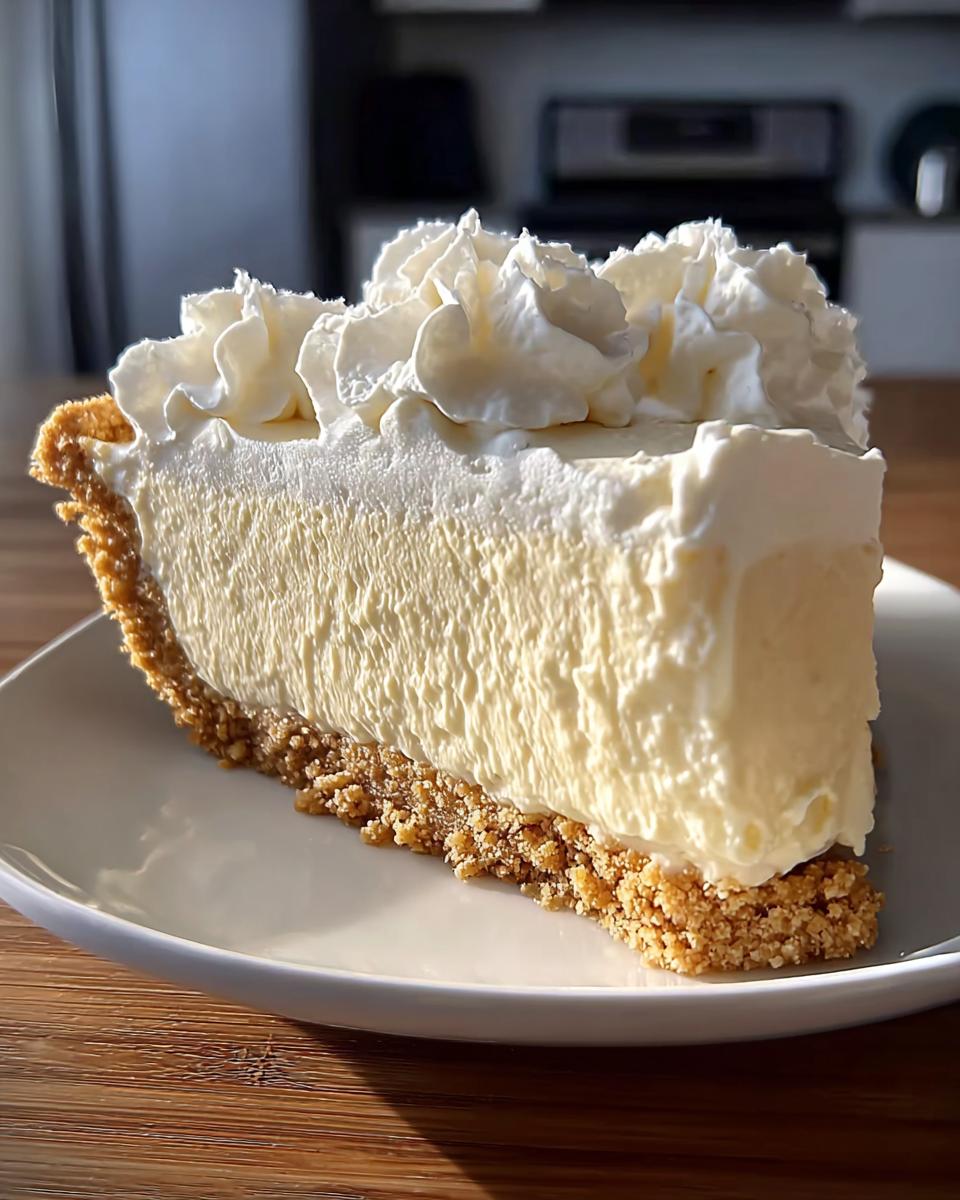
Okay, let me tell you about the first time I made this Marshmallow Whip Cheesecake. I was in serious need of a last-minute dessert for a summer potluck, and I didn't want to turn my kitchen into a sauna with the oven. I rummaged through my pantry, spotted a jar of marshmallow creme, and thought, "Why not?" Twenty minutes later (plus some chilling time), I had this cloud-like, dreamy cheesecake that disappeared faster than you can say "seconds, please!"

What I love most about this no-bake wonder is how effortlessly it comes together - just a handful of ingredients, zero baking stress, and that perfect balance of creamy and fluffy. It's like if cheesecake and marshmallow fluff had a delicious baby. Perfect for when you need something impressive but don't want to fuss, whether it's a backyard BBQ, a holiday treat, or just because Tuesday deserves dessert.
Why You'll Love Marshmallow Whip Cheesecake
- No oven required! Perfect for hot days or when you just can't deal with baking.
- Ready in 15 minutes (plus chilling time) - because sometimes you need dessert NOW.
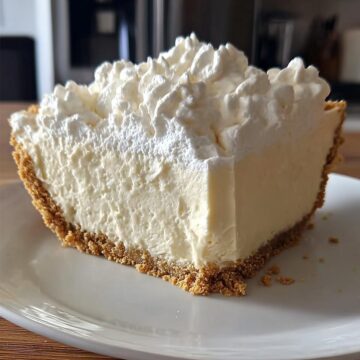
- Light as a cloud but still rich enough to satisfy that cheesecake craving.
- Kid-approved magic: The marshmallow fluff makes it irresistible to little (and big) spoon thieves.
- Customizable: Swap the crust, add fruit, or drizzle with chocolate - it's your fluffy canvas.
Seriously, it's the dessert equivalent of a happy little sigh.
Ingredients You'll Need for Marshmallow Whip Cheesecake
For the Filling
- 1 block (8 oz) cream cheese, softened - Seriously, don't skip the softening! Room temp cream cheese means no lumps, just silky smoothness. I usually leave it out for an hour or zap it in the microwave for 10-second bursts if I'm impatient.
- 1 jar (7 oz) marshmallow creme - Look for the classic fluff or any brand you love. Pro tip: Spray your measuring spoon with a little cooking spray before scooping-it'll slide right out.
- 1 teaspoon vanilla extract - The secret whisper of flavor. Pure vanilla is best, but use what you've got.
- 1 tub (8 oz) whipped topping, thawed - Like Cool Whip, but feel free to swap in homemade whipped cream if you're feeling fancy (just whip it stiff first!).
For the Crust and Garnish
- 1 (9-inch) graham cracker crust - Store-bought saves time, but you could crush your own crackers with melted butter if you're extra. I won't judge.
- Whipped cream or extra whipped topping (optional) - Because more fluff is always a good idea. A little drizzle of chocolate sauce or fresh berries wouldn't hurt either.
See? Nothing fussy here-just pantry staples and a whole lot of yum.
Step-by-Step Marshmallow Whip Cheesecake Instructions
Preparing the Filling
- Beat that cream cheese! Grab a big bowl and whip your softened cream cheese until it's completely smooth-no lumps allowed. If you've got an electric mixer, now's its time to shine. Scrape down the sides halfway through to make sure everything gets evenly creamy.
- Sweeten the deal. Add the marshmallow creme and vanilla extract, then mix it all together until it's one happy, fluffy blend. Taste it (you know you want to) and do a little dance if it's as dreamy as I promise.
- Fold in the whipped topping. Gently stir in the thawed whipped topping until no white streaks remain. Don't overmix here-you want to keep that airy lightness. The filling should look like a fluffy cloud begging to be eaten.
Assembling the Cheesecake
- Spread the love. Pour your marshmallow whip filling into the graham cracker crust and smooth it out with a spatula. Get it nice and even-no one wants a lopsided cheesecake.
- Chill out. Pop it in the fridge for at least 4 hours, though overnight is even better. This is when the magic happens-the filling sets up beautifully, turning into that perfect sliceable texture. (Resist the urge to sneak a spoonful!)
Garnishing and Serving
- Dress it up. Right before serving, add a swirl of whipped cream or extra whipped topping if you're feeling fancy. A sprinkle of crushed graham crackers or fresh berries makes it look extra special.
- Slice and enjoy! Use a sharp knife dipped in hot water for clean slices. Then watch it disappear-this cheesecake has a way of making people very, very happy.
See? Even if you're a dessert newbie, you've totally got this. Just remember: patience during chilling is the only hard part!
Marshmallow Whip Cheesecake Variations
Oh, the fun you can have with this recipe! Here are some ways to mix it up when you're feeling adventurous (or just cleaning out the pantry):
- Flavor twists: Swap the vanilla for almond or coconut extract-just a ½ teaspoon will do. Or stir in a spoonful of lemon zest for a bright little kick.
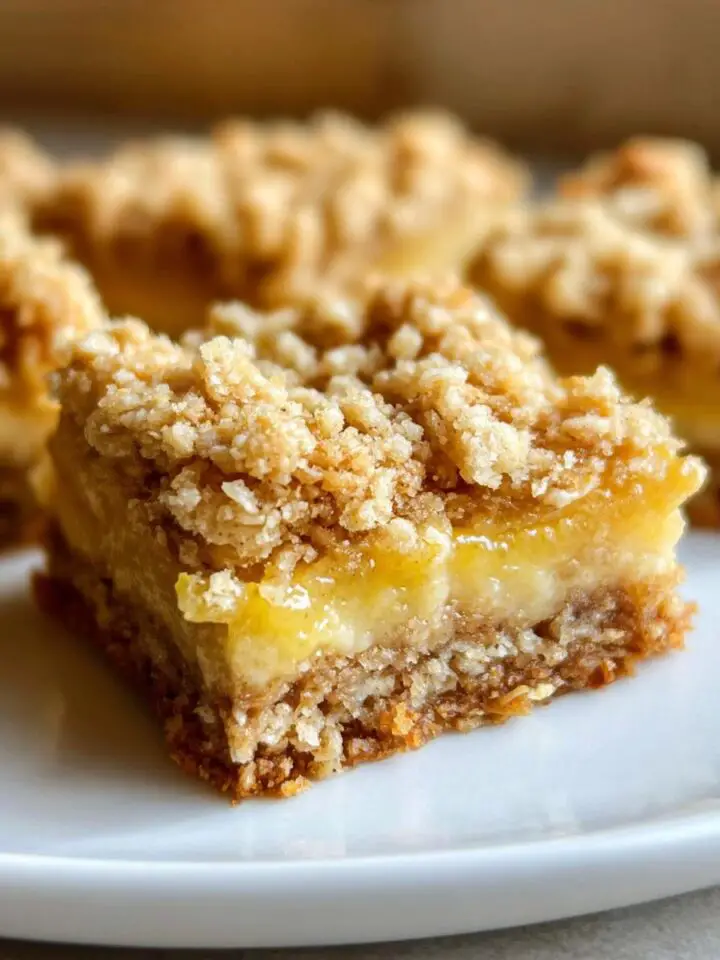
- Crust craze: Oreo crumbs instead of graham crackers? Yes please. Or go nuts with a crushed pretzel crust for that sweet-salty magic.
- Fruit frenzy: Layer sliced strawberries on the crust before adding the filling, or swirl in some raspberry jam. Bonus points for fresh berries on top!
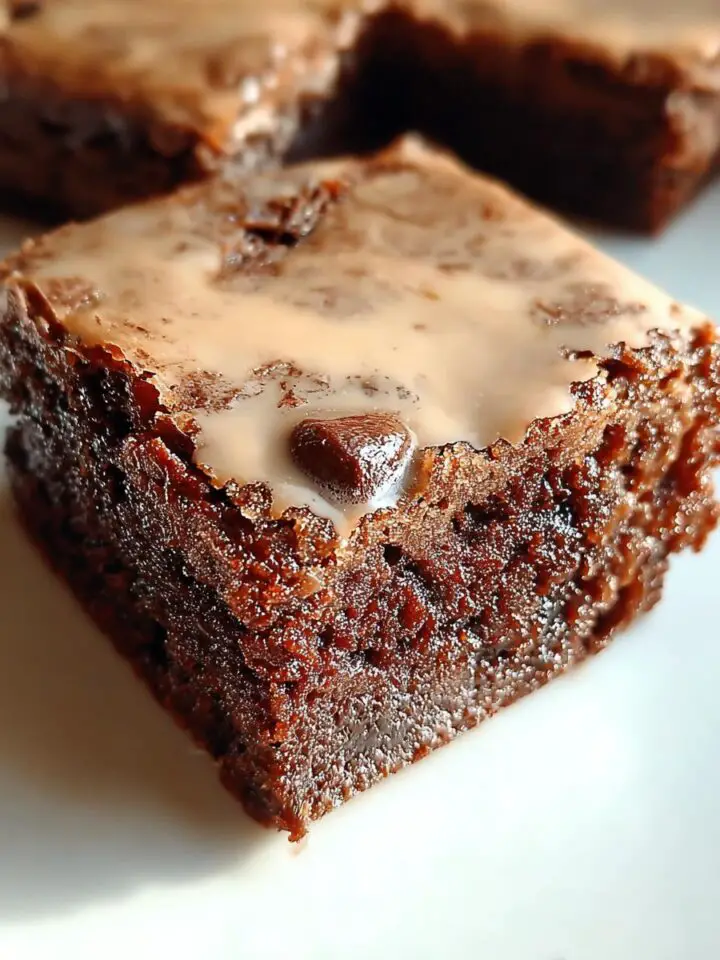
- Chocolate dreams: Fold in mini chocolate chips or drizzle the finished cake with melted chocolate. Because chocolate makes everything better.
The best part? No matter how you tweak it, this cheesecake stays wonderfully easy. Play around and make it yours!
Serving and Storage Tips for Marshmallow Whip Cheesecake
Okay, let's talk about the best ways to serve and keep this fluffy masterpiece-because you'll want to savor every last bite (and maybe hide a slice for yourself).
- Chill it like you mean it: Serve this cheesecake straight from the fridge-it holds its shape best when cold. If it's been sitting out at a party for a while, no worries, but it'll get a little softer (still delicious, just messier).
- Slice with a hot knife: For those picture-perfect slices, run your knife under hot water and dry it quickly before cutting. Wipe it clean between slices, and you'll get those clean edges like a pro.
- Leftovers? Ha! Just kidding-but seriously, cover any leftovers tightly with plastic wrap or pop them in an airtight container. It'll keep happily in the fridge for up to 3 days (if it lasts that long).
- Freezer hack: You can freeze this cheesecake for up to a month! Wrap individual slices in plastic wrap, then foil, and thaw in the fridge overnight. The texture might be a tad less fluffy, but it's still a lifesaver for sudden dessert emergencies.
One last tip: If you're transporting this to a potluck, keep it in a cooler or fridge until serving time. Nobody wants a melted marshmallow puddle (well, actually, that still sounds pretty good-but you get the idea).
Helpful Notes for Perfect Marshmallow Whip Cheesecake
Listen, I've made this cheesecake more times than I can count, and here's what I've learned-the little things make all the difference between "good" and "oh-my-goodness-I-need-the-recipe-NOW." Take notes, friends:
- Softened cream cheese is non-negotiable. If it's still chilly, you'll end up with tiny lumps no matter how long you beat it. I leave mine on the counter for a good hour, or if I'm in a rush, I microwave it in 10-second bursts (just don't let it melt!).
- Scrape that bowl! When mixing, stop halfway to scrape down the sides and bottom with a spatula. Hidden pockets of unmixed cream cheese love to lurk there, waiting to surprise you in an otherwise smooth bite.
- Fold, don't stir. When adding the whipped topping, use gentle folding motions to keep it airy. Overmixing = dense cheesecake, and we're going for cloud-like fluff here.
- Patience pays off. I know, waiting 4 hours (or overnight) feels like torture, but trust me-it's the key to that perfect sliceable texture. If you dig in too soon, it'll still taste amazing but might slump on your plate.
- Texture tweaks: Like it firmer? Add an extra ½ cup of whipped topping. Prefer it extra marshmallowy? Use a 10 oz jar of fluff instead. This recipe's forgiving like that.
And hey-if something goes sideways (we've all been there), just call it "rustic" and serve it with extra whipped cream. No one will complain, promise.
Frequently Asked Questions About Marshmallow Whip Cheesecake
Alright, let's tackle those burning questions I always get about this recipe-because if one person wonders, chances are a dozen others do too!
- Can I freeze Marshmallow Whip Cheesecake?
Absolutely! Wrap individual slices tightly in plastic wrap, then foil, and freeze for up to a month. Thaw in the fridge overnight-it might lose a tiny bit of fluffiness, but it'll still taste amazing. Perfect for sneaky midnight snacks. - What if I can't find marshmallow creme?
No panic! You can melt down about 2 cups of mini marshmallows with 1 tablespoon of corn syrup (microwave in 30-second bursts, stirring between). Let it cool slightly before mixing with the cream cheese. Not exactly the same, but still deliciously sticky-sweet. - How many does this serve?
The recipe makes 8 decent-sized slices-but if you're serving it alongside other desserts or to kids, you might stretch it to 10. (Pro tip: Make two if it's a crowd. This stuff vanishes fast.) - Can I use homemade whipped cream instead of whipped topping?
Yes! Whip 1 cup of heavy cream with 1 tablespoon powdered sugar until stiff peaks form, then fold it in just like the tub stuff. It'll be richer and less sweet-totally divine. - Why did my filling turn out runny?
A few culprits: under-whipped cream cheese, overmixed whipped topping, or not chilling long enough. Next time, beat the cream cheese extra smooth, fold gently, and give it that full 4-hour chill. If it's still loose, pop it in the freezer for 30 minutes before serving.
Still got questions? Drop 'em in the comments-I love troubleshooting dessert emergencies!
Final Thoughts
At the end of the day, this Marshmallow Whip Cheesecake is everything I want in a dessert-simple enough to whip up on a whim, yet special enough to earn rave reviews. It's the kind of recipe that feels like a hug in dessert form: sweet, comforting, and guaranteed to make someone's day brighter. Now go grab that jar of fluff and get mixing-your future self (and everyone around you) will thank you!
Marshmallow Whip Cheesecake
Ingredients
For the Filling
- 1 block cream cheese softened, 8 oz
- 1 jar marshmallow creme or fluff, 7 oz
- 1 teaspoon vanilla extract
- 1 tub whipped topping thawed, like Cool Whip, 8 oz
For the Crust and Garnish
- 1 graham cracker crust 9-inch
- whipped cream or topping optional, for garnish
Instructions
- Beat the softened cream cheese in a bowl until smooth.
- Add the marshmallow creme and vanilla extract. Mix until fully combined.
- Fold in the thawed whipped topping until no streaks remain.
- Spread the filling into the graham cracker crust.
- Refrigerate for at least 4 hours or until set.
- Garnish with extra whipped cream or topping before serving if desired.

Leave a Reply