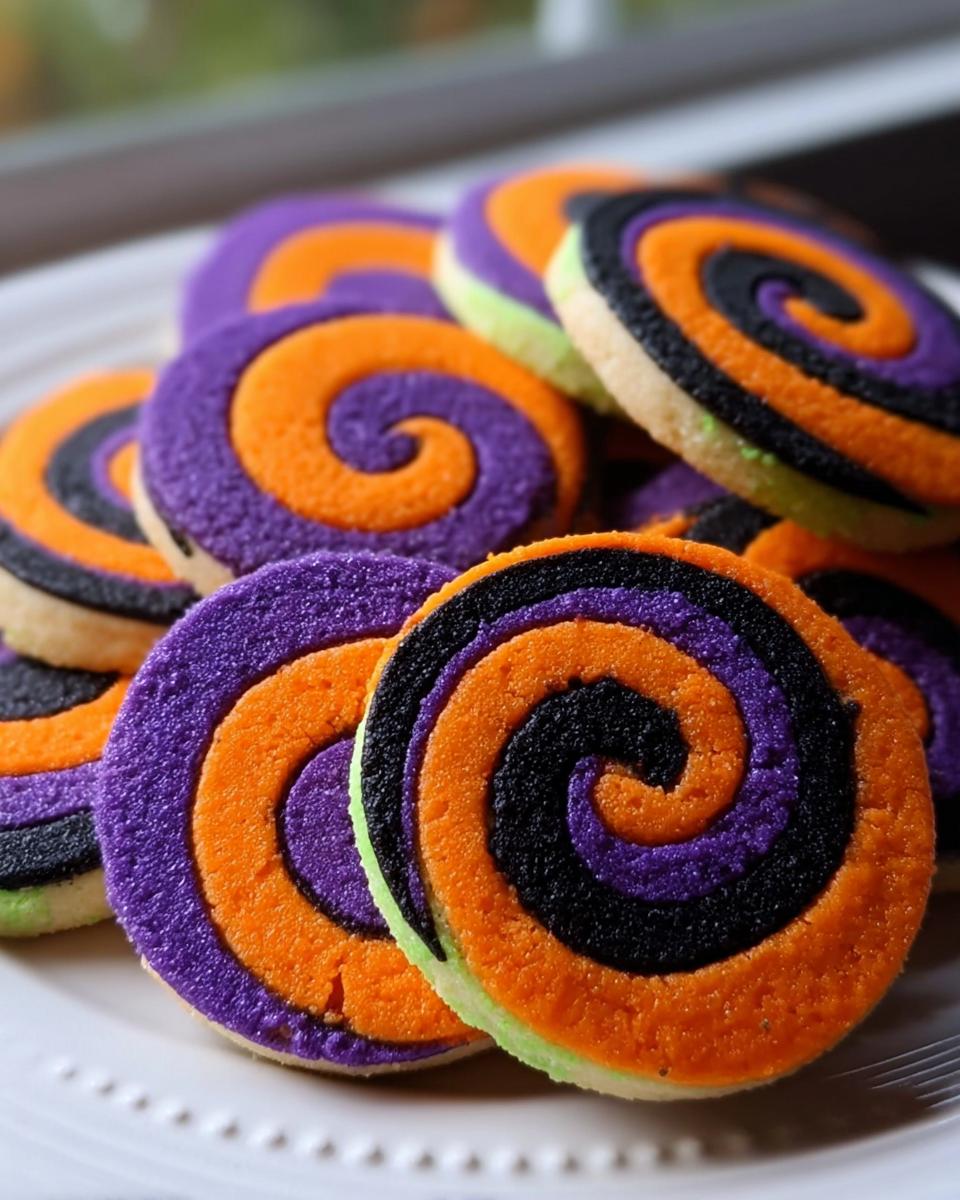
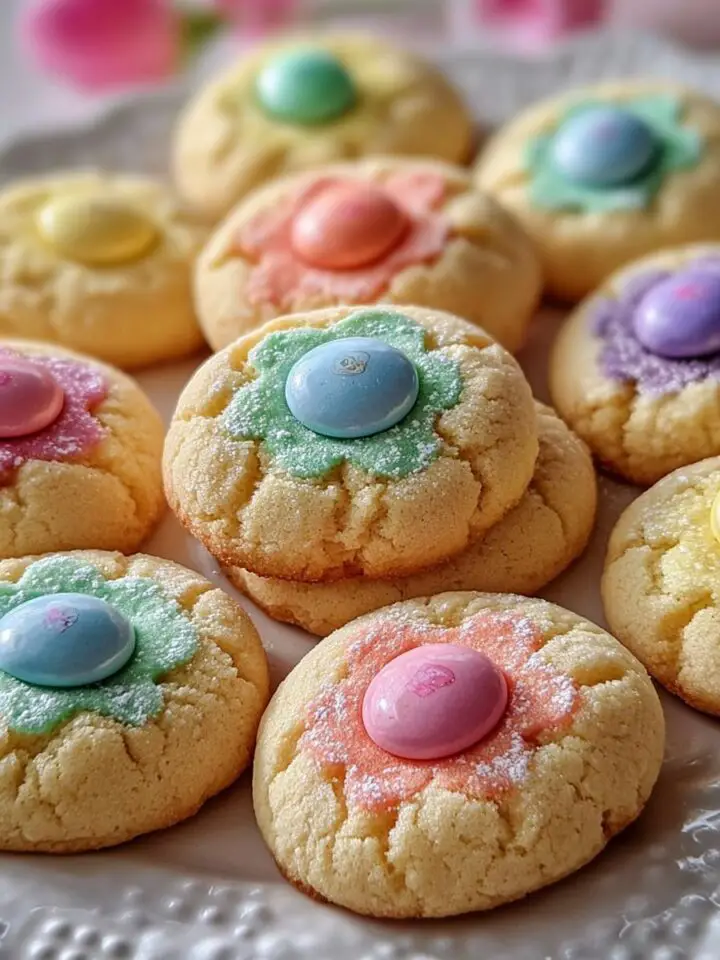
You know how some recipes just scream Halloween? That's exactly how I feel about these Halloween Pinwheel Sugar Cookies. The first time I made them, my kitchen turned into a whirlwind of orange, purple, and black dough-and honestly, it was glorious. My niece, who usually shies away from anything "too sweet," couldn't resist sneaking bites of the dough (don't worry, I pretended not to notice). There's something about those spirals of color that makes these cookies feel like tiny edible magic tricks.

Halloween baking should be fun, not fussy. These cookies nail it-they've got that classic sugar cookie taste but with a playful twist perfect for parties or just spicing up your cookie jar. Plus, they're way easier than they look. Trust me, if I can pull off those pinwheel designs without a pastry degree, so can you!
Why You'll Love Halloween Pinwheel Sugar Cookies
Okay, let me count the ways these cookies are absolute winners-because once you try them, you'll be hooked. First off, those colors! Swirling orange, purple, and black dough makes every cookie look like a mini Halloween masterpiece. And guess what? You don't need fancy skills to pull it off. The pinwheel effect happens almost by magic when you roll and slice the dough. (Seriously, it's like baking meets arts-and-crafts hour.)
But it's not just about looks-these cookies taste incredible. They've got that buttery, vanilla-kissed sugar cookie base we all love, with a fun twist. And here's the best part: you can go wild with customization. Swap the colors to match your party theme, sneak in almond extract for extra depth, or go nuts with sprinkles. They're the ultimate no-stress Halloween treat, whether you're baking for kids, coworkers, or just your future self (no judgment here).
Ingredients You'll Need for Halloween Pinwheel Sugar Cookies
Alright, let's gather our cookie-making arsenal! I promise nothing here is too fancy-just good ol' pantry staples with a splash of Halloween flair. Pro tip: measure everything before you start. It's way easier to channel your inner cookie artist when you're not elbow-deep in flour halfway through.
Dry Ingredients
- 2 ½ cups all-purpose flour (315g) - Sift it first, trust me. No one wants lumpy cookies, and it makes the dough so much smoother.
- ¾ teaspoon baking powder - Just enough lift to keep them tender without puffing up too much.
- ¼ teaspoon fine salt - Balances the sweetness. If you only have coarse salt, give it a quick crush between your fingers.
Wet Ingredients
- 1 cup unsalted butter (226g), softened - Leave it on the counter for an hour, or if you're impatient like me, microwave it in 5-second bursts. You want it soft but not melty-think "spreadable but still holds shape."
- 1 cup granulated sugar (200g) - Regular white sugar works best here for that classic crisp-yet-chewy texture.
- 1 large egg, room temperature - Cold eggs can make the dough seize up. If you forgot to take it out early, just pop it in a bowl of warm water for 5 minutes.
- 2 teaspoons vanilla extract - Or go wild with almond extract for a subtle marzipan vibe. Your call!
Decorations
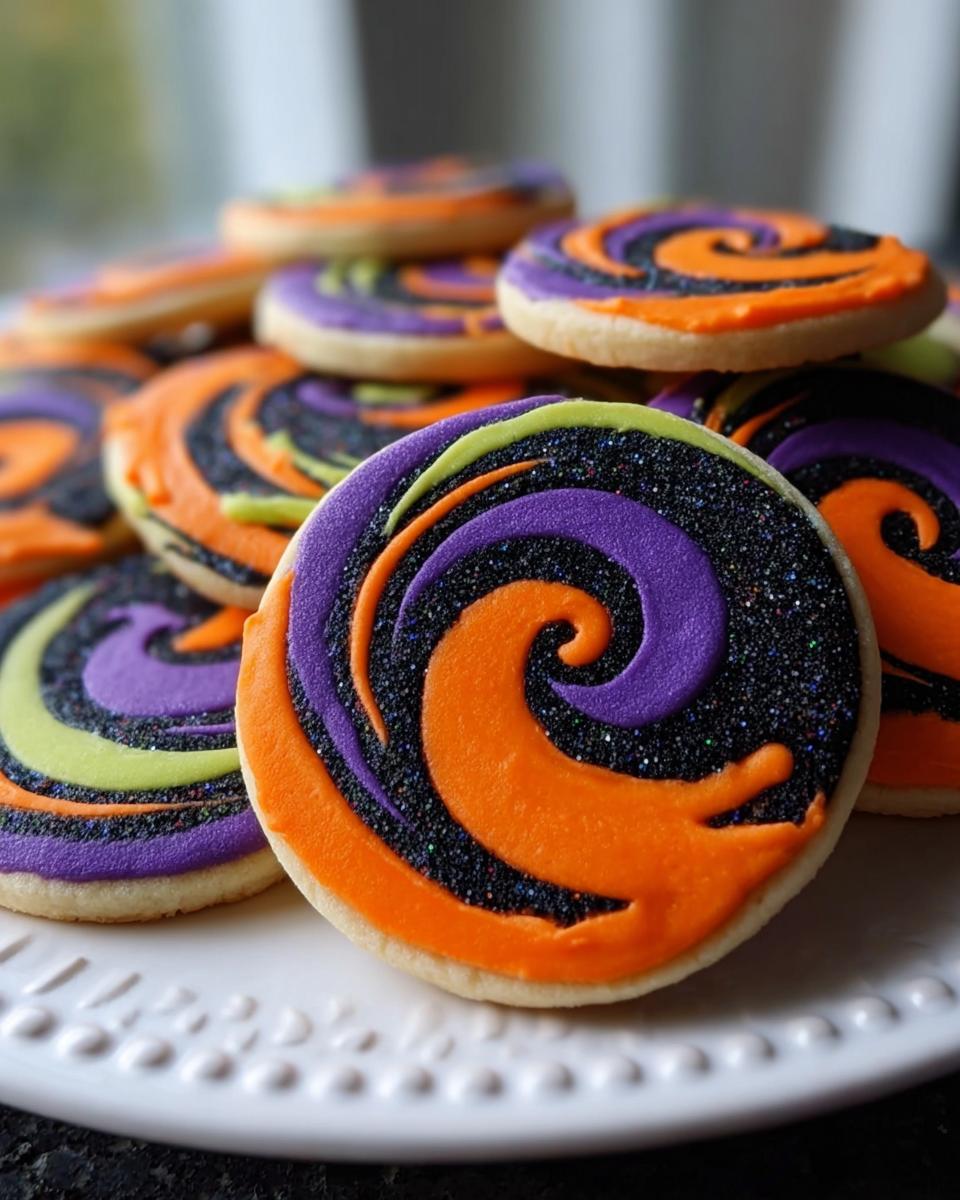
- Gel food coloring - Orange, purple, and black are my go-to Halloween trio, but hey, neon green or blood red? Also amazing. Gel works better than liquid-it's more vibrant and won't thin out the dough.
- Colored sanding sugar or Halloween sprinkles (optional) - For extra sparkle. I'm partial to those tiny bat-shaped sprinkles if I can find them!
See? Nothing crazy. Now let's turn this into cookie magic.
Step-by-Step Instructions for Halloween Pinwheel Sugar Cookies
Alright, let's get our hands dirty-literally! Don't worry, I'll walk you through every step. The secret to these cookies is taking your time with the layering, but I promise it's way easier than it looks. Just think of it like playdough for grown-ups (who get to eat the results).
Mixing the Dough
- Whisk the dry stuff: In a medium bowl, whisk together the sifted flour, baking powder, and salt. Set this aside-it's your cookie safety net.
- Cream the butter and sugar: In a big bowl, beat the softened butter and sugar with an electric mixer on medium speed for about 2 minutes. You want it light and fluffy, like pale yellow clouds. This step is KEY for that perfect sugar cookie texture, so don't rush it!
- Add the egg and vanilla: Crack in the egg and pour in the vanilla. Mix just until combined-overdoing it can make the dough tough. Scrape down the sides of the bowl with a spatula to make sure everything's cozy in there.
- Bring it all together: Gradually add the dry ingredients to the wet, mixing on low speed until just combined. The dough should look a bit shaggy but hold together when you pinch it. If it seems too sticky, add a tablespoon more flour. Too dry? A drizzle of milk will save the day.
Coloring and Layering
- Divide and conquer: Split the dough into three equal portions. Seriously, eyeballing it is fine-perfection is overrated when you're making Halloween cookies!
- Color your world: Add gel food coloring to each portion: orange in one, purple in another, and black in the last. Start with a toothpick's worth of color and knead it in with clean hands (gloves save manicures!). Add more until you get those spooky vibrant shades. Careful-black can stain, so maybe don't wear your favorite shirt.
- Roll it out: Take one colored dough and roll it between two sheets of parchment paper to about ¼-inch thickness. Repeat with the other colors. Pro tip: If the dough gets too soft, pop it in the fridge for 10 minutes. Warm dough is a nightmare to handle.
- Stack 'em up: Carefully peel off the top parchment from one color and flip it onto another color. Gently press the edges together. Add the third layer the same way. Now you've got a tri-color dough sandwich!
Chilling and Baking
- Roll into a log: Starting from one long edge, tightly roll the layered dough into a log. If it cracks a little, just press it back together-no stress. Wrap it in plastic wrap and chill for at least 2 hours (overnight is even better). This keeps the pinwheels from turning into abstract blobs in the oven.
- Slice and bake: Preheat your oven to 350°F (175°C). Unwrap the log and use a sharp knife to slice ¼-inch rounds. If you hit a squished end piece, just roll it into a ball for a bonus marbled cookie. Place slices on a parchment-lined baking sheet about 2 inches apart-they spread a little.
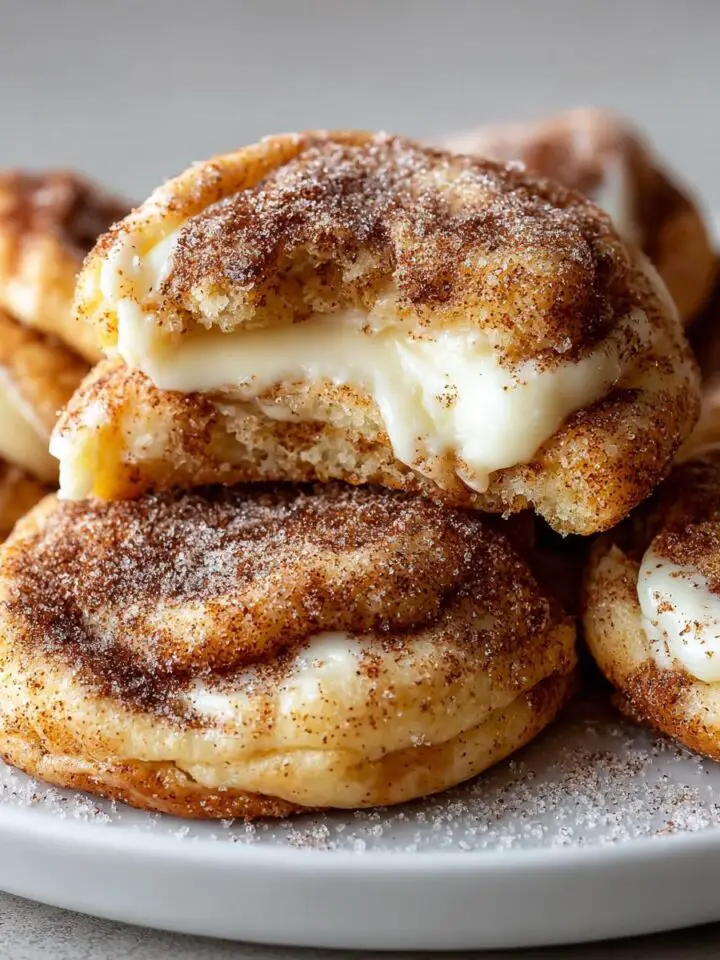
- Bake to perfection: Bake for 8-10 minutes until the edges are just barely golden. They'll look underdone in the center, but that's what you want! Let them cool on the sheet for 5 minutes before transferring to a rack. Resist eating them immediately-they firm up as they cool.
See? Told you it wasn't rocket science. Now go admire those swirly masterpieces!
Halloween Pinwheel Sugar Cookies Variations
Oh, the possibilities! Once you've mastered the basic pinwheel, it's time to get creative. First up-colors. Sure, orange and purple scream Halloween, but why not try a ghoulish green and black combo? Or go full midnight with just black and white for a chic "creepy chic" vibe. If you're making these for a kids' party, let them pick the colors-who says Halloween can't be pink and teal?
Want to play with flavors? Swap the vanilla for almond extract (just 1 teaspoon though-it's potent!) or add a pinch of cinnamon for a warm spice twist. Feeling extra? Mix in some orange zest for a citrusy punch. And hey, if pinwheels aren't your thing, roll the colored doughs into a ball and flatten slightly for marbled cookies-equally spooky, zero rolling required.
Last pro tip: Use cookie cutters! Slice your log thicker (½-inch), then stamp out bats, pumpkins, or ghosts before baking. Spooky and adorable.
Serving and Storage Tips for Halloween Pinwheel Sugar Cookies
Okay, let's talk about the best part-eating these beauties! (And also, you know, not letting them turn into sad, stale crumbs.) First off, serving: These cookies shine brightest at room temperature. The flavors really pop after they've cooled completely, so resist the urge to nibble straight from the oven. Stack them on a cute Halloween platter, or bundle a few in cellophane bags tied with orange ribbon for party favors. Kids go nuts for them-especially if you let them "pick their color swirl" like a cookie fortune teller.
Now, storage: If by some miracle you have leftovers, here's how to keep them fresh. Store them in an airtight container at room temperature-I like layering them with parchment paper so the colors don't smudge. They'll stay soft and delicious for up to 5 days, though let's be real, they rarely last that long. For longer-term love, freeze the baked cookies in a single layer first (so they don't stick together), then transfer to a freezer bag. They'll keep for 3 months-just thaw at room temp when the craving hits.
Bonus tip: The unbaked dough log freezes like a dream too! Wrap it extra tight in plastic, then foil, and stash it for up to 2 months. Slice and bake straight from frozen (add a minute or two to the bake time). Spontaneous cookie cravings? Solved.
Helpful Notes for Perfect Halloween Pinwheel Sugar Cookies
Alright, let's talk cookie hacks-because even the simplest recipes have their little secrets. First up: dough chilling is non-negotiable. I know, waiting is the worst, but trust me, it's what keeps those pinwheels from turning into psychedelic puddles in the oven. If you're short on time, pop the log in the freezer for 30 minutes instead of the fridge for 2 hours. Just don't skip it!
Now, for slicing tricks: Use a sharp, thin-bladed knife (a chef's knife works better than a serrated one) and wipe it clean between cuts for crisp edges. If the dough cracks, dip your fingers in flour and gently press it back together-no one will notice. And here's a weird tip: If your kitchen's warm, chill the sliced cookies on the baking sheet for 10 minutes before baking. It helps them hold their shape.
Got dietary tweaks? Swap in gluten-free flour (a 1:1 blend works best) and add ½ teaspoon xanthan gum if your mix doesn't include it. For dairy-free, use vegan butter sticks, not tub spreads-they've got the right fat content. And if you're avoiding food coloring, beet powder (for pink/purple) and activated charcoal (for black) are fun natural options, though the colors will be more muted.
One last thing: If your colors bleed a little while rolling, don't panic! That's why we chill the dough-it firms everything up. And honestly, slightly smudged swirls look creepily perfect for Halloween anyway.
Frequently Asked Questions About Halloween Pinwheel Sugar Cookies
Okay, let's tackle those burning questions I always get about these cookies. (And by "burning," I mean the kind you frantically Google at 2 AM while covered in food coloring.) Here's the scoop:
- Can I freeze the dough?
Absolutely! Wrap the unbaked log tightly in plastic, then foil, and freeze for up to 2 months. Slice and bake straight from frozen-just add 1-2 extra minutes to the bake time. Dough MVP right here. - How do I prevent the colors from bleeding?
Two tricks: First, use gel food coloring (liquid makes dough too wet). Second, chill the layered dough before rolling into a log-this sets the colors. If they still smudge a bit, lean into it! "Ghostly swirls" sound way cooler anyway. - My dough is too sticky-help!
Been there! Pop it in the fridge for 20 minutes to firm up. If it's still clingy, dust your hands and rolling pin with flour (but go easy-too much flour makes cookies tough). - Can I make these gluten-free or vegan?
You bet. For GF, use a 1:1 gluten-free flour blend with xanthan gum. Vegan? Swap butter for plant-based sticks (not tub spreads) and use a flax egg (1 tablespoon ground flax + 3 tablespoon water, sit for 5 mins). Colors might be slightly less vibrant, but taste won't suffer. - Why are my pinwheels lopsided?
Probably from uneven rolling. No stress-just press the log gently against the counter to even it out before slicing. Or call them "wonky witch swirls" and own it. Halloween's all about the quirks!
Still stumped? Drop me a comment-I've made every mistake so you don't have to!
Final Thoughts on Halloween Pinwheel Sugar Cookies
There you have it-the ultimate spooky-but-simple cookie that's as fun to make as it is to eat. Whether you're baking for a party or just treating yourself (no shame!), these pinwheels are guaranteed to bring some Halloween magic to your kitchen. I'd love to see your colorful creations-tag me if you share them, and let me know what wild color combos you tried! Now go forth and swirl. And remember: even the messiest cookies still taste delicious. Happy baking, my spooky friends!

Halloween Pinwheel Sugar Cookies
Equipment
- Mixing bowl
- electric mixer
- Rolling pin
- Cookie cutters
Ingredients
Dry Ingredients
- 2 ½ cups all-purpose flour sifted (315g)
- ¾ teaspoon baking powder
- ¼ teaspoon fine salt
Wet Ingredients
- 1 cup unsalted butter softened (226g)
- 1 cup granulated sugar (200g)
- 1 large egg room temperature
- 2 teaspoons vanilla extract or almond extract for a twist
Decorations
- Gel food coloring orange, purple, and black
- Colored sanding sugar or Halloween sprinkles optional
Instructions
- Whisk together flour, baking powder, and salt in a bowl.
- Cream butter and sugar until light and fluffy.
- Beat in egg and vanilla extract.
- Gradually mix in dry ingredients until combined.
- Divide dough into portions and color each with different food coloring.
- Roll out colored doughs and layer them together.
- Roll into a log and chill before slicing.
- Bake at 350°F (175°C) for 8-10 minutes.
- Decorate with sprinkles if desired.
Leave a Reply