I'll never forget the first time I made a no bake pumpkin pie-it was one of those chaotic Thanksgiving mornings when the oven was already packed with turkey and casseroles, and I needed a dessert that wouldn't add to the heat or the stress. Enter this magical, creamy, spiced pie that comes together in minutes and tastes like you spent hours on it. It's my go-to lifesaver for holidays, potlucks, or just when I'm craving that cozy pumpkin flavor without turning on the oven.

Seriously, if you love pumpkin pie but hate the fuss of baking (or just don't have the time), this no bake pumpkin pie is your new best friend. Creamy, lightly spiced, and nestled in a graham cracker crust, it's the kind of dessert that disappears fast-no oven required.
Why You'll Love This No Bake Pumpkin Pie
Listen, I know what you're thinking-how can a pumpkin pie not involve baking? But trust me, this no bake pumpkin pie is a total game-changer. Here's why you'll adore it:
- No oven? No problem. Perfect for those days when your oven's already stuffed with turkey or you just can't be bothered to turn it on.
- Ready in 20 minutes. Seriously, mix, chill, and you're done. No waiting for crusts to blind-bake or fillings to set.
- Creamy, dreamy texture. The combo of cream cheese and whipped cream makes it luxuriously smooth-like pumpkin pie meets cheesecake.
- All the cozy spices. Cinnamon, nutmeg, and pumpkin pie spice give it that classic fall flavor without the hassle.
- Great for leftovers. It keeps beautifully in the fridge, so you can sneak slices all week (not that it'll last that long).
Perfect for Busy Occasions
Thanksgiving chaos? Last-minute potluck panic? This pie saves the day. I've whipped it up while my toddler clung to my leg-it's that forgiving. Plus, pre-made crusts mean one less thing to stress about.
Creamy and Flavorful
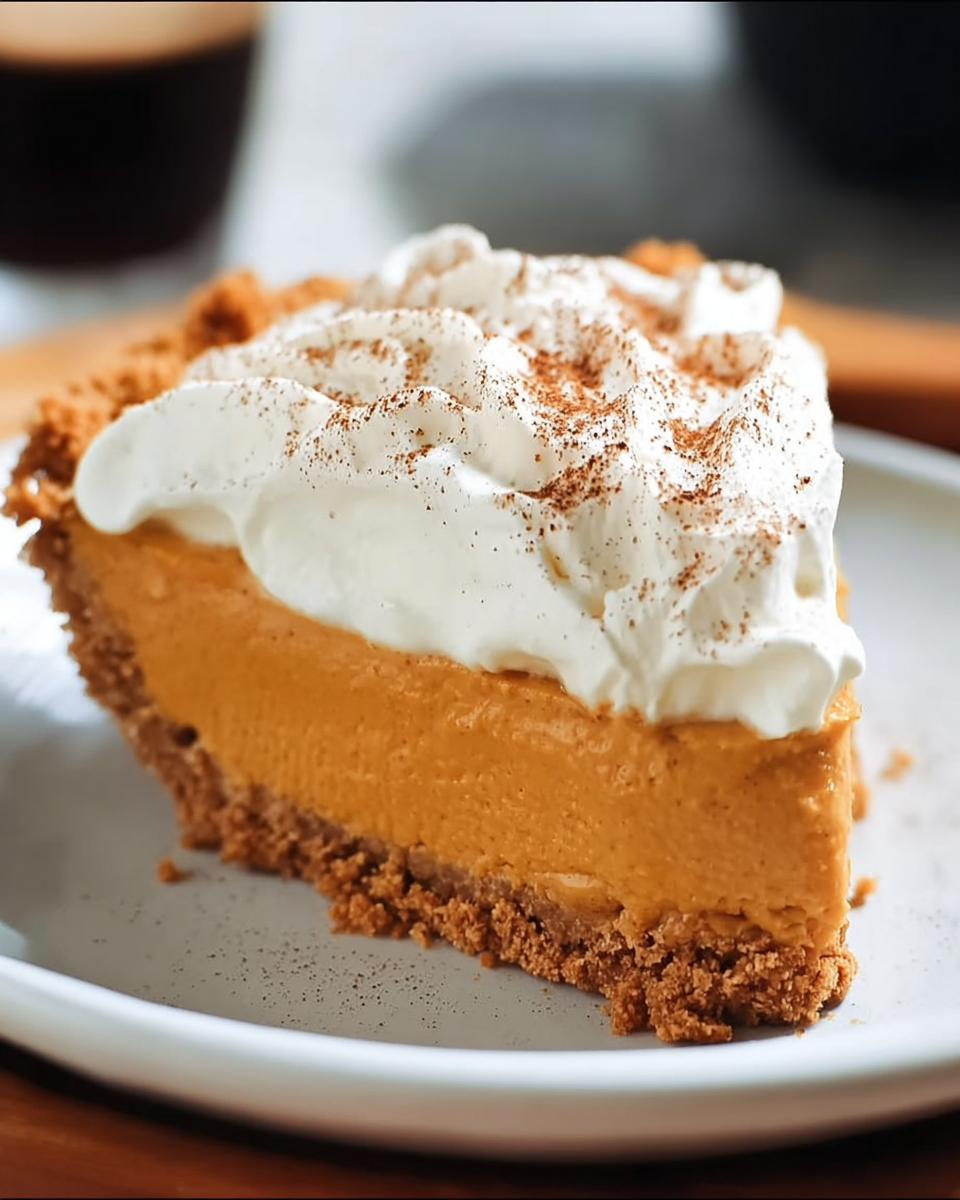
The first bite is pure magic: silky pumpkin filling with just the right hint of spice, all nestled in a buttery graham cracker crust. It's rich but not heavy, sweet but not cloying-basically, everything a no bake pumpkin pie should be.
Ingredients You'll Need for No Bake Pumpkin Pie
Okay, let's talk ingredients-because the beauty of this no bake pumpkin pie is how simple they are. Most are pantry staples or easy grabs at the store. Here's what you'll need:
- 2 cups canned pumpkin - Not pumpkin pie filling, just plain pumpkin. Libby's is my go-to.
- ½ cup sugar - Granulated works fine, but you can adjust to taste if you like it less sweet.
- 8 ounces cream cheese, softened - Seriously, let it sit out for an hour. Cold cream cheese = lumpy filling, and nobody wants that.
- 2 containers (8 oz each) Cool Whip or whipped cream - Thawed if frozen. Homemade whipped cream works too, but Cool Whip holds up better in the fridge.
- 1 tablespoon cinnamon - Because pumpkin and cinnamon are best friends.
- 2 teaspoons pumpkin pie spice - The MVP of fall baking. If you don't have it, extra cinnamon + a pinch of cloves and ginger works.
- 1 teaspoon nutmeg - Just a whisper-it's strong stuff!
- 1 box (3.4 oz) instant vanilla pudding - The secret to that perfect, sliceable texture.
- 1 cup milk - Whole milk makes it extra creamy, but any kind works.
- 2 pre-made 9-inch graham cracker crusts - Store-bought or homemade, but let's be real, the pre-made ones are lifesavers here.
That's it! No fancy techniques, no obscure ingredients-just straightforward, delicious no bake pumpkin pie magic.
Step-by-Step Instructions for No Bake Pumpkin Pie
Don't let the simplicity fool you-this no bake pumpkin pie is all about technique. Follow these steps, and you'll have a dessert that tastes like you spent way more time on it than you actually did.
Mixing the Filling
First, grab a big bowl and toss in your pumpkin, sugar, and that softened cream cheese (seriously, soft is key-no one wants lumpy pie). Add the cinnamon, pumpkin pie spice, and nutmeg. Now, mix it all together with a whisk or hand mixer until it's totally smooth. If you see any little cream cheese streaks, keep going! You want it silky, like a spiced pumpkin cloud.
Incorporating Pudding and Whipped Cream
Next, sprinkle in the instant pudding mix and pour in the milk. Whisk like crazy for about a minute-this is what gives the pie its perfect, sliceable texture. Now, gently fold in the Cool Whip or whipped cream. "Folding" just means scooping from the bottom and turning it over, so you keep all that airy fluffiness. Stop when no white streaks remain, but don't overmix!
Assembling and Chilling
Divide the filling evenly between your two graham cracker crusts (or one deep-dish crust if you're feeling extra). Smooth the tops with a spatula, then pop them in the fridge for at least 2 hours-overnight is even better. The wait is tough, I know, but trust me, it's worth it. The filling needs time to set up so you get clean slices later.
Delicious Variations of No Bake Pumpkin Pie
One of the best things about this no bake pumpkin pie? It's crazy adaptable. Here are some fun twists to make it your own:
- Lighter version: Swap the cream cheese for Greek yogurt (strained overnight for thickness) and use sugar-free pudding mix. It'll still be creamy but a tad tangier-perfect if you're watching calories.
- Gluten-free: Use a gluten-free graham cracker crust (or make your own with gluten-free cookies). Just check labels-some pre-made crusts sneak in wheat.
- Extra spicy: Bump up the cinnamon to 1.5 tablespoons and add a pinch of black pepper for a warm, complex kick. Sounds weird, tastes amazing.
- Maple magic: Replace half the sugar with pure maple syrup and add a teaspoon of vanilla extract. Hello, autumn in a bite.
- Chocolate twist: Mix ¼ cup cocoa powder into the filling and use a chocolate graham cracker crust. Pumpkin and chocolate are a surprisingly dreamy pair.
See? No bake pumpkin pie is basically a blank canvas. Tweak it to your mood or what's in your pantry-it'll still turn out delicious.
Serving and Storage Tips for No Bake Pumpkin Pie
Alright, let's talk about the best part-eating this glorious no bake pumpkin pie! Here's how to serve it like a pro and keep it tasting fresh:
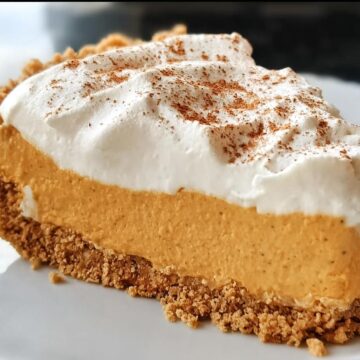
- Serving it up: Slice it cold straight from the fridge-it holds its shape better that way. For extra flair, top each slice with a dollop of whipped cream and a sprinkle of cinnamon or crushed graham crackers. If you're feeling fancy, drizzle with caramel sauce or chocolate syrup.
- Portion control (ha!): One pie serves about 8, but let's be real, you might want to double it if you're sharing with pumpkin-loving crowds. It's that good.
- Fridge life: Cover any leftovers tightly with plastic wrap or foil, and they'll keep beautifully for up to 4 days. The crust might soften slightly, but the flavor just gets better.
- Freezer hack: You can freeze slices for up to a month-just wrap them individually in plastic and thaw overnight in the fridge. The texture stays creamy!
Pro tip: If you're transporting this no bake pumpkin pie to a party, pop it in a cooler with ice packs so it stays chilled. Nobody likes a melty pie!
Helpful Notes for the Best No Bake Pumpkin Pie
Before you dive in, here are a few insider tips to make sure your no bake pumpkin pie turns out perfect every time:
- Softened cream cheese is non-negotiable. Take it out of the fridge at least an hour ahead-maybe even zap it in the microwave for 10 seconds if you forget. Lumps in your filling? Blame cold cream cheese.
- Don't skip the chilling time. I know, waiting is hard, but that 2-hour fridge stint is what gives the pie its sliceable texture. Overnight is even better for clean cuts.
- Shortcut alert: If you're really pressed for time, use a single deep-dish crust instead of two regular ones-just know the slices will be extra thick (not necessarily a bad thing!).
- Dairy-free? Swap in vegan cream cheese and coconut whipped cream. The spice will still shine through!
And hey, if your first attempt isn't Instagram-perfect, no stress-it'll still taste amazing. That's the beauty of no bake pumpkin pie!
Frequently Asked Questions About No Bake Pumpkin Pie
I get it-making a pie without baking sounds too good to be true. Here are the questions I hear most about this no bake pumpkin pie, along with my honest answers:
1. Can I use fresh pumpkin instead of canned?
Sure! Just roast or steam it first, then puree until smooth. But honestly? Canned pumpkin is way easier (and just as tasty).
2. How long does this pie last in the fridge?
About 4 days if you cover it well. The crust might soften, but the filling stays creamy and delicious.
3. Can I freeze leftovers?
Absolutely! Slice it first, wrap pieces tightly, and freeze for up to a month. Thaw overnight in the fridge before serving.
4. My filling seems runny-what went wrong?
Did you chill it long enough? It thickens as it sets. If it's still loose after 2 hours, try adding extra pudding mix (1 tablespoon at a time).
See? No mysteries here-just simple, no-fuss no bake pumpkin pie magic!
Final Thoughts on No Bake Pumpkin Pie
Look, I'll be honest-I've made this no bake pumpkin pie more times than I can count, and it never gets old. Whether it's Thanksgiving morning chaos, a last-minute potluck panic, or just a random Tuesday when I need a little pumpkin-spiced comfort, this pie saves the day every single time. It's creamy, it's spiced, it's ridiculously easy, and best of all? No oven required.
So go ahead-grab those ingredients, whip it up in 20 minutes, and taste the magic for yourself. Trust me, once you try this no bake pumpkin pie, you'll wonder how you ever lived without it. Happy (stress-free) baking!
No Bake Pumpkin Pie
Equipment
- Mixing bowl
- Whisk
Ingredients
- 2 cups canned pumpkin
- ½ cup sugar
- 8 ounces cream cheese softened
- 2 containers Cool Whip or other whipped cream 8-ounce containers
- 1 tablespoon cinnamon
- 2 teaspoons pumpkin pie spice
- 1 teaspoon nutmeg
- 1 box instant vanilla pudding 3.4-ounce box
- 1 cup milk
- 2 pre-made 9-inch graham cracker crusts
Instructions
- In a large mixing bowl, combine the canned pumpkin, sugar, softened cream cheese, cinnamon, pumpkin pie spice, and nutmeg. Mix until smooth.
- Add the instant vanilla pudding and milk to the mixture. Whisk until fully combined.
- Fold in the Cool Whip or whipped cream until the mixture is evenly blended.
- Divide the mixture evenly between the two pre-made graham cracker crusts.
- Refrigerate for at least 2 hours before serving.


Leave a Reply