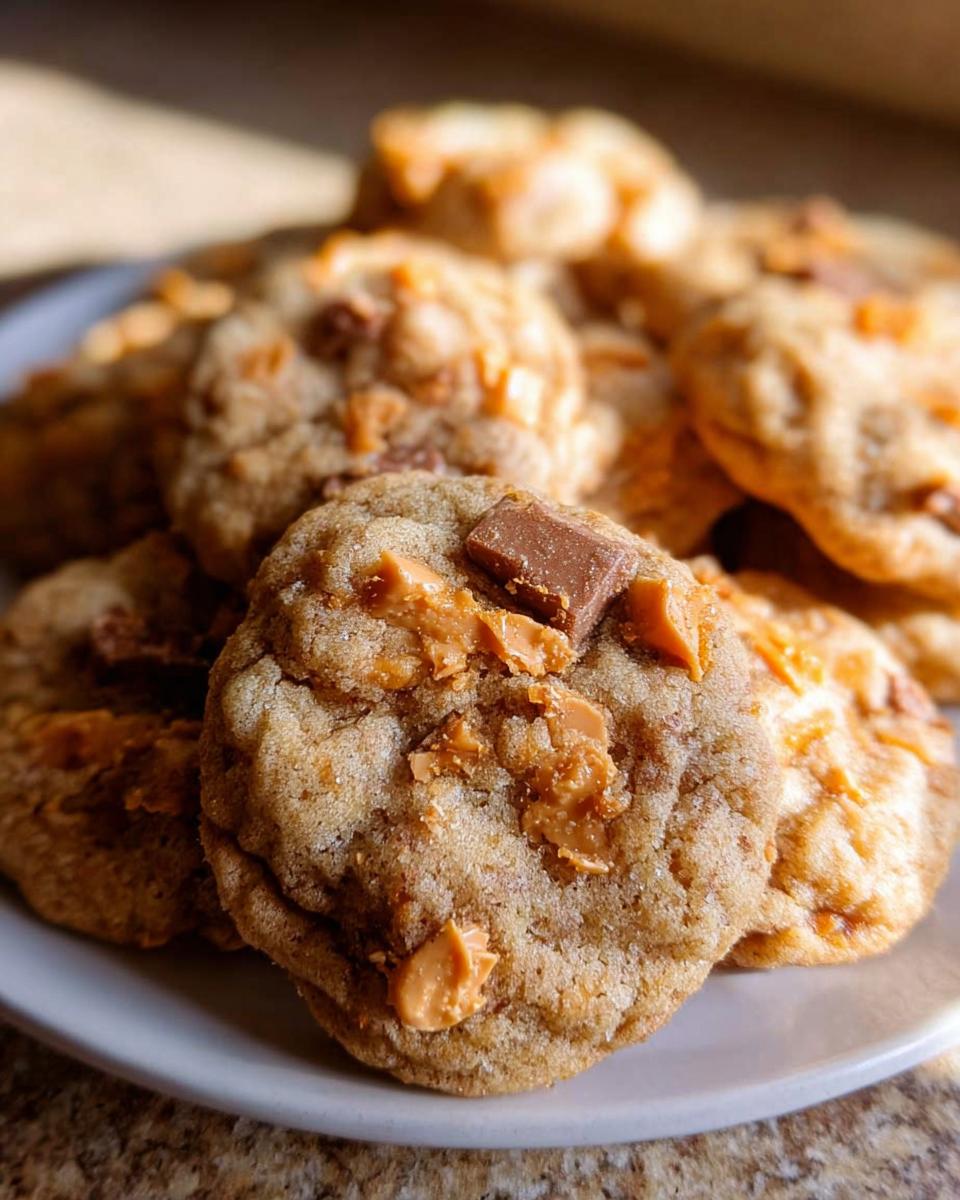
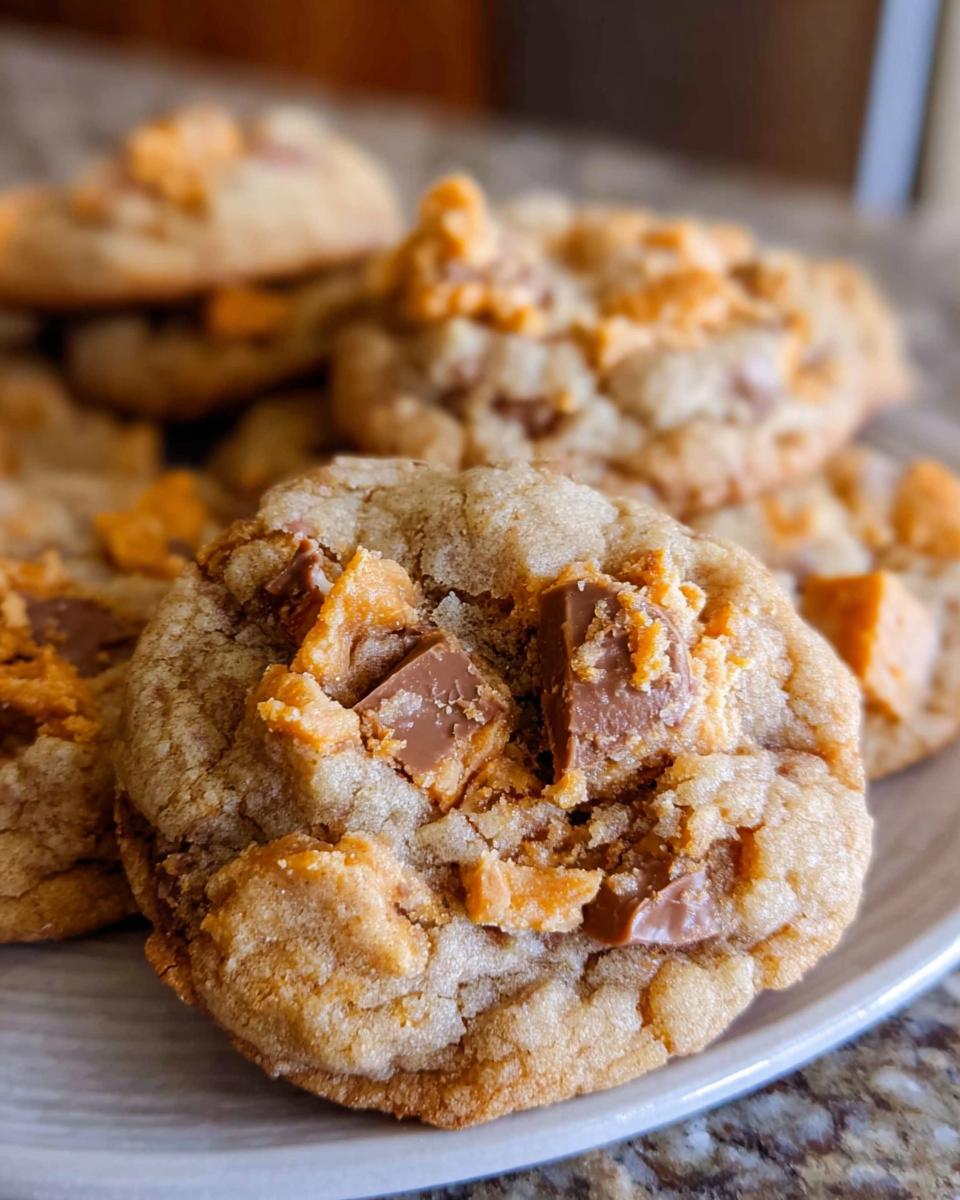
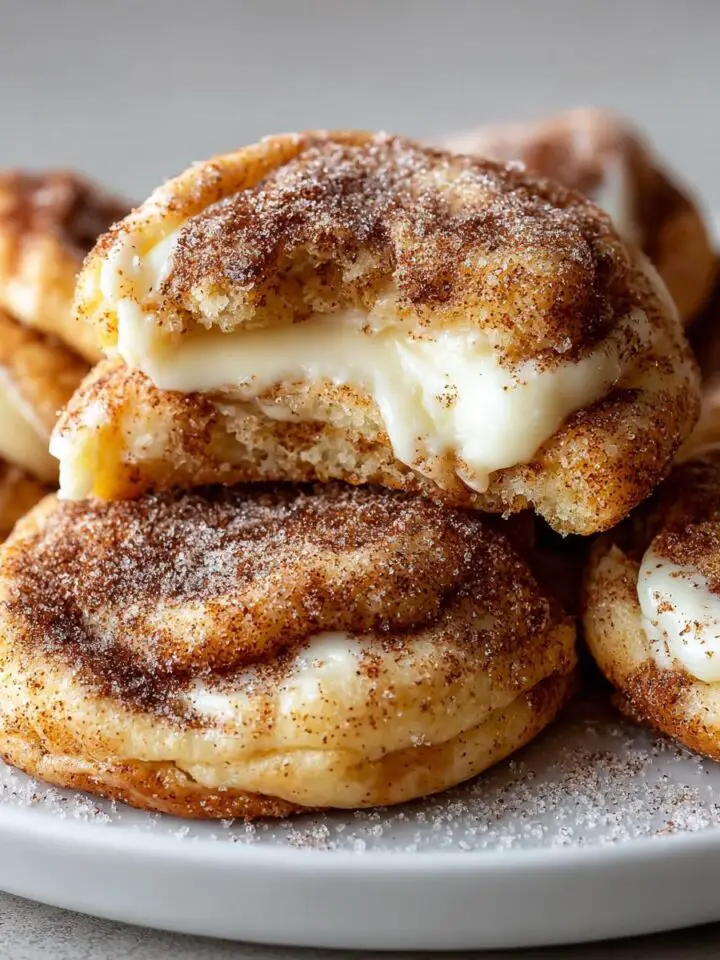
I'll never forget the first time I bit into a Peanut Butter Butterfinger Cookie. It was one of those lazy Sunday afternoons where I felt like baking something sweet but didn't want to spend hours in the kitchen. I had a bag of Butterfinger bars stashed in the pantry (because, let's be real, who doesn't?) and thought, "What if I just… chop these up and throw them into my favorite peanut butter cookie dough?" The result? Pure magic. Soft, chewy, and packed with that iconic Butterfinger crunch, these cookies disappeared faster than I could say "dessert."

Now, they're my go-to treat for bake sales, potlucks, or just a cozy night in with a glass of milk. There's something about the combination of creamy peanut butter and those golden, crispy Butterfinger bits that feels like a hug in cookie form. Trust me, once you try these, you'll be hooked. Let's get baking!
Why You'll Love Peanut Butter Butterfinger Cookies
Listen, these aren't just cookies-they're little bites of joy. Here's why they'll become your new obsession:
- Soft and chewy perfection: The peanut butter cookie base is tender with just the right amount of chew, like a cookie that's giving you a high-five with every bite.
- Butterfinger magic: Those chopped-up Butterfinger bars? They add this incredible crispy-crunchy texture that makes each bite a party in your mouth. It's like someone took your childhood candy stash and baked it into something even better.
- Easy as pie (but, you know, cookies): No fancy techniques here-just mix, scoop, and bake. Perfect for when you need a quick treat without the fuss.
- Crowd-pleaser alert: I've never met anyone who didn't lose their mind over these. They disappear at parties faster than you can say "save me one!"
- Leftovers? Ha! Okay, fine, they technically keep for days, but let's be real-they'll be gone by tomorrow.
Seriously, these cookies are the edible equivalent of a happy dance. You in?
Ingredients You'll Need for Peanut Butter Butterfinger Cookies
Okay, let's raid the pantry! Here's everything you'll need for these dreamy cookies. Pro tip: measure everything before you start-it'll make the whole process smoother (and save you from frantically digging for the vanilla mid-mix).
- ¾ cup butter, softened (1 and ½ sticks): Not melted, just soft enough to leave a gentle dent when you press it. Room temp is your friend here!
- ½ cup granulated sugar: Plain ol' white sugar does the trick.
- ½ cup brown sugar, packed: Pack it into the measuring cup like you're building a sandcastle-firmly but not aggressively.
- 1 cup peanut butter: Important! Use the regular kind, not natural peanut butter. The oil separation in natural PB can make these cookies greasy, and we don't want that.
- 1 large egg: Crack it into a separate bowl first-no one likes shell surprises.
- 1 & ½ teaspoons vanilla: The good stuff. Splurge on pure vanilla if you can.
- 1 & ½ cups all-purpose flour, spooned and leveled: Don't scoop directly from the bag-fluff the flour first, then spoon it gently into your measuring cup.
- ½ teaspoon baking soda + ½ teaspoon baking powder: Our dynamic leavening duo.
- ¼ teaspoon kosher salt: Balances the sweetness like a charm.
- 16 ounces Butterfinger, chopped: About 8 full-size bars. Chop them into pea-sized bits-big enough to crunch, small enough to distribute evenly.
That's it! Simple, right? Now let's turn this into cookie magic.
Step-by-Step Peanut Butter Butterfinger Cookies Instructions
Preparing the Dough
- Heat things up: Preheat your oven to 350°F (175°C) and line baking sheets with parchment paper. This gives the oven time to get perfectly toasty while you make the dough.
- Cream dream team: In a large mixing bowl, beat together the softened butter, granulated sugar, and packed brown sugar until it's light and fluffy-about 2 minutes with a hand mixer. You'll know it's ready when it looks like pale, creamy clouds. Scrape down the sides of the bowl halfway through!
- Peanut butter party: Add the peanut butter, egg, and vanilla. Mix until everything is fully combined and smooth. The smell at this point? Heavenly.
- Dry ingredients unite: In a separate bowl, whisk together the flour, baking soda, baking powder, and salt. This ensures all those leavening agents are evenly distributed-no bitter baking soda pockets here!
- Bring it together: Gradually add the dry ingredients to the wet mixture, mixing on low speed until just combined. Don't overmix! A few flour streaks are okay-they'll disappear when you add the Butterfinger.
- Crunch time: Gently fold in the chopped Butterfinger pieces with a spatula. The dough will be thick and loaded with candy bits-exactly how we want it.
Baking the Cookies
- Scoop and space: Use a tablespoon or cookie scoop to drop rounded portions of dough onto your prepared baking sheets, spacing them about 2 inches apart. These babies spread a bit as they bake!
- Bake to golden perfection: Pop them in the oven for 10 minutes. They're done when the edges are lightly golden but the centers still look slightly soft. Don't wait for them to brown-they'll firm up as they cool.
- Patience is key: Let the cookies cool on the baking sheets for 5 minutes (this prevents them from breaking when you move them). Then transfer to a wire rack to cool completely-or, if you're like me, eat a few warm with melty Butterfinger bits straight off the tray.
Pro tip: If baking multiple batches, let the baking sheets cool between batches or the dough will spread too much on hot pans. Happy baking!
Peanut Butter Butterfinger Cookies Variations
One of the best things about these cookies is how versatile they are. Feel like mixing it up? Here are some fun twists to try:
- Reese's Pieces: Swap the Butterfinger for Reese's Pieces for a double peanut butter punch. It's like a peanut butter cup in cookie form-what's not to love?
- Chocolate chips: Add a cup of semi-sweet or milk chocolate chips for a classic peanut butter-chocolate combo. You can even mix in both Butterfinger and chocolate chips for the ultimate treat.
- Pretzel pieces: Toss in a handful of crushed pretzels for a salty-sweet crunch. It's like a party in every bite.
- Gluten-free option: Use a 1:1 gluten-free flour blend instead of all-purpose flour. Just make sure it includes xanthan gum for the right texture.
- Mini Butterfingers: If you can't find full-size bars, mini Butterfingers work just as well. Chop them up or leave them whole for a fun surprise.
Honestly, the possibilities are endless. These cookies are like a blank canvas for your candy cravings-get creative and have fun with it!
Serving and Storing Peanut Butter Butterfinger Cookies
These cookies are best served fresh and slightly warm, when the Butterfinger bits are still a little melty and the peanut butter cookie base is soft and chewy. Pair them with a cold glass of milk for the ultimate nostalgia trip-trust me, it's a combo that hits all the right notes. If you're feeling fancy, a scoop of vanilla ice cream sandwiched between two cookies makes for an epic dessert.
To store, pop them into an airtight container at room temperature. They'll stay fresh for up to 5 days-if they last that long! If you need to store them longer, you can freeze the baked cookies in a freezer-safe bag for up to 2 months. Just let them thaw at room temperature when you're ready to enjoy. Happy munching!
Helpful Notes for Perfect Peanut Butter Butterfinger Cookies
Before you dash off to bake, here are my top tips to make sure your cookies turn out flawless:
- Freeze the dough? Absolutely! Scoop the dough into balls, freeze on a tray, then transfer to a bag. Bake straight from frozen-just add 1-2 extra minutes.
- Why no natural PB? The oil separates and makes cookies greasy. Stick to regular peanut butter (like Jif or Skippy) for perfect texture.
- Crunchy peanut butter works too! It adds extra texture if that's your jam.
- Measuring flour right: Spoon it lightly into the cup-packing it down leads to dry cookies.
- Butterfinger dust? Save those crumbs from chopping! Sprinkle on top before baking for extra crunch.
See? Easy wins for cookie greatness. Now go forth and bake!
Peanut Butter Butterfinger Cookies FAQs
Got questions? I've got answers! Here are the ones I hear most:
- Can I use crunchy peanut butter?
Absolutely! It adds a fun texture twist. Just make sure it's the regular kind (not natural) to keep the dough from getting too oily. - How long do these stay fresh?
They're best within 3 days if stored in an airtight container, but honestly? They rarely last that long. For longer storage, freeze them-they'll keep for 2 months. - My dough is sticky-help!
Pop it in the fridge for 20 minutes to firm up. Sticky dough = flat cookies, and we want those perfect little domes!
There you go-no cookie mysteries left unsolved!
Final Thoughts on Peanut Butter Butterfinger Cookies
There you have it-the cookie recipe that'll make you the hero of every potluck, movie night, and midnight snack attack. Seriously, once you taste that peanut butter-Butterfinger magic, there's no going back. So grab those mixing bowls and get baking-your future self (and everyone who gets to try one) will thank you. Happy crunching!

Peanut Butter Butterfinger Cookies
Equipment
- Mixing bowl
- Baking sheet
Ingredients
- ¾ cup butter, softened (1 and ½ sticks)
- ½ cup granulated sugar
- ½ cup brown sugar, packed
- 1 cup peanut butter don't use natural pb
- 1 large egg
- 1 & ½ teaspoons vanilla
- 1 & ½ cups all purpose flour, spooned and leveled
- ½ teaspoon baking soda
- ½ teaspoon baking powder
- ¼ teaspoon kosher salt
- 16 ounces butterfinger, chopped
Instructions
- Preheat oven to 350°F (175°C). Line baking sheets with parchment paper.
- In a mixing bowl, cream together butter, granulated sugar, and brown sugar until light and fluffy.
- Beat in peanut butter, egg, and vanilla until well combined.
- In a separate bowl, whisk together flour, baking soda, baking powder, and salt.
- Gradually add dry ingredients to wet ingredients, mixing until just combined.
- Fold in chopped Butterfinger pieces.
- Drop tablespoon-sized portions of dough onto prepared baking sheets, spacing them 2 inches apart.
- Bake for 10 minutes or until edges are lightly golden.
- Let cookies cool on baking sheets for 5 minutes before transferring to wire racks.

Leave a Reply