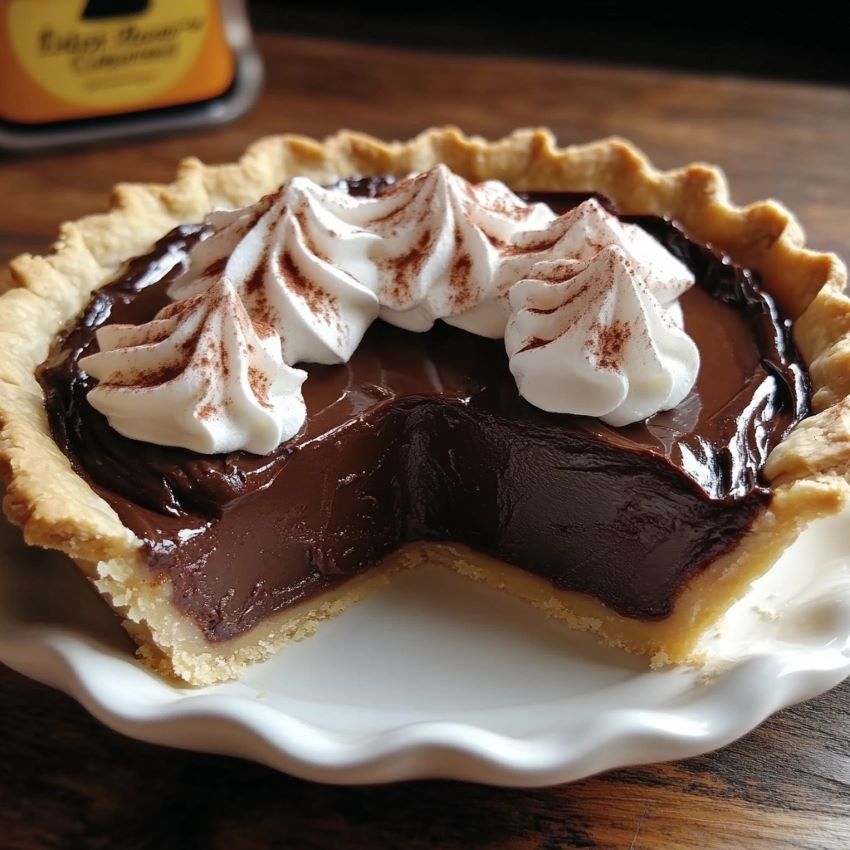
Few desserts bring back a sense of nostalgia quite like Old-Fashioned Chocolate Pie. This classic recipe has been a staple in Southern kitchens for generations, gracing holiday tables and family gatherings with its rich, velvety filling and perfectly flaky crust. I remember my grandmother making this pie from scratch, her kitchen filled with the aroma of warm cocoa and buttery pastry. Every bite was pure comfort-a creamy, indulgent slice of chocolate heaven topped with a cloud of homemade whipped cream. If you're looking to recreate a timeless, homemade dessert that's as satisfying as it is simple, this Old-Fashioned Chocolate Pie is the perfect treat!
Why You'll Love This Recipe
- Classic and Timeless - This is an old-fashioned dessert that never goes out of style.
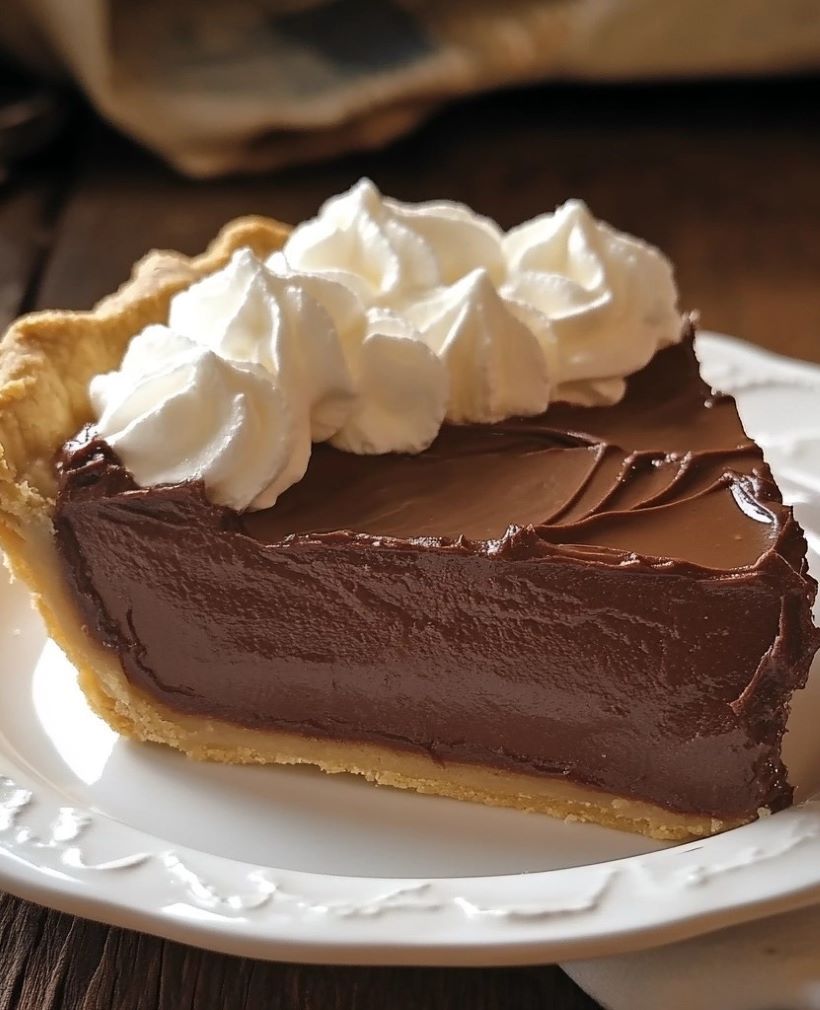
- Rich and Creamy - The silky-smooth chocolate custard melts in your mouth.
- Perfectly Flaky Crust - Made from scratch for a homemade touch.
- Simple Ingredients - Uses pantry staples you likely already have.
- Crowd-Pleaser - A hit at holidays, potlucks, and family dinners.
Ingredients You'll Need
For the Pie Crust:
- 1 ¼ cups all-purpose flour
- ½ teaspoon salt
- ½ cup unsalted butter, cold and cubed
- 3-4 tablespoons ice water
For the Chocolate Filling:
- 1 ½ cups granulated sugar
- ⅓ cup unsweetened cocoa powder
- ¼ cup cornstarch
- ½ teaspoon salt
- 3 cups whole milk
- 4 large egg yolks
- 2 tablespoons unsalted butter
- 1 teaspoon vanilla extract
For the Topping:
- 1 cup heavy whipping cream
- 2 tablespoons powdered sugar
- 1 teaspoon vanilla extract
- Chocolate shavings or cocoa powder (for garnish, optional)
Step-by-Step Instructions
Prepare the Pie Crust:
- Mix the Dry Ingredients - In a large bowl, whisk together the flour and salt.
- Cut in the Butter - Using a pastry cutter or fork, cut the cold butter into the flour until the mixture resembles coarse crumbs.
- Add Ice Water - Gradually add ice water, one tablespoon at a time, mixing gently until the dough comes together. Be careful not to overwork it.
- Chill the Dough - Shape into a disk, wrap in plastic wrap, and refrigerate for at least 30 minutes to firm up.
- Roll Out the Dough - On a floured surface, roll out the dough into a circle slightly larger than a 9-inch pie pan. Transfer to the pan, trim the edges, and crimp.
- Blind Bake the Crust - Preheat oven to 375°F (190°C). Prick the crust with a fork, line with parchment paper, and fill with pie weights or dried beans. Bake for 15 minutes, then remove the weights and bake for another 10 minutes, or until golden brown. Let cool completely.
Make the Chocolate Filling:
- Combine Dry Ingredients - In a medium saucepan, whisk together the sugar, cocoa powder, cornstarch, and salt.
- Add Milk - Gradually pour in the milk, whisking constantly to prevent lumps.
- Cook Until Thickened - Place over medium heat, stirring continuously for 8-10 minutes until the mixture thickens.
- Temper the Egg Yolks - In a separate bowl, beat the egg yolks. Slowly add a few spoonfuls of the hot mixture into the yolks, whisking constantly.
- Incorporate the Yolks - Pour the tempered yolks back into the saucepan, stirring continuously. Cook for another 2 minutes until smooth and thick.
- Finish the Filling - Remove from heat and stir in butter and vanilla extract until fully combined.
- Fill the Pie Crust - Pour the chocolate filling into the cooled pie crust, smoothing the top.
- Chill the Pie - Allow the pie to cool at room temperature, then refrigerate for at least 4 hours (preferably overnight) to set.
Prepare the Whipped Cream:
- Whip the Cream - In a cold mixing bowl, beat the heavy whipping cream, powdered sugar, and vanilla extract on high speed until stiff peaks form.
- Top the Pie - Spread or pipe the whipped cream over the chilled pie.
- Garnish and Serve - Sprinkle with chocolate shavings or a dusting of cocoa powder for a decorative touch. Slice and enjoy!
Serving and Storage Tips
- Serving Suggestions - Serve cold or slightly chilled with a cup of coffee or a scoop of vanilla ice cream.
- Storage - Keep refrigerated, covered with plastic wrap, for up to 3 days.
- Freezing - You can freeze the pie (without whipped topping) for up to 2 months. Thaw overnight in the fridge before serving.
- Make-Ahead Option - Make the pie a day ahead for a firmer filling and even better flavor.
Helpful Notes
- For a Flakier Crust - Keep all ingredients cold and handle the dough as little as possible.
- Avoid a Soggy Crust - Blind baking ensures your crust stays crisp.
- Make it Extra Chocolatey - Use dark cocoa powder for a more intense flavor.
- Substitutions - You can swap whole milk for half-and-half for a richer filling.
- Common Mistake - Not whisking constantly while cooking the filling can lead to lumps.
Frequently Asked Questions
- Can I use a store-bought crust?
Yes! If short on time, a pre-made crust works well. - Why did my pie filling not set?
The filling needs to cook long enough to thicken. Refrigerating for at least 4 hours also helps it firm up. - Can I make this pie without eggs?
Yes! Replace egg yolks with an extra tablespoon of cornstarch for a similar consistency. - How can I make this pie even more decadent?
Add a layer of melted chocolate or ganache at the bottom of the crust before pouring in the filling. - What if I don't have a pastry cutter?
Use two forks or your hands to work the butter into the flour. - Can I use a different type of milk?
Whole milk is best, but almond or oat milk can work for a dairy-free option. - How do I prevent my whipped cream from deflating?
Whip until stiff peaks form and avoid over-mixing.
Final Thoughts
Old-Fashioned Chocolate Pie is the perfect combination of simplicity and indulgence. With its flaky crust, rich chocolate filling, and fluffy whipped topping, this pie is bound to become a family favorite. Whether you're making it for the holidays, Sunday dinner, or just because, it's a timeless dessert that never disappoints. Have you tried this recipe? Let me know how it turned out in the comments below!


Leave a Reply