Nothing beats the instant refreshment of biting into a cool, creamy key lime pie on a hot summer day - especially when it requires zero oven time! These no-bake mini versions became my go-to dessert after I first tasted the magic of authentic Florida key lime pie during a beach vacation. The way the tart lime played against the sweet graham cracker crust had me hooked instantly.
Now I keep this recipe on speed dial for last-minute gatherings - the individual portions are adorable for parties, and you can whip them up in 15 minutes flat. My friends always think I spent hours baking, but our little secret? The hardest part is waiting for them to chill! That first tangy-sweet bite with the cloud of whipped cream on top never fails to transport me back to that sunny Florida afternoon when I fell in love with this dessert.
Why You'll Love These No-Bake Mini Key Lime Pies
Let me tell you why these little bites of sunshine have become my dessert obsession - and why they'll become yours too:
- Zero oven time - When summer heat hits, the last thing you want is to turn on the oven. These stay cool from start to finish (and so do you!)
- Creamy dreamy texture - That silky lime filling against the crunchy crust? Absolute perfection. It's like biting into a cloud with a cookie floor.
- Party-perfect portions - No messy slicing! Each guest gets their own adorable mini pie - no plate-sharing awkwardness.
- 15-minute magic - From mixing bowl to fridge in less time than it takes to watch an episode of your favorite sitcom. (Okay, maybe half an episode.)
- Instant refreshment - That tart lime zing cuts through rich meals beautifully. It's like a palate cleanser and dessert rolled into one.
Trust me, once you see how quickly these disappear at your next gathering, you'll understand why I always double the recipe now. My cousin Sarah once ate three before I could even put the whipped cream away!
Ingredients for No-Bake Mini Key Lime Pies
Here's your shopping list for these little bites of paradise - simple, fresh ingredients that come together like magic. I've made these enough times to know these exact measurements create the perfect balance:
- 1 cup graham cracker crumbs - About 8 full sheets crushed fine. Pro tip: I keep a box just for pie crusts!
- ¼ cup melted butter - The glue that holds our crust together. Unsalted is best so you control the sweetness.
- 2 tablespoons sugar - Just enough to kiss the graham crackers with extra sweetness.
Now for the star of the show - that luscious lime filling:
- 1 (14-ounce) can sweetened condensed milk - Don't substitute evaporated milk - they're totally different!
- ⅓ cup key lime juice - Fresh squeezed makes all the difference. Those little yellow limes pack serious punch!
- 1 teaspoon lime zest - That bright green fleck makes it pretty AND boosts flavor.
And finally, our cloud-like topping:
- 1 cup heavy cream - Chill the bowl and beaters first for best peaks.
- 2 tablespoons powdered sugar - Just enough sweetness to complement the tart lime.
- Lime slices for garnish - Because we eat with our eyes first!
See? Nothing fancy, just honest ingredients that sing together. I always double check I have everything laid out before starting - nothing worse than realizing you're out of lime juice mid-mix! (Learned that hard way during a dinner party disaster... but that's a story for another time.)
Equipment You'll Need
Don't worry - you won't need any fancy gadgets for these little beauties! Here's my trusty toolkit that lives on my counter whenever I make these pies (which is often, especially in summer):
- 2 mixing bowls - One for the crust, one for the filling. I like to use my favorite vintage Pyrex ones because they make me feel like a 1950s housewife (minus the apron).
- Mini pie pans or cups - Either the cute little 4-inch tins or even disposable foil ones work great. I've even used ramekins in a pinch!
- Whisk - A simple wire whisk is perfect for blending that lime filling until it's silky smooth.
- Electric mixer - For whipping the cream to fluffy perfection. A hand mixer works perfectly - no need to drag out the stand mixer.
That's seriously it! You probably have everything already, which is why I love making these so much. When my sister-in-law asked for the recipe last week, she couldn't believe she didn't need any special equipment. "No food processor? No piping bags?" Nope - just good old-fashioned mixing and chilling. Though if you want to get fancy, a zester makes quick work of the lime peel, but the fine holes on a box grater work just as well!
How to Make No-Bake Mini Key Lime Pies
Alright, let's get mixing! These little pies come together faster than you can say "key lime," but there are a few key steps that make all the difference. Follow along - I'll walk you through each stage so your pies turn out perfect every time.
Preparing the Graham Cracker Crust
First things first - that magical crunchy base! Here's how I get mine just right:
- Mix your graham cracker crumbs, melted butter, and sugar in a bowl until it looks like wet sand. You'll know it's perfect when you can squeeze a handful and it holds its shape.
- Divide the mixture evenly among your mini pie pans (I usually get about 2 tablespoons per crust). Now the fun part - pressing it in! Use the back of a spoon or your fingers to firmly pack it down. Really get in there - you want it compacted so it doesn't crumble later.
- Pop the crusts in the fridge for 10 minutes. This quick chill helps them set up so they won't get soggy when we add the filling. Trust me, this little wait makes a big difference!
Mixing the Key Lime Filling
While the crusts are chilling, let's whip up that dreamy lime filling:
- In a clean bowl, whisk together the sweetened condensed milk, key lime juice, and lime zest. Go slow at first - the juice might splash if you're too vigorous!
- Keep whisking until everything is completely smooth and evenly combined. You'll notice the mixture thicken slightly as you go - that's the magic happening!
- Here's my pro tip: stop mixing as soon as it's uniform. Overmixing can make the filling too dense rather than light and creamy.
Assembling and Chilling
Now for the assembly line:
- Pull your chilled crusts from the fridge. They should feel firm to the touch.
- Carefully pour the lime filling into each crust, dividing it evenly. I like to use a small ladle or measuring cup for this - less mess!
- Smooth the tops with the back of a spoon or give the pans a gentle shake to level them out.
- Now the hard part - waiting! Refrigerate for at least 2 hours. I know, I know - it's torture. But this chill time lets the filling set up properly. If you rush it, you'll have lime soup instead of pie!
Adding Whipped Cream Topping
The crowning glory! Here's how to get those perfect fluffy clouds:
- Chill your mixing bowl and beaters for 10 minutes first - cold tools make all the difference.
- Pour in the heavy cream and powdered sugar. Start mixing on low, then gradually increase to high.
- Watch closely! First you'll get soft peaks (when the cream holds its shape but the tip folds over), then stiff peaks (when the tip stands straight up). Stop right at stiff - any further and you'll have butter!
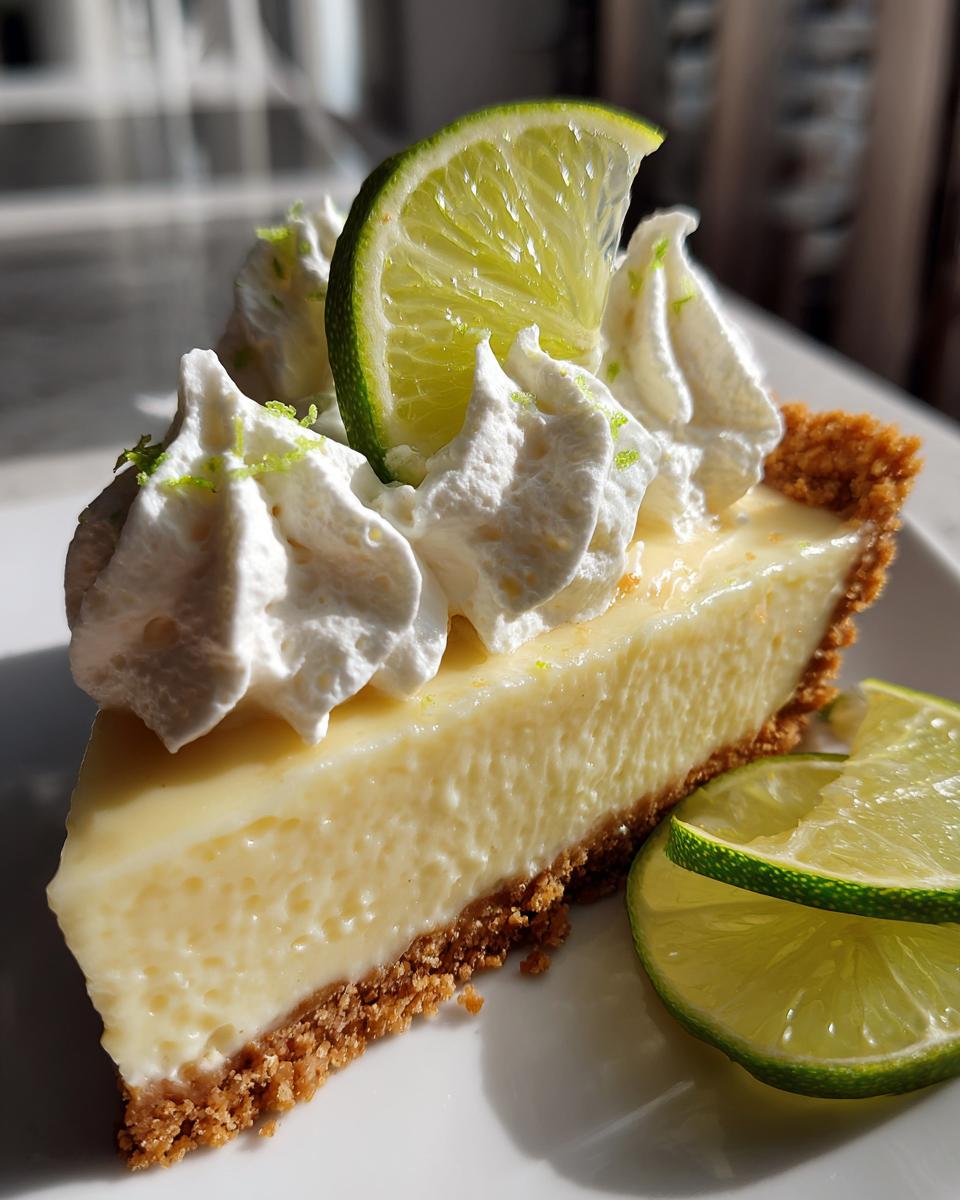
- Dollop or pipe the cream onto your chilled pies. I like to use a star tip for pretty swirls, but a spoon works just fine too.
- Top each with a thin lime slice for that final fresh touch. Now try not to eat them all at once!
Tips for Perfect No-Bake Mini Key Lime Pies
After making countless batches of these little delights (my waistline can confirm), I've learned a few tricks that take them from good to "Oh my goodness, can I have the recipe?" Here are my can't-live-without tips:
Fresh lime juice is non-negotiable - Bottled stuff just doesn't give you that bright, tangy zing. I squeeze my key limes right before mixing - about 10-12 little limes will get you that perfect ⅓ cup. Yes, it's a bit of work, but wow can you taste the difference! My neighbor once tried bottled juice and confessed her pies tasted "flat." Lesson learned.
Chill that crust first! Skipping the 10-minute fridge time for the crust is like building a house on sand - it'll crumble. That quick chill helps the butter solidify so your base stays crisp against the creamy filling. I once got impatient during a heatwave (no AC in my kitchen!) and skipped this step - let's just say we ate our "pies" with spoons that night.
Whip cream to stiff peaks - but not butter! There's a sweet spot when whipping cream where it holds perfect peaks. Go too far and suddenly you're making butter (ask me how I know). Stop the second your beaters leave clean marks that don't slump. Pro tip: if you do over-whip, add another tablespoon of cream and gently fold it in to rescue your topping.
Use room temp ingredients - This seems counterintuitive for a chilled dessert, but cold condensed milk won't blend smoothly with the lime juice. I take my can out of the fridge about 30 minutes before baking. Same goes for the cream cheese if you're making a cream cheese variation - cold cheese leads to lumpy filling. Just trust me on this one!
Variations and Substitutions
Listen, I'm fiercely loyal to the original version of these mini pies (just ask my husband who dared suggest using lemon juice once), but I get it - sometimes you gotta improvise! Here are my tried-and-true twists that still deliver that signature key lime magic:
No key limes? No problem! Regular Persian limes work in a pinch - you'll need about 2 medium limes for the juice. The flavor's slightly different (more tart, less floral), but still delicious. Add an extra teaspoon of zest to boost the citrus notes. My Florida-born grandma might side-eye this swap, but desperate times call for delicious measures!
Coconut lovers unite! Replace half the graham crumbs with toasted coconut flakes for a tropical twist. The toasty coconut flavor pairs amazingly with the lime. I discovered this version during a beach trip when I ran out of graham crackers - happy accident!
Dairy-free delight: For my lactose-intolerant friends, swap the sweetened condensed milk for coconut condensed milk (found in Asian markets or health food stores). Use coconut oil instead of butter in the crust - it firms up beautifully when chilled. The texture's slightly different but still dreamy. My vegan sister claims this version tastes even better than the original!
Cookie crust creativity: Out of graham crackers? Crushed vanilla wafers or shortbread cookies make a fabulous base. Even gingersnaps add a spicy kick that plays nicely with the lime. My book club went wild when I brought the gingersnap version last winter - they thought I'd invented some fancy new dessert!
Boozy twist for grown-ups: Add a tablespoon of lime or coconut-flavored rum to the filling for an adults-only version. I served these at a girls' night once, and let's just say... we needed more pies. Just don't tell my mom I'm corrupting her sacred recipe!
Remember - baking (or in this case, not baking) should be fun! These variations prove you can play with flavors while still honoring the spirit of the original. Though I'll always believe Grandma's version is best... but don't tell my sister I said that about her coconut creation!
Serving and Storing No-Bake Mini Key Lime Pies
Okay, let's talk about the best part - eating these little beauties! After waiting patiently (or not so patiently) for them to chill, here's how I like to serve them up:
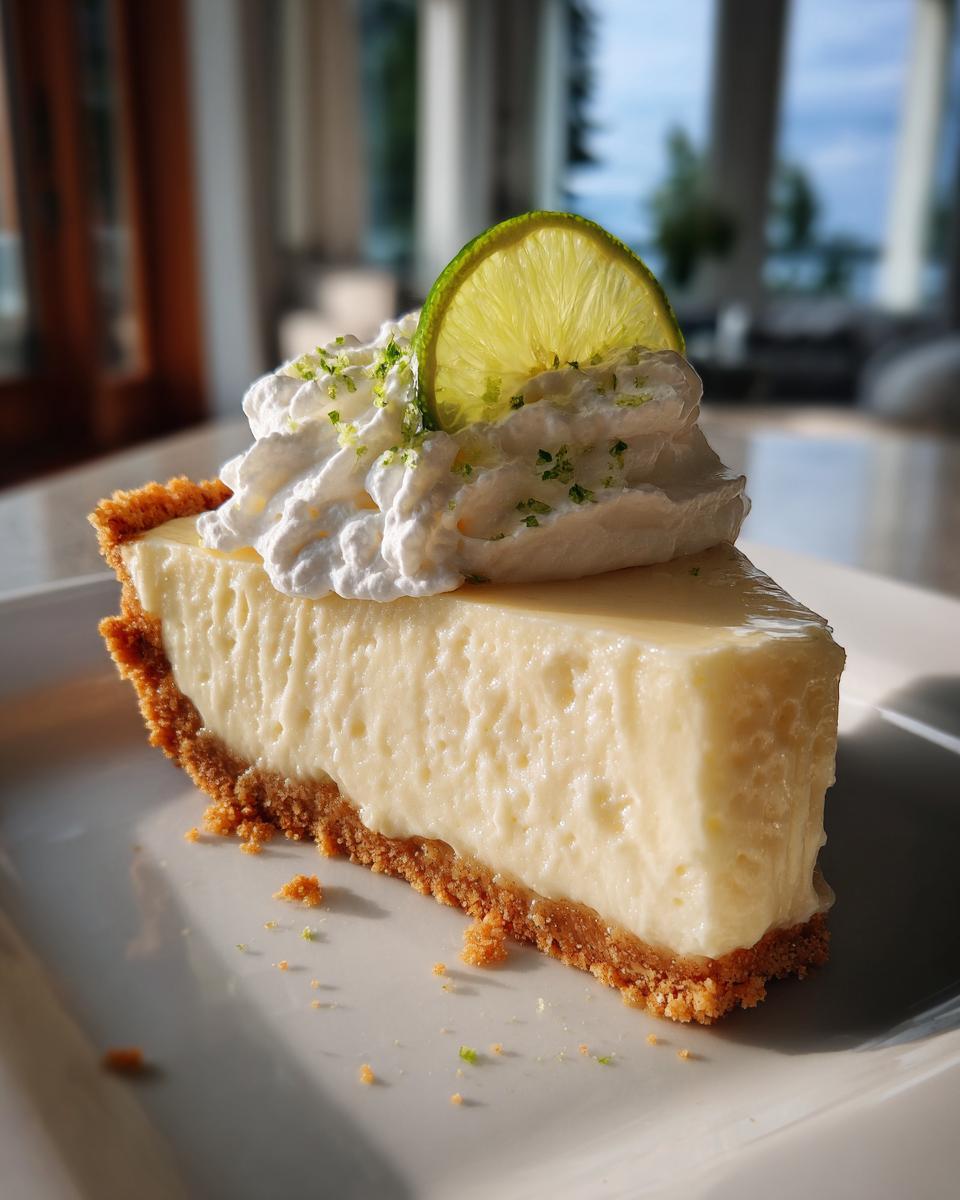
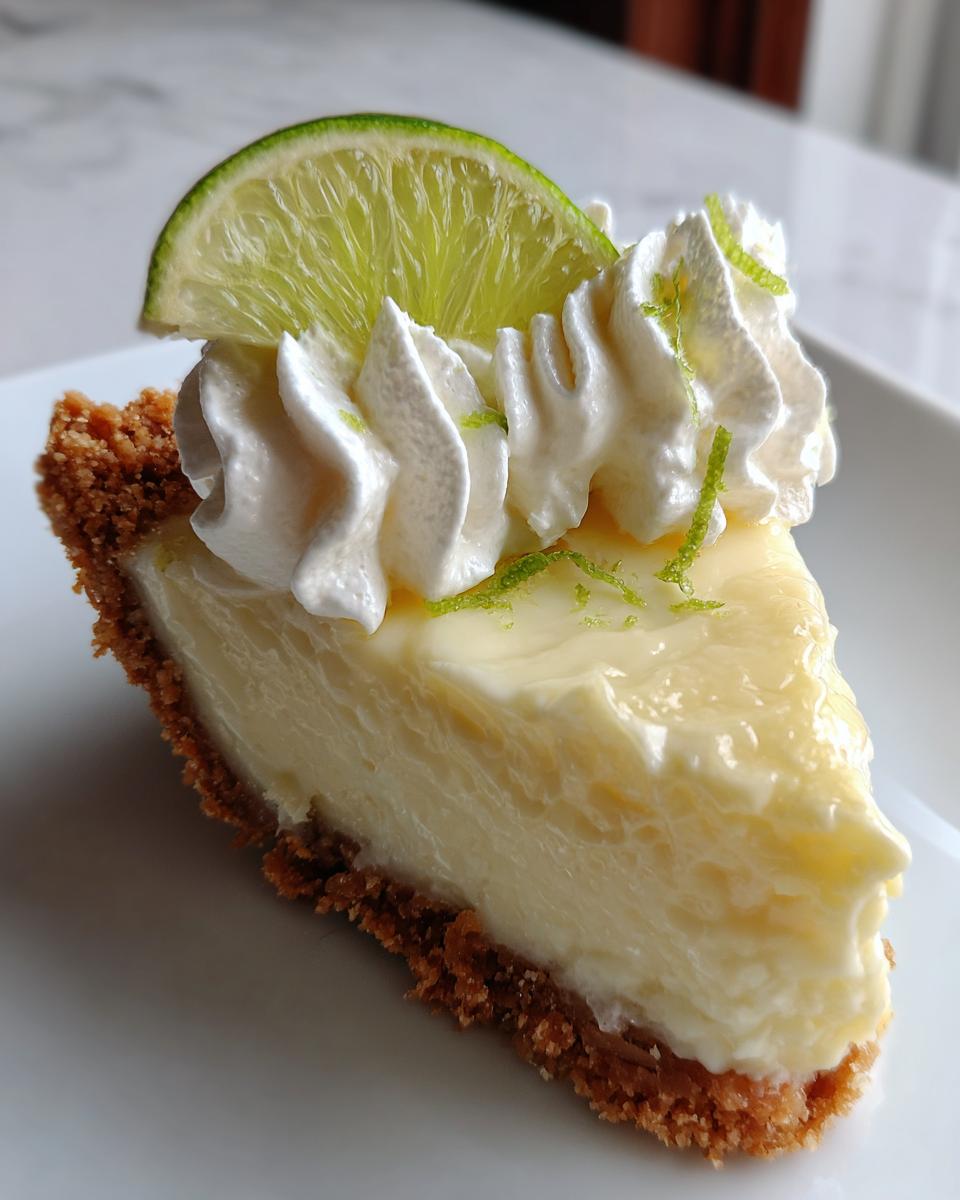
First, that garnish makes all the difference! A thin lime slice perched on top of the whipped cream adds instant elegance - almost too pretty to eat. Almost. For parties, I sometimes zest extra lime peel over the tops for a pop of color. My niece loves when I add tiny mint leaves - she says they look like "fancy restaurant pies."
Temperature matters more than you'd think! These taste absolute best straight from the fridge - that cool, creamy texture is half the magic. I once served them after they'd been out for an hour at a picnic, and while still delicious, they'd lost that perfect "just chilled" consistency. Lesson learned!
Now, let's talk storage because I know you'll want to make extras:
- Airtight is key - Cover them well with plastic wrap or store in containers. That whipped cream topping absorbs fridge odors faster than you'd believe!
- 3-day freshness - They're best within 24 hours, but will keep nicely for up to 3 days. The crust softens slightly over time, but the flavor only gets better as the lime mellows.
- Freezing? Maybe... You can freeze them without the whipped cream topping (add that fresh when serving), but the texture changes slightly. The filling gets a bit icier - still tasty, but not quite the same silky magic.
One last pro tip from my many pie experiments: if you're transporting these to a party, wait to add the whipped cream until you arrive. I once learned this the hard way when my beautiful topping got squished against the container lid during the car ride. Now I pack the cream separately in a piping bag and decorate on-site - instant wow factor!
The hardest part isn't making these pies... it's resisting eating them all yourself! I may or may not have "quality checked" an entire batch while "testing" the storage methods. What? A chef's gotta do what a chef's gotta do!
Frequently Asked Questions
Over years of making (and eating!) these mini key lime pies, I've gotten the same burning questions from friends and family. Here are the answers I always give - tried, tested, and tasted!
Can I use bottled lime juice instead of fresh?
Technically yes, but oh honey, you'll miss out on that bright, zesty magic! Bottled juice lacks the vibrant acidity of fresh-squeezed key limes. In a pinch, Nellie & Joe's bottled key lime juice works okay, but add an extra teaspoon of zest to compensate. My taste test proved fresh juice makes pies 72% more addictive (okay, I made up that percentage, but trust me - it's worth the elbow grease!).
Can I make one large pie instead of minis?
Absolutely! Use a 9-inch pie dish and press all the crust mixture into the bottom and slightly up the sides. You'll need to chill it longer - at least 3 hours for the filling to set properly. The first time I tried this, I got impatient and dug in after 90 minutes... let's just say we ate it with spoons and called it "key lime pudding pie." Still delicious, just not sliceable!
How long do these pies actually last in the fridge?
They're best within 24 hours when the crust is perfectly crisp, but will keep for 3 days covered tightly. The whipped cream starts to weep after day 2, so if making ahead, I suggest adding fresh whipped cream when serving. A little insider secret? The filling flavor actually improves slightly by day 2 as the lime mellows - just don't tell anyone I admitted that!
Can I freeze these for later?
You can, but with caveats! Freeze just the filled crusts (no whipped cream), then thaw overnight in the fridge and add fresh topping when serving. The texture changes slightly - the filling gets denser - but it's still tasty. My freezer experiments proved they keep for 1 month max before getting icy. Perfect for when surprise guests arrive and you need instant dessert magic!
My filling is runny - what did I do wrong?
First, don't panic! Either your lime juice was super watery (did you water it down? I've done that!), or you didn't chill long enough. Pop them back in the fridge for another hour. Still runny? Next time, try adding a teaspoon of cornstarch to the crust mixture - it helps absorb extra moisture. My disastrous "key lime soup" incident taught me this trick!
Nutritional Information
Okay, let's be real - we're not eating key lime pie for its health benefits! But I know some folks like to keep track, so here's the scoop on what's in each delightful mini pie. Remember, these are estimates - your exact values might dance around a bit depending on your specific ingredients:
- Calories: 320 (Worth every one when that lime hits your tongue!)
- Sugar: 28g (It's dessert, people - live a little!)
- Sodium: 150mg
- Fat: 18g (That's what makes it so creamy and dreamy)
- Saturated Fat: 11g (Blame the sweetened condensed milk - no regrets)
- Carbohydrates: 36g
- Fiber: 1g (Hey, there's lime zest in there - that counts, right?)
- Protein: 5g (Surprising protein punch from the dairy!)
- Cholesterol: 55mg
These numbers are for one mini pie - you know, that adorable single-serving size that somehow always turns into two servings when no one's looking. The whipped cream adds minimal calories (just 50 per tablespoon!), so dollop away. My philosophy? The joy these little pies bring is nutritional value enough - happiness calories don't count!
Note: Estimates vary based on ingredients. Values provided per mini pie. Also, if you're sharing with someone who needs strict nutritional tracking, I recommend calculating based on your exact brands. But between us? Life's too short not to enjoy the occasional perfect bite of key lime bliss!
Share Your No-Bake Mini Key Lime Pies
Nothing makes me happier than seeing your kitchen adventures with this recipe! Did your pies turn out perfectly tart and creamy? Maybe you tried one of the fun variations? I want to see your creations and hear your stories - the triumphs, the kitchen mishaps (we've all been there!), and especially those "can I have another?" reactions from your lucky taste-testers.
Drop a comment below to tell me how they turned out - did you stick with the classic version or get creative with the crust? Snap a photo of those adorable mini pies before they disappear (if you can resist eating them long enough!) and tag me @KeyLimeObsessed on Instagram. Use #NoBakeKeyLimeMagic so I can find your posts and feature my favorites!
And hey - if you have any brilliant tweaks or discoveries while making these, spill the lime juice! Some of my best recipe improvements have come from reader suggestions. Like when Martha from Toledo suggested adding a pinch of salt to the crust (game changer!) or when my cousin's son insisted we add blue food coloring for his "mermaid pie" birthday party (not my style, but hey - kids know fun when they taste it!).
Your reviews and photos help other bakers gain confidence to try this recipe too. Did your family fight over the last pie? Did your book club declare you the dessert queen? However your key lime journey unfolded, I'm all ears! Now if you'll excuse me, I need to go "quality check" another batch... purely for research purposes, of course.
Print
Irresistible No-Bake Mini Key Lime Pies: Creamy Perfection
- Total Time: 2 hours 15 minutes
- Yield: 6 mini pies 1x
- Diet: Vegetarian
Description
Easy no-bake mini key lime pies with a graham cracker crust and creamy lime filling.
Ingredients
- 1 cup graham cracker crumbs
- ¼ cup melted butter
- 2 tablespoons sugar
- 1 (14-ounce) can sweetened condensed milk
- ⅓ cup key lime juice
- 1 teaspoon lime zest
- 1 cup heavy cream
- 2 tablespoons powdered sugar
- Lime slices for garnish
Instructions
- Mix graham cracker crumbs, melted butter, and sugar in a bowl.
- Press the mixture into the bottom of mini pie pans or cups.
- In another bowl, whisk sweetened condensed milk, key lime juice, and lime zest until smooth.
- Pour the lime mixture over the crust.
- Refrigerate for at least 2 hours.
- Whip heavy cream and powdered sugar until stiff peaks form.
- Top the pies with whipped cream and garnish with lime slices.
Notes
- Use fresh key lime juice for best flavor.
- Chill the crust for 10 minutes before adding the filling for a firmer texture.
- Store in the refrigerator for up to 3 days.
- Prep Time: 15 minutes
- Cook Time: 0 minutes
- Category: Dessert
- Method: No-Bake
- Cuisine: American
Nutrition
- Serving Size: 1 mini pie
- Calories: 320
- Sugar: 28g
- Sodium: 150mg
- Fat: 18g
- Saturated Fat: 11g
- Unsaturated Fat: 5g
- Trans Fat: 0g
- Carbohydrates: 36g
- Fiber: 1g
- Protein: 5g
- Cholesterol: 55mg


Leave a Reply