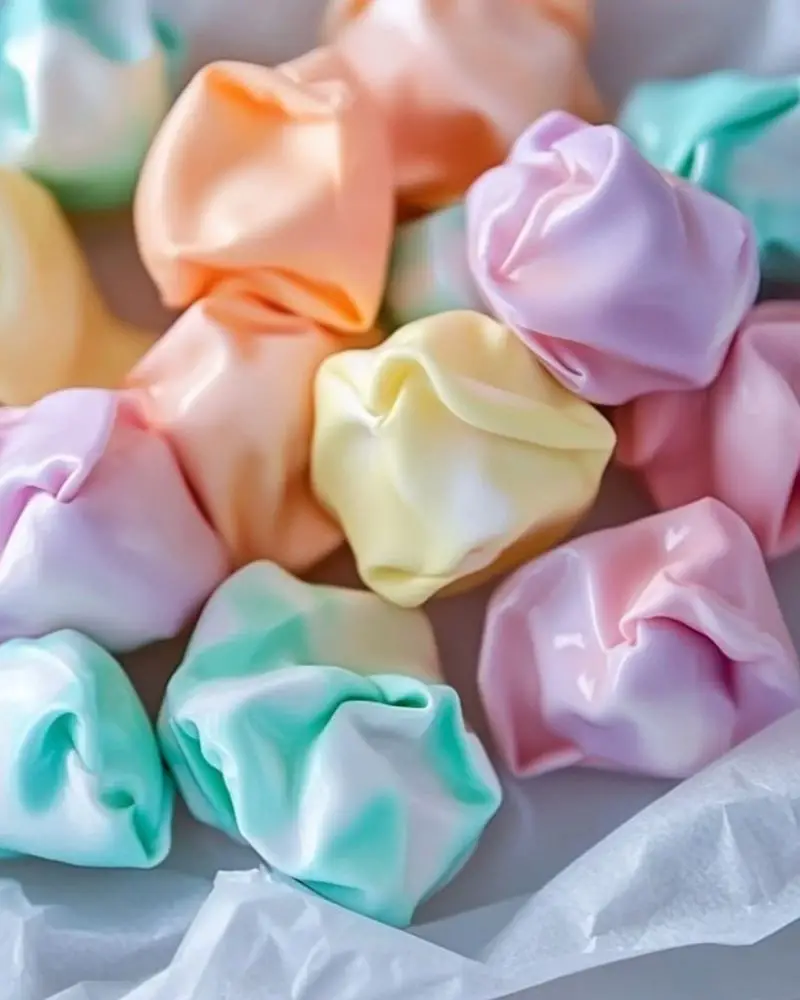
There's a certain magic to saltwater taffy that instantly brings back memories of summer boardwalks, oceanside strolls, and colorful candy shops. As a child, I remember eagerly selecting handfuls of taffy in all colors and flavors, then watching through the glass as candy makers pulled and twisted the glossy strands by hand. Now, making Homemade Saltwater Taffy in your own kitchen lets you recreate that nostalgic experience with your own custom colors and flavors - and it's surprisingly easy and fun once you get the hang of it.
Saltwater taffy isn't actually made with seawater - the name comes from its coastal origins and the addition of a touch of salt. The real magic lies in the pulling process, which aerates the candy and gives it that characteristic light, chewy texture. Whether you're making it for a party, a DIY gift, or just a fun family weekend project, this classic candy will bring joy to anyone who tries it.
Why You'll Love Homemade Saltwater Taffy
- Nostalgic and Fun: A throwback to beach vacations and boardwalk strolls.
- Customizable Flavors & Colors: Add any extract and food coloring to match your mood or event.
- Perfect for Gifting: Wrap pieces in wax paper for charming homemade candy favors.
- Hands-On Activity: Great for getting kids or friends involved in the kitchen.
- Affordable Ingredients: Uses pantry staples and makes a big batch.
- Long Shelf Life: When wrapped properly, these candies stay fresh for weeks.
Ingredients You'll Need
- 2 cups granulated sugar
Provides the sweet base of the candy. - 2 tablespoons cornstarch
Helps prevent crystallization and gives the candy a smooth texture. - 1 cup light corn syrup
Adds elasticity and prevents crystallization. - ¾ cup water
Helps dissolve the sugar and cornstarch. - 2 tablespoons unsalted butter
Adds richness and flavor. - 1 teaspoon salt
Balances sweetness and deepens the flavor. - 1 teaspoon vanilla extract
Classic taffy flavor, though you can substitute other extracts. - A few drops of food coloring
Optional, but great for a fun and vibrant presentation.
Step-by-Step Instructions
1. Prepare your workspace.
Grease a large marble slab or baking sheet with butter. Also, butter your scissors and set aside pieces of wax paper for wrapping. You'll need these ready before the candy cools.
2. Combine dry ingredients.
In a large, heavy-bottomed saucepan, stir together the granulated sugar and cornstarch until fully mixed.
3. Add wet ingredients.
Pour in the corn syrup, water, butter, and salt. Stir gently over medium heat until the sugar dissolves completely.
4. Attach a candy thermometer.
Clip a candy thermometer to the side of the pot, ensuring the bulb is submerged but not touching the bottom.
5. Cook to 250°F (hard-ball stage).
Allow the mixture to boil undisturbed until it reaches 250°F. This is crucial for the correct texture. Don't stir during this stage to avoid grainy taffy.
6. Remove from heat and flavor.
Once it hits 250°F, immediately remove the pan from heat. Stir in your vanilla extract and food coloring of choice. Be careful - it will bubble.
7. Pour and cool slightly.
Pour the hot candy mixture onto the prepared slab or sheet. Let it cool just until it's comfortable to handle (about 5-10 minutes). It should still be pliable.
8. Pull the taffy.
Butter your hands generously. Grab the candy and begin pulling: stretch it out, fold it over, and repeat. Keep pulling until the taffy becomes lighter in color and firm (about 10-15 minutes). This process incorporates air for that signature chewy texture.
9. Shape and cut.
Stretch the taffy into a long rope about ½ inch thick. Use buttered scissors to cut it into 1-inch pieces.
10. Wrap each piece.
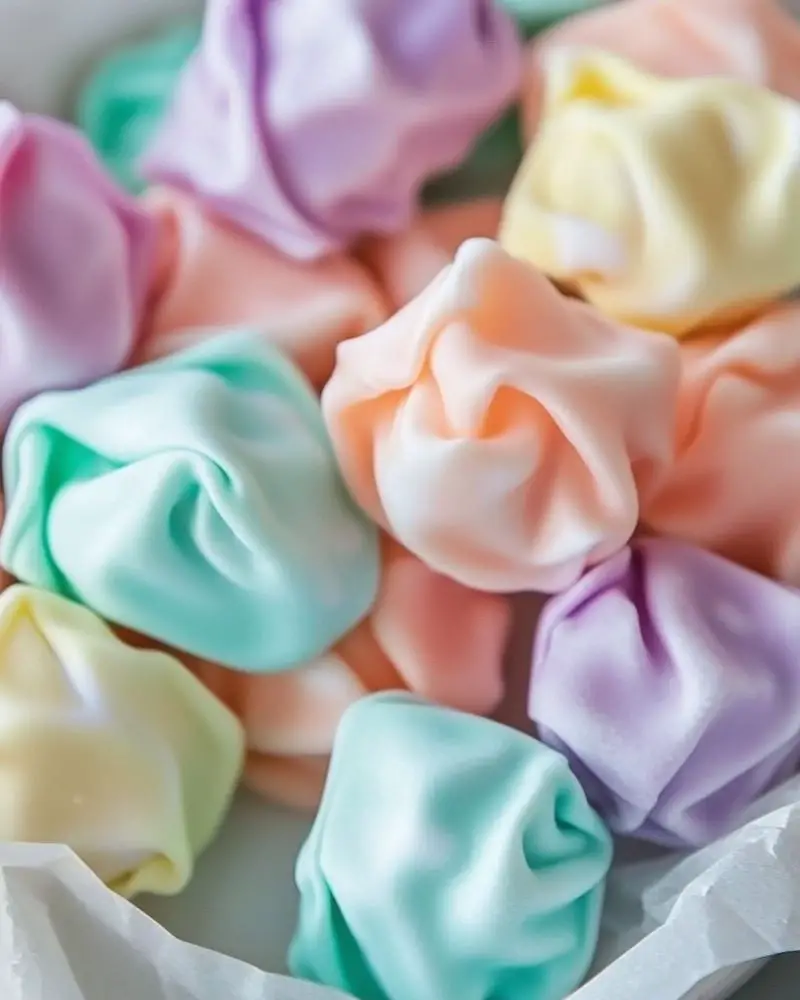
Immediately wrap each piece in wax paper, twisting the ends to seal.
Serving and Storage Tips
How to Serve:
- Serve in candy dishes at parties or gatherings.
- Add to gift baskets or holiday treat bags.
- Mix and match colors for themed events (e.g., pink and red for Valentine's Day).
Storage:
- Store wrapped taffy in an airtight container at room temperature.
- Keep in a cool, dry place away from direct sunlight.
- Freshest within 2-3 weeks but can last up to a month.
Helpful Notes
- Flavor Ideas: Swap the vanilla for peppermint, lemon, almond, or fruit extracts. Add a few drops of essential oil (like orange or lavender) for a unique twist.
- Color Mixing: Divide the candy after heating and add different colors to each portion.
- Pulling Tip: The candy will be sticky at first but becomes more elastic as you pull. Don't skip this step!
- Cleanup Tip: Soak sticky pans and utensils in hot water for easy cleanup.
- Butter Tip: Reapply butter to your hands as needed during pulling to prevent sticking.
Frequently Asked Questions
1. Is saltwater taffy made with real saltwater?
No. The term "saltwater" is a historical reference. The recipe includes salt, but no seawater.
2. Why do I need to pull the taffy?
Pulling incorporates air, which gives the candy its light, chewy texture. Without it, the candy would be dense.
3. What if I don't have a candy thermometer?
Use the cold water method: drop a bit of syrup into cold water. If it forms a hard but pliable ball, it's ready.
4. Can I make this recipe with kids?
Yes, but supervise closely! The sugar mixture is extremely hot. Kids can help with pulling once it's cool enough.
5. My taffy turned out too hard or too soft - what happened?
Candy texture depends on temperature. Too high = hard candy; too low = sticky and soft. Aim for exactly 250°F.
Final Thoughts
Making Homemade Saltwater Taffy is not only a delicious project, but a fun and nostalgic activity that brings people together. There's something magical about watching a simple syrup transform into stretchy, shiny ribbons of candy under your hands. It takes a little effort, but the result is so worth it.
This recipe has been tested and loved for its ease, consistency, and the joy it brings - especially when shared with friends or family. Whether you make it in a single color or create a rainbow of flavors, your homemade taffy is sure to impress. Roll up your sleeves, butter your hands, and get ready to stretch some sweet memories!

Homemade Saltwater Taffy
Ingredients
- 2 cups granulated sugar
- 2 tablespoons cornstarch
- 1 cup light corn syrup
- ¾ cup water
- 2 tablespoons unsalted butter
- 1 teaspoon salt
- 1 teaspoon vanilla extract
- A few drops of food coloring
Instructions
- Grease a marble slab or baking sheet and prepare wax paper squares for wrapping.
- In a large saucepan, mix sugar and cornstarch.
- Add corn syrup, water, butter, and salt. Stir over medium heat until sugar dissolves.
- Attach a candy thermometer and cook without stirring until the mixture reaches 250°F (hard-ball stage).
- Remove from heat and stir in vanilla extract and food coloring.
- Pour hot candy onto the greased slab or sheet.
- Cool slightly, then butter hands and pull the taffy until light and firm (about 10-15 minutes).
- Stretch into a rope and cut into bite-sized pieces with buttered scissors.
- Wrap each piece in wax paper, twisting the ends.
Notes
- Use unsalted butter to control salt levels.
- Butter hands and scissors to avoid sticking.
- Customize with different extracts and food colorings.
- Store wrapped taffy in an airtight container for up to 3 weeks.
- For a rainbow batch, divide the cooked taffy and add different colors/flavors before pulling.


Leave a Reply