I'll never forget the first time I made homemade crock pot yogurt-it felt like magic! There I was, staring into my slow cooker like a proud parent as milk transformed into thick, creamy yogurt overnight. And let me tell you, once you've tasted yogurt this fresh and tangy, there's no going back to those tiny overpriced supermarket tubs.

What I love most about this homemade crock pot yogurt (besides how ridiculously easy it is) is that you're in complete control. Want it sweeter? Thicker? Packed with probiotics? You call the shots. It's cheaper than store-bought, uses just two ingredients, and that slow cooker does all the heavy lifting while you sleep. Perfect for busy mornings when you need a healthy breakfast waiting for you!
Why You'll Love Homemade Crock Pot Yogurt
Trust me, once you try making yogurt in your slow cooker, you'll wonder why you ever bought it from the store. Here's why this recipe is a total game-changer:
- Just two ingredients-milk and a spoonful of yogurt. That's it! No weird additives or stabilizers.
- Hands-off magic-set it and forget it. Your crock pot does all the work while you binge your favorite show.
- Creamier than store-bought-none of that watery, sad yogurt. This stuff is luxuriously thick and tangy.
- Way cheaper-a gallon of homemade yogurt costs less than a single small tub of the fancy organic stuff.
- Endless possibilities-eat it plain, sweeten it, blend in fruit, or strain it for Greek yogurt. Your breakfast, your rules!
Effortless Preparation
No more babysitting pots on the stove! The crock pot heats the milk perfectly without scorching, and the long, low fermentation means you can't mess it up. I've tried every yogurt-making method under the sun, and this is by far the easiest-no fancy equipment, no temperature guessing games.
Customizable Consistency and Flavor
Love thick, spoon-standing Greek yogurt? Just strain it through cheesecloth for an hour or two. Prefer it sweet? Stir in honey or maple syrup after fermenting. Want fruit on the bottom? Layer it with fresh berries. The best part? You can make it exactly how you like it every single time.
Ingredients You'll Need for Homemade Crock Pot Yogurt
Okay, let's talk ingredients-and I promise, this is the shortest grocery list you'll ever need for something this good. Here's what you'll grab:
- 1 gallon whole milk - Don't even think about ultra-pasteurized (it won't culture right). Regular pasteurized is perfect. And yes, whole milk makes the creamiest yogurt, but you can use 2% if you prefer-just know it'll be a tad thinner.
- ½ cup plain yogurt with active, live cultures - This is your starter, so check the label! It must say "live and active cultures" and have no gelatin or additives. My go-to is plain Greek yogurt, but any plain yogurt works as long as it's unflavored. Pro tip: Save a bit of your homemade batch to use as the starter next time!
That's seriously it. No fancy powders, no thermometers (though they help-more on that later), just milk and a spoonful of yogurt. Could it be any simpler? I told you this was magic.
Step-by-Step Homemade Crock Pot Yogurt Instructions
Heating the Milk
First, pour that whole gallon of milk right into your crock pot-no need to dirty another pot! Turn it on low and let it heat for about 2.5 to 3 hours. You'll want to check the temperature with a thermometer (this is the one time I'll insist on using one) until it hits 180°F. This step is super important because it denatures the proteins-fancy talk for "makes the milk ready to turn into thick, glorious yogurt." Just don't walk away too long; you don't want it boiling over. (Been there, done that, scrubbed the stove.)
Cooling and Adding Cultures
Now, turn off the crock pot and walk away. Seriously! Let that milk cool down to 110°F-this takes about an hour, depending on your kitchen. If you rush this and add the yogurt when it's too hot, you'll kill those precious cultures and end up with sad, yogurt-less milk. Test it with your (clean!) finger-it should feel warm like a baby's bath, not hot. Then, whisk in your ½ cup of yogurt starter until it's completely smooth. No lumps allowed-they'll mess with the texture later!
Fermenting the Yogurt
Here's where the magic happens. Put the lid back on and wrap the whole crock pot in a thick towel like you're tucking it into bed. This keeps the warmth in so the cultures can party all night. Now, the hardest part: leave it alone for a full 8 hours. I know, I know-you'll want to peek. Resist! Disturbing it can mess with the fermentation. Set it before bed, and you'll wake up to yogurt. (Okay, fine, I sometimes check it at 3 AM like an overexcited kid on Christmas. No judgment.)
Chilling and Serving
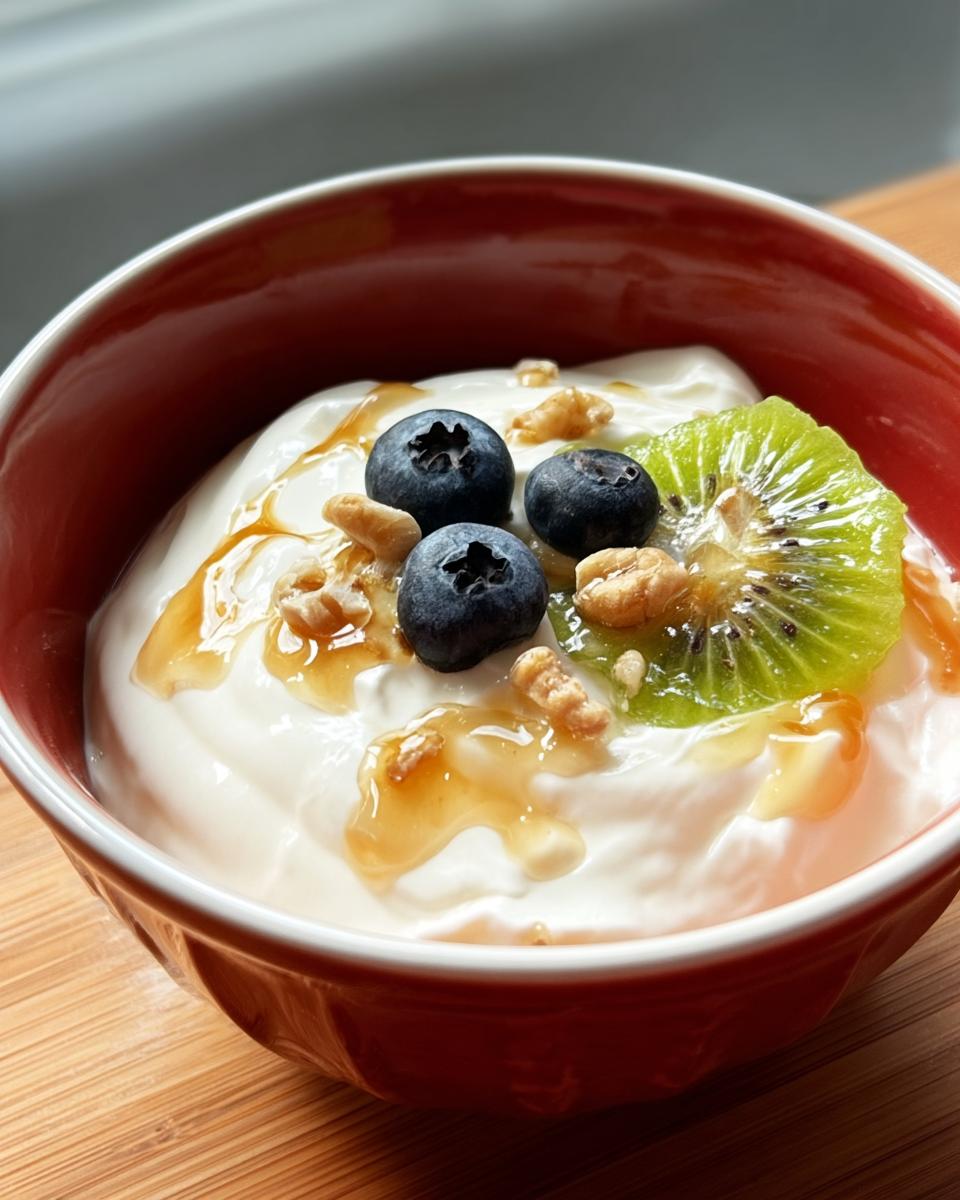
After the 8 hours, your yogurt will still be warm and a bit loose. Don't panic-it firms up in the fridge! Scoop it into containers (I use mason jars because they're cute) and chill for at least 2 hours. The longer it sits, the thicker and tangier it gets. Then dig in! Top with honey, granola, or just eat it straight from the jar with a spoon like I do. Pro tip: Save ½ cup for your next batch-now you've got an endless yogurt supply!
Homemade Crock Pot Yogurt Variations
Now for the fun part-making it your own! Here are my favorite ways to jazz up this basic recipe:
- Greek-style: Line a colander with cheesecloth, dump in your yogurt, and let it strain in the fridge for 1-2 hours. The longer it drains, the thicker it gets!
- Sweet dreams: Stir in a splash of vanilla extract and a drizzle of honey after fermenting-perfect for breakfast.
- Fruit swirl: Layer your chilled yogurt with homemade jam or fresh mashed berries.
- Savory twist: Skip the sweet stuff-add garlic powder and dill for an amazing veggie dip.
Really, the sky's the limit. Once you've nailed the basic recipe, play around and find your perfect combo!
Serving and Storage Tips for Homemade Crock Pot Yogurt
Okay, you've made this glorious yogurt-now let's talk about keeping it fresh and serving it up like a pro. First things first: storage. Always use clean, airtight containers (I'm obsessed with glass mason jars because you can see the creamy goodness inside). Your homemade crock pot yogurt will stay fresh in the fridge for up to 2 weeks, but let's be real-mine never lasts that long!
When it comes to serving, here are my go-to moves:
- Breakfast parfaits: Layer yogurt with granola and fresh fruit in a pretty glass-instant Instagram-worthy breakfast.
- Smoothie booster: Swap out store-bought yogurt in your morning smoothie for an extra probiotic punch.
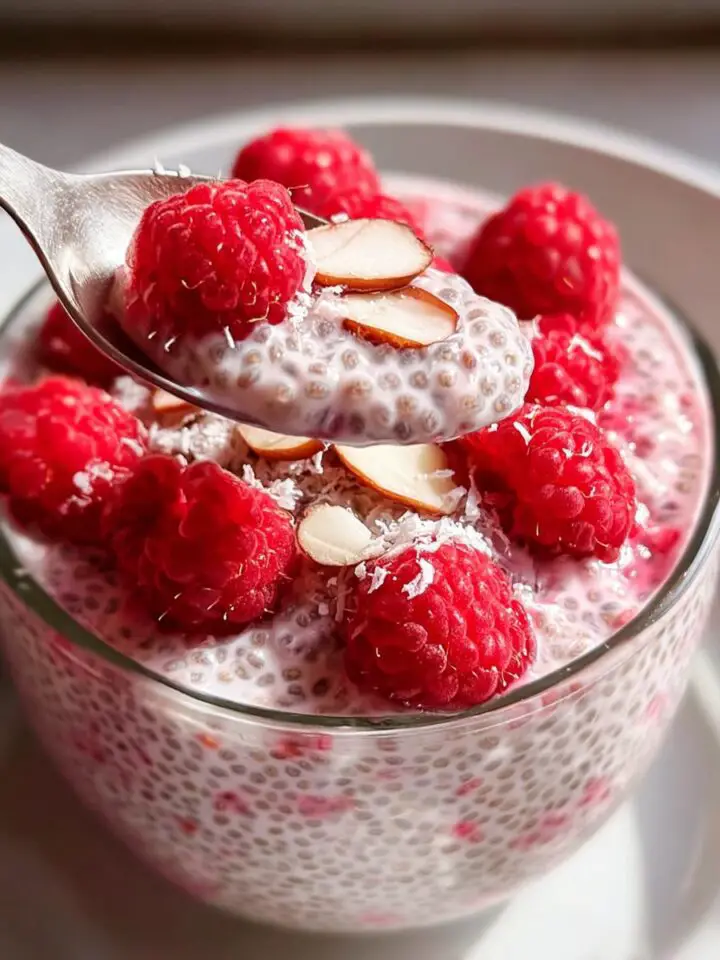
- On-the-go snack: Portion it into small jars with a drizzle of honey for healthy grab-and-go treats.
- Savory superstar: Use it as a base for tzatziki or as a tangy topping for baked potatoes.
One quick warning: if you see any liquid (that's just whey) pooling on top after a few days, don't freak out! Either stir it back in or pour it off-your yogurt is still perfectly good. And if you somehow end up with extra (ha!), you can freeze it in ice cube trays for smoothies later. Though I can't promise you'll have leftovers-this stuff disappears fast in my house!
Helpful Notes for Perfect Homemade Crock Pot Yogurt
Alright, let's talk yogurt troubleshooting-because even magic sometimes needs a little troubleshooting, right? Here are my hard-earned tips for perfect yogurt every single time:
- Too thin? No worries! Just strain it longer. I've found 2 hours in cheesecloth gives me Greek-style thickness, but you can go up to 4 hours for super-thick yogurt cheese. (Bonus: save that whey you strain off-it's great for smoothies or bread-making!)
- Not tangy enough? Let it ferment longer next time-up to 12 hours if you like that real zing. My grandma swears by 10 hours for the perfect bite.
- Using low-fat milk? It works, but your yogurt will be thinner. For the creamiest results, whole milk is king-but hey, we're all about options here!
- See some separation? That's totally normal! Just give it a good stir before serving. If there's a lot of whey, you can pour some off or mix it back in-your call.
- Forgot to save starter? Been there! Any plain store-bought yogurt with live cultures will work for your next batch. Just check that label-no additives allowed!
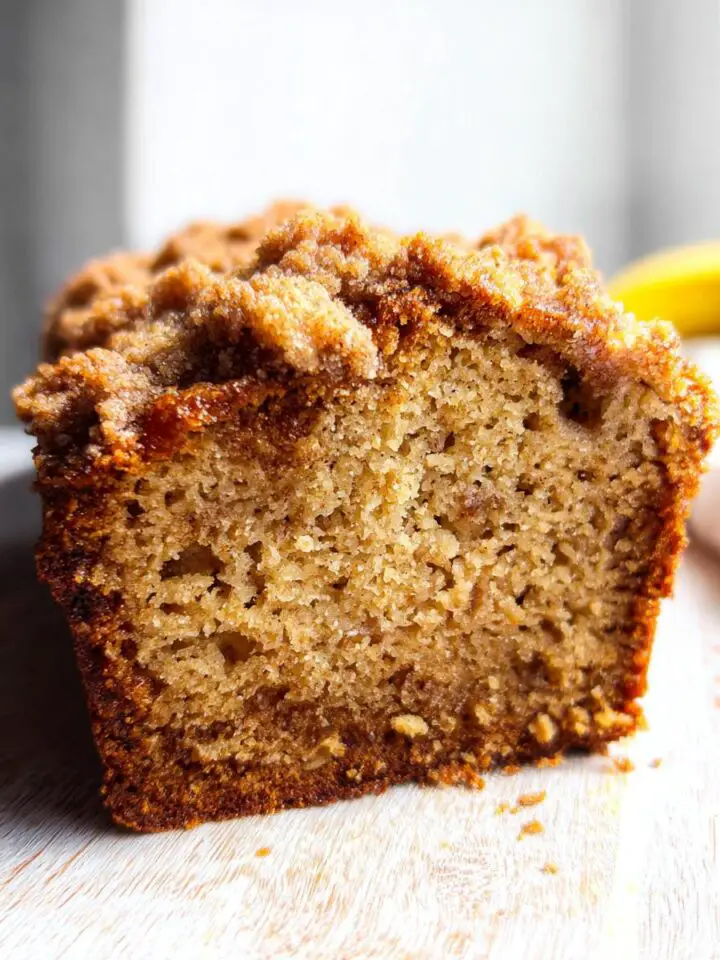
One last pro tip: if your house runs cold, try fermenting your yogurt in the oven with just the light on. The gentle warmth helps those cultures do their thing. And remember-even "failed" yogurt makes amazing pancakes or muffins, so don't stress!
Frequently Asked Questions About Homemade Crock Pot Yogurt
I get it-making yogurt at home can feel a little mysterious at first. Here are answers to the questions I get asked most (usually at 2 AM by nervous first-timers!):
1. Can I use non-dairy milk like almond or coconut?
You can try, but it's trickier! Dairy milk has proteins that thicken perfectly. For non-dairy, I'd suggest adding a thickener like tapioca starch or agar agar, and use a store-bought non-dairy yogurt as your starter. Results vary, so consider it an experiment!
2. Why did my yogurt separate with all that watery liquid?
Totally normal-that's just whey! Either stir it back in for creamier yogurt or pour it off if you prefer it thicker. Some separation always happens after a few days in the fridge.
3. My yogurt didn't thicken-what went wrong?
Three likely culprits: 1) Your starter yogurt might not have had live cultures (always check the label!), 2) The milk was too hot when you added the starter, or 3) It didn't stay warm enough during fermentation. Next time, wrap that crock pot like it's going on an Arctic expedition!
4. Can I use flavored yogurt as a starter?
Nope-stick to plain! Flavored yogurts have additives that can interfere with culturing. You'll add your own flavors later, I promise!
Final Thoughts
Look, I know making yogurt at home sounds like one of those "too good to be true" kitchen hacks-but trust me, it's real! Once you taste that first spoonful of your own creamy, tangy creation, you'll be hooked. The best part? It's practically foolproof. So grab that crock pot and give it a shot-your breakfast routine (and your wallet) will thank you. Happy culturing, friends!

Homemade Crock Pot Yogurt
Equipment
- Crock Pot
- Thermometer
Ingredients
- 1 gallon whole milk
- ½ cup yogurt with active, live cultures no other additives
Instructions
- Pour the milk into the crock pot and heat on low for 2.5 to 3 hours, until it reaches 180°F.
- Turn off the crock pot and let the milk cool to 110°F.
- Whisk in the yogurt with active cultures until fully blended.
- Cover the crock pot with a lid and wrap it in a thick towel to maintain warmth. Let it sit undisturbed for 8 hours.
- After fermentation, refrigerate the yogurt for at least 2 hours before serving.


Leave a Reply