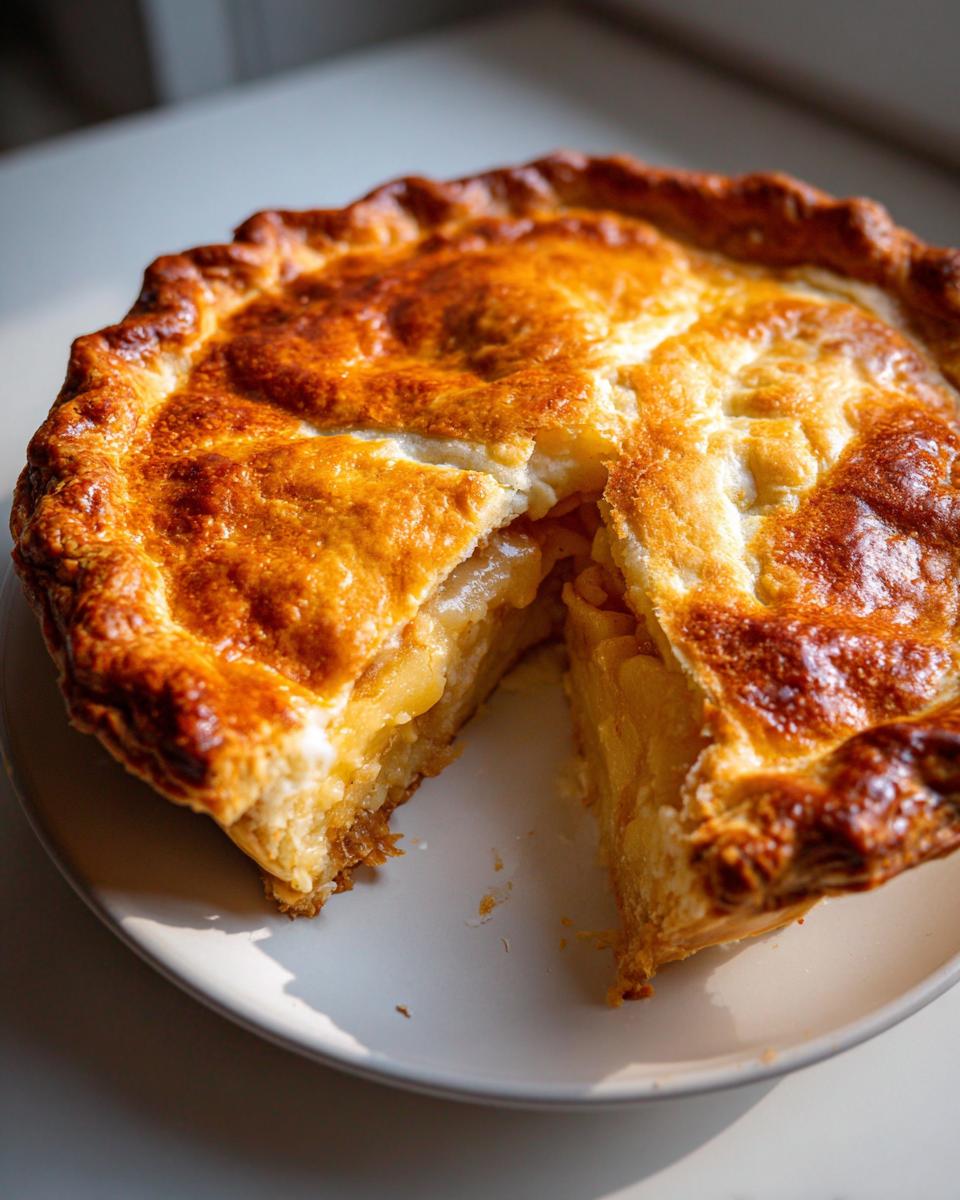
Let me tell you about the little miracle that got me through college, late-night cravings, and more potlucks than I can count-Hillbilly Pie. Some folks call it Poor Man's Pie, but don't let the name fool you. This humble dessert is pure magic, turning pantry staples into a sweet, buttery masterpiece that'll have everyone begging for seconds. It's the kind of recipe that's been passed down in my family for generations, not because it's fancy, but because it works every single time.

I learned to make this pie from my grandmother, who could stretch a dollar further than anyone I've ever met. With just butter, flour, sugar, milk, and a can of fruit filling, she'd whip up a dessert that tasted like it took hours. The best part? It practically makes itself. You'll have a golden, bubbling pie in under an hour, with a crust that forms on its own as it bakes. Trust me, once you try it, you'll wonder how something so simple can taste so good.
Why You'll Love This Hillbilly Pie
This pie is the ultimate no-fuss dessert, and here's why:
- Effortless magic: No rolling pins, no fancy techniques-just dump, pour, and bake. Even if you've never made a pie before, you can't mess this up.
- Budget hero: Uses pantry staples you probably already have. That can of fruit filling hiding in your cabinet? It's about to shine.
- Fruit freedom: Cherry today, peach tomorrow-swap fillings based on what's on sale or what your heart craves.
- Time-crunched savior: From bowl to oven in 10 minutes flat. Perfect for when surprise guests show up or your sweet tooth demands instant satisfaction.
It's the kind of recipe that makes you look like a kitchen wizard with zero stress. What's not to love?
Hillbilly Pie Ingredients
Here's the beautiful part-you only need five simple ingredients to make magic happen. I always tell folks: if your kitchen has these basics, you're minutes away from pie heaven.
- 1 stick (½ cup) unsalted butter - Melted right in the pie dish. This creates that golden, crispy crust we all love.
- 1 cup self-rising flour - The backbone of our batter. No self-rising flour? No problem! Mix 1 cup all-purpose flour with 1½ teaspoon baking powder and ¼ teaspoon salt.
- 1 cup granulated sugar - Just enough sweetness to balance the tart fruit.
- 1 cup milk - Whole milk gives the richest flavor, but any milk works in a pinch.
- 1 (12 oz) can fruit pie filling - My grandma swore by cherry, but apple, peach, or blueberry all work beautifully.
See what I mean? Nothing fancy, just honest ingredients that come together in the most delicious way.
How to Make Hillbilly Pie
Now for the fun part-watching this pie come together like magic. The key is resisting the urge to stir (I know it's tempting!) and letting the oven do its thing. Follow these steps, and you'll have a golden, bubbling masterpiece in no time.
Preparing the Batter
First things first-preheat that oven to 350°F (175°C). While it heats up, grab your favorite mixing bowl (mine's a chipped ceramic one that's seen better days). Toss in the flour, sugar, and milk, then whisk until it's smooth as silk. Don't go crazy with the mixing-just enough to get rid of lumps. Overmixing makes the batter tough, and we want that tender, melt-in-your-mouth texture.
Layering and Baking
Here's where the magic happens. Melt your butter right in the pie dish-I just pop it in the warming oven for a minute. Pour your smooth batter over the melted butter (don't stir!), then dollop spoonfuls of fruit filling evenly across the top. Again-no stirring! The layers will sort themselves out in the oven, creating that perfect crispy crust underneath and jammy fruit on top.
Bake for 45-50 minutes until the edges are deep golden and the center barely jiggles. Your kitchen will smell like heaven. Let it cool just enough so you don't burn your tongue-about 15 minutes should do it. Then dig in!
Hillbilly Pie Tips for Success
After making this pie more times than I can count (and burning a few along the way!), here are my hard-earned secrets for perfect Hillbilly Pie every time:
- Temperature matters: Use room-temperature milk-it blends into the batter smoother than cold milk straight from the fridge. Your arms will thank you!
- Patience is key: Let the pie cool for at least 15 minutes after baking. I know it's tempting, but cutting too soon turns slices into a gooey mess.
- Butter distribution: Swirl the melted butter around the pie dish before adding batter-this helps create that irresistible crispy edge.
- Fruit placement: Drop spoonfuls of filling evenly rather than dumping it all in one spot. This prevents soggy patches.
Follow these simple tricks, and you'll have a pie that looks as good as it tastes!
Hillbilly Pie Variations
The beauty of this pie is how easily you can make it your own. My grandma always said, "A pie should reflect what's in your pantry and your heart." Here are my favorite ways to mix it up:
- Fruit adventures: Swap that cherry filling for peach, blueberry, or even apple-whatever's on sale or catches your eye at the store.
- Spice it up: Add a teaspoon of cinnamon or nutmeg to the batter for extra warmth. Perfect for fall!
- Top it off: Serve warm with a scoop of vanilla ice cream melting over the top. Pure bliss.
The possibilities are endless-that's why this pie never gets old!
Serving and Storing Hillbilly Pie
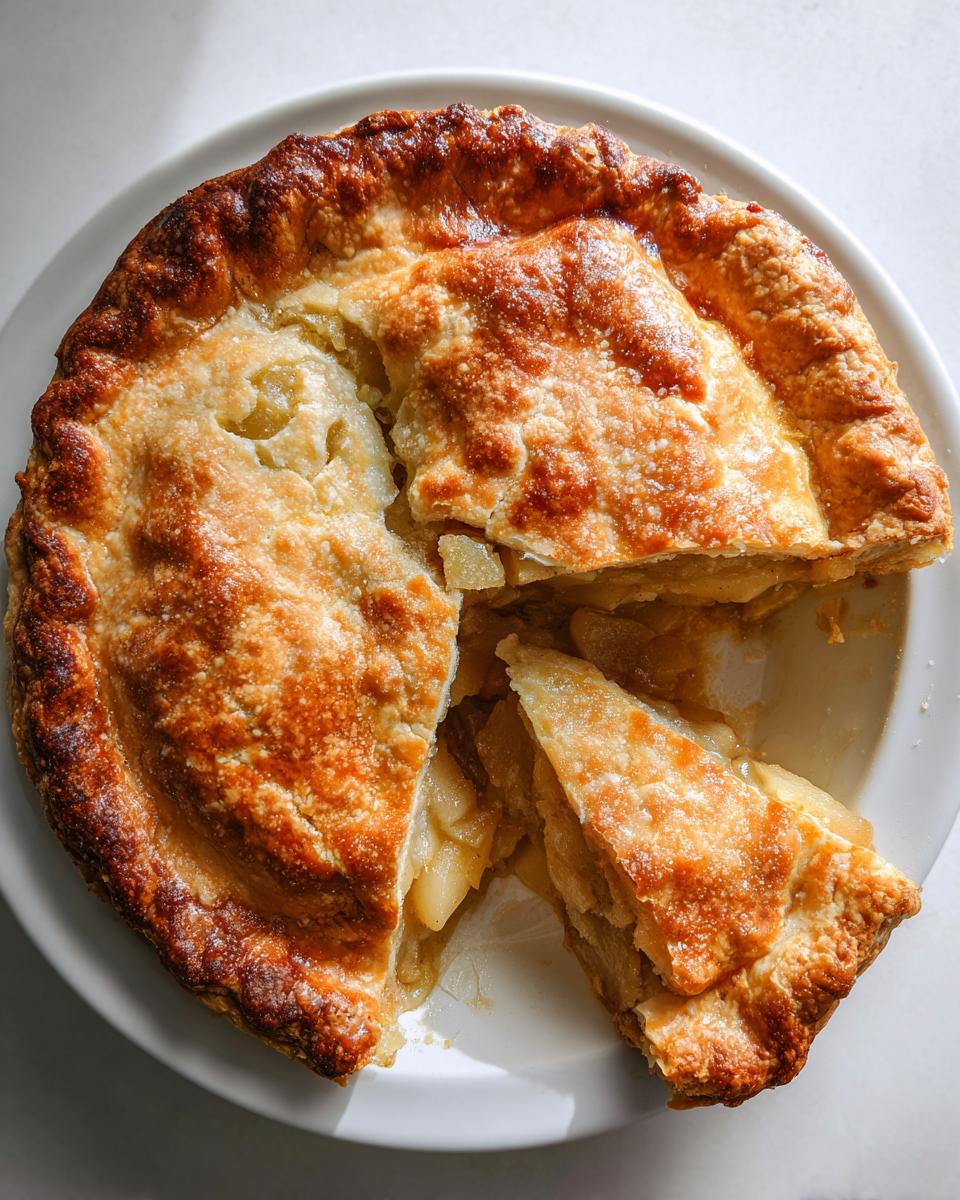
Nothing beats a warm slice of Hillbilly Pie fresh from the oven-that crispy golden crust with the sweet, bubbling fruit is pure comfort. If you've got leftovers (rare in my house!), just cover the pie dish with foil and pop it in the fridge for up to 3 days. To bring back that just-baked magic, warm slices in the microwave for 15 seconds or in a 300°F oven for 10 minutes. Pro tip: A little extra ice cream never hurts!
Hillbilly Pie Nutritional Information
Now, let's be real-this pie isn't health food, but everything's fine in moderation, right? Here's the scoop on what you're getting per slice (based on 8 servings):
- 280 calories - Perfect for satisfying that sweet tooth without going overboard.
- 25g sugar - Mostly from the fruit filling and that touch of granulated sugar.
- 12g fat - Thank that glorious butter for the rich flavor and crispy crust.
Remember, these are estimates-your exact numbers might vary depending on the fruit filling you choose. But hey, some things are worth every delicious bite!
Hillbilly Pie FAQs
After years of making this pie (and fielding questions from curious friends!), here are answers to the most common head-scratchers:
- "Can I use fresh fruit instead of canned filling?"
Bless your heart for asking-but no. Fresh fruit releases too much juice and turns the pie soggy. The thick, syrupy canned filling is our secret weapon for perfect texture. - "Why on earth shouldn't I stir the layers?"
I know it feels wrong, but trust me! That separation creates magic-butter rises to form a crispy crust underneath while the batter bakes up fluffy. Stirring turns it into a mushy mess. - "Can I freeze Hillbilly Pie for later?"
Honestly? It's best fresh. Freezing makes the crust lose its crispness. But if you must, wrap slices tight in foil and thaw in the fridge overnight. A quick oven warm-up helps revive it. - "My pie came out runny-what happened?"
Usually means it needed more bake time. Ovens vary, so wait until the edges are deep golden and the center barely jiggles. Also-double-check you didn't accidentally use pie filling instead of pie filling (those labels can trick ya!).
There you have it-every Hillbilly Pie question I've ever been asked, answered with my grandma's no-nonsense wisdom!
Print
Hillbilly Pie Recipe
- Total Time: 55 minutes
- Yield: 1 pie (8 servings) 1x
- Diet: Vegetarian
Description
A simple and budget-friendly dessert pie with a rich buttery batter and sweet fruit filling.
Ingredients
- 1 stick (½ cup) unsalted butter - Adds richness and flavor to the batter.
- 1 cup self-rising flour - Provides structure and lift. (If you don't have self-rising flour, mix 1 cup all-purpose flour with 1 ½ teaspoons baking powder and ¼ teaspoon salt.)
- 1 cup granulated sugar - Sweetens the batter.
- 1 cup milk - Creates a smooth, pourable batter.
- 1 (12 oz) can fruit pie filling - Cherry, apple, peach, blueberry, or any fruit you love.
Instructions
- Preheat your oven to 350°F (175°C).
- Melt the butter and pour it into a 9-inch pie dish.
- In a bowl, mix the flour, sugar, and milk until smooth.
- Pour the batter over the melted butter in the pie dish. Do not stir.
- Spoon the fruit pie filling evenly over the batter. Do not stir.
- Bake for 45-50 minutes or until the crust is golden brown.
- Let cool slightly before serving.
Notes
- Use any fruit pie filling you prefer.
- For a richer taste, serve with whipped cream or ice cream.
- Store leftovers in the refrigerator for up to 3 days.
- Prep Time: 10 minutes
- Cook Time: 45 minutes
- Category: Dessert
- Method: Baking
- Cuisine: American
Nutrition
- Serving Size: 1 slice
- Calories: 280
- Sugar: 25g
- Sodium: 180mg
- Fat: 12g
- Saturated Fat: 7g
- Unsaturated Fat: 4g
- Trans Fat: 0g
- Carbohydrates: 42g
- Fiber: 1g
- Protein: 3g
- Cholesterol: 30mg


Leave a Reply