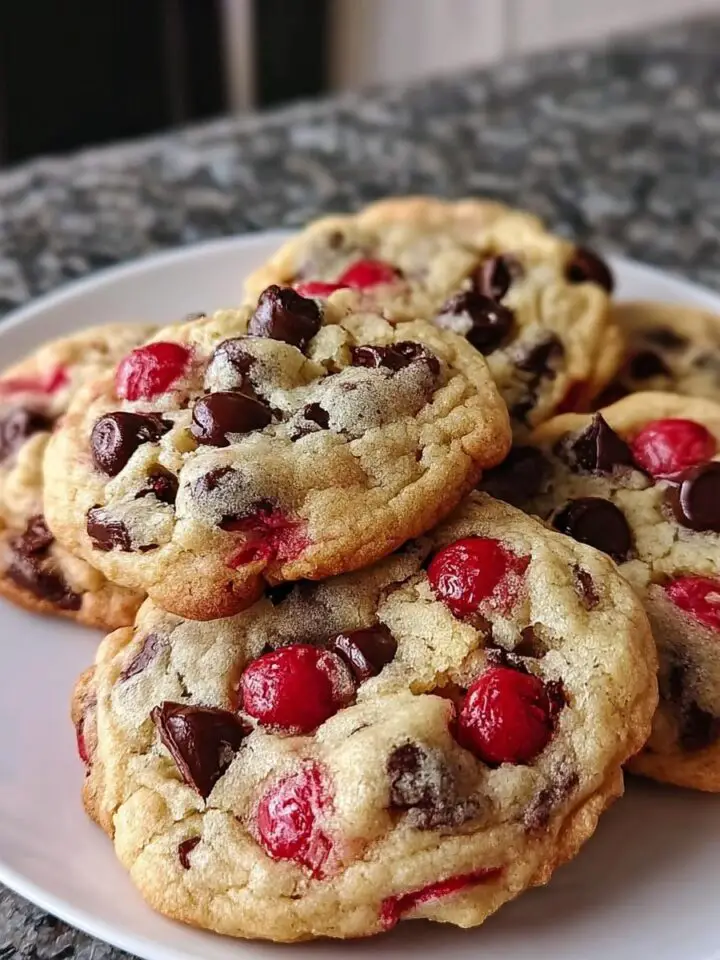
Every year, as spring arrives and the world bursts into bloom, I find myself dreaming of the sweet treats that fill our home during this festive season. One of my absolute favorites has to be Easter Bunny Button Cookies. These cookies have a joyful, whimsical charm that makes them perfect for Easter gatherings or just a cozy afternoon at home with the kids. I remember making these with my mom, giggling as we pressed colorful chocolates into the dough, creating little masterpieces that looked just like adorable bunnies ready to hop right off the plate!

What makes these cookies so special is not just their delightful taste, but the memories they create. They're soft and buttery, topped with those fun pastel chocolate buttons that scream spring! Whether you're hosting a holiday brunch or simply looking for a fun baking project with your little ones, these Easter Bunny Button Cookies will surely bring smiles to everyone's faces. So grab your mixing bowl and let's dive into this delightful recipe together!
Why You'll Love "Easter Bunny Button Cookies"
- Quick and easy to make, with a prep time of just 15 minutes!
- Soft, buttery texture that melts in your mouth.
- Perfect for kids and adults alike; everyone loves decorating these cookies!
- Minimal ingredients, making it a budget-friendly treat.
- Freezer friendly - stash some away for later enjoyment!
- Fun for holiday gatherings, or simply to brighten up your day!
Ingredients You'll Need
- 1 cup unsalted butter, softened
- 1 cup granulated sugar
- 1 large egg
- 1 teaspoon vanilla extract (or almond extract for extra flavor)
- 2 ½ cups all-purpose flour
- ½ teaspoon baking powder
- ¼ teaspoon salt
- Colored sanding sugar, for rolling
- Pastel chocolate buttons or candy-coated chocolates, like M&Ms or Hershey's Drops
Step-by-Step Instructions
Preheat the Oven
- Start by preheating your oven to 350°F (175°C). This step is crucial, so don't skip it! A properly heated oven ensures your cookies bake evenly and come out perfectly soft and golden.
Make the Dough
- In a mixing bowl, cream together 1 cup of softened unsalted butter and 1 cup of granulated sugar until the mixture is smooth and fluffy. This usually takes about 2-3 minutes.
- Next, beat in 1 large egg and 1 teaspoon of vanilla extract (or almond extract if you're feeling adventurous!). Mix until everything is well combined.
- In a separate bowl, sift together 2 ½ cups of all-purpose flour, ½ teaspoon of baking powder, and ¼ teaspoon of salt. Gradually add this dry mixture to the creamed mixture, mixing until everything is blended well. Don't worry if it looks a little crumbly at first; it'll come together!
Shape and Roll Cookies
- Once your dough is ready, it's time to have some fun! Shape the dough into small balls, about 1 inch in diameter.
- Roll each ball in colored sanding sugar. This step not only adds a lovely sparkle but also makes your cookies look super festive!
- Place the coated dough balls on a baking sheet, spacing them about 2 inches apart to give them room to spread.
Add Toppings
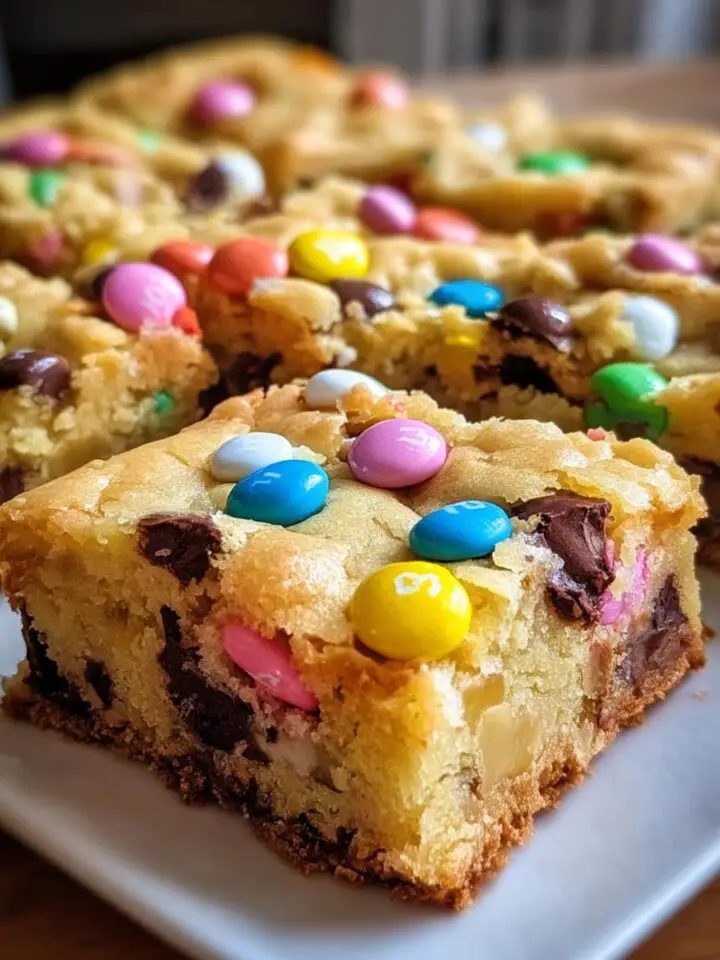
- Now for the best part! Press a few pastel chocolate buttons or candy-coated chocolates into the center of each cookie. This is where you can get creative - mix and match colors for a fun look!
Bake the Cookies
- Slide the baking sheet into your preheated oven and bake for about 10 minutes or until the cookies are lightly golden around the edges. Keep an eye on them; you want them soft and chewy!
- Once they're done, take them out and let them cool on the baking sheet for a few minutes before transferring them to a wire rack to cool completely. This helps them firm up just a bit!

Variations
Get creative with these delightful cookies! Try adding zest from a lemon or orange to the dough for a citrusy twist. For a chocolate lover's dream, mix in mini chocolate chips into the dough before baking. If you're looking for a lighter version, you can substitute half of the butter with applesauce or use a dairy-free butter for a dairy-free option. The possibilities are endless!
Serving and Storage Tips
Serving
Serve these delightful cookies on a colorful platter to showcase their vibrant colors. They're perfect for Easter brunch or as a sweet treat for a family gathering. Pair them with a glass of milk or a cup of tea for a delightful afternoon snack!
Storage
Store your Easter Bunny Button Cookies in an airtight container at room temperature for up to a week. If you want to keep them longer, freeze the cookies in a single layer, then transfer to a freezer bag for up to three months. Just thaw at room temperature before devouring!
Helpful Notes
If you find your dough too soft, chill it in the fridge for 30 minutes before shaping. For a nutty flavor, consider adding ½ cup of finely chopped nuts to the dough. If you're making these cookies for someone with allergies, you can use gluten-free flour as a substitute. Feel free to swap the pastel chocolate buttons for dried fruit or white chocolate chips for a tasty variation!
Frequently Asked Questions
Can I freeze Easter Bunny Button Cookies?
Yes, you can absolutely freeze these cookies! Just let them cool completely, then place them in a single layer in an airtight container or freezer bag. They can be stored in the freezer for up to three months. When you're ready to enjoy them, simply thaw them at room temperature.
How can I substitute ingredients for dietary restrictions?
For dietary restrictions, you can use gluten-free flour instead of all-purpose flour to make them gluten-free. If you need a dairy-free option, substitute the butter with a dairy-free butter alternative or unsweetened applesauce. You can also use a flax egg (1 tablespoon ground flaxseed mixed with 2.5 tablespoons water) in place of the egg for a vegan option.
What is the best way to store these cookies?
To keep your cookies fresh, store them in an airtight container at room temperature for up to a week. If you want to prolong their life, you can freeze them as mentioned earlier. Just make sure they're completely cool before storing to avoid condensation!
Final Thoughts
So there you have it! Your very own batch of delightful Easter Bunny Button Cookies, ready to bring joy to your home this spring! I hope you take the time to enjoy the process of baking these sweet treats, just like I did with my mom all those years ago. There's something magical about creating delicious memories in the kitchen, and I truly believe these cookies will become a cherished family tradition for you as well. So grab your ingredients, gather your loved ones, and let the baking begin! Happy Easter and happy baking!

Easter Bunny Button Cookies
Equipment
- Mixing bowl
- Baking sheet
Ingredients
For the Cookies
- 1 cup unsalted butter softened
- 1 cup granulated sugar
- 1 large egg
- 1 teaspoon vanilla extract or almond extract for extra flavor
- 2 ½ cups all-purpose flour
- ½ teaspoon baking powder
- ¼ teaspoon salt
For Rolling
- colored sanding sugar for rolling
For Topping
- pastel chocolate buttons or candy-coated chocolates like M&Ms or Hershey's Drops
Instructions
- Preheat your oven to 350°F (175°C).
- In a mixing bowl, cream together the softened butter and sugar until smooth. Beat in the egg and vanilla extract.
- Sift together the flour, baking powder, and salt. Gradually add to the creamed mixture until well blended.
- Shape the dough into balls and roll in colored sanding sugar. Place on a baking sheet.
- Press the pastel chocolate buttons into the center of each cookie.
- Bake in the preheated oven for 10 minutes or until lightly golden.
Leave a Reply