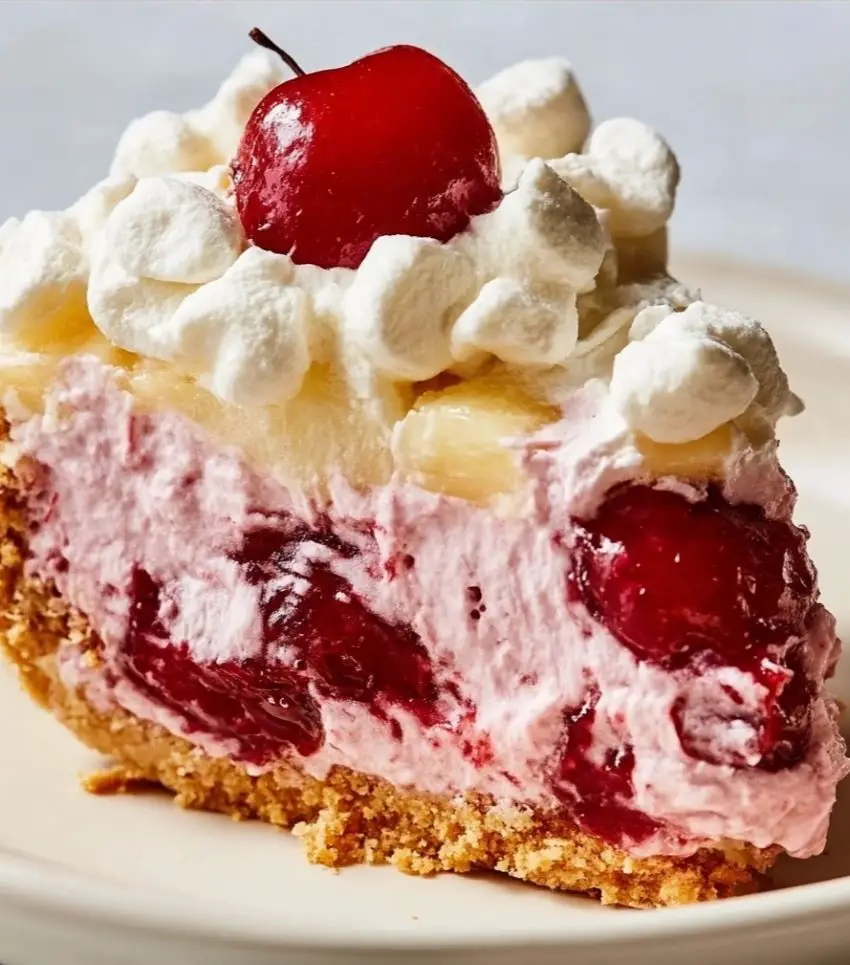
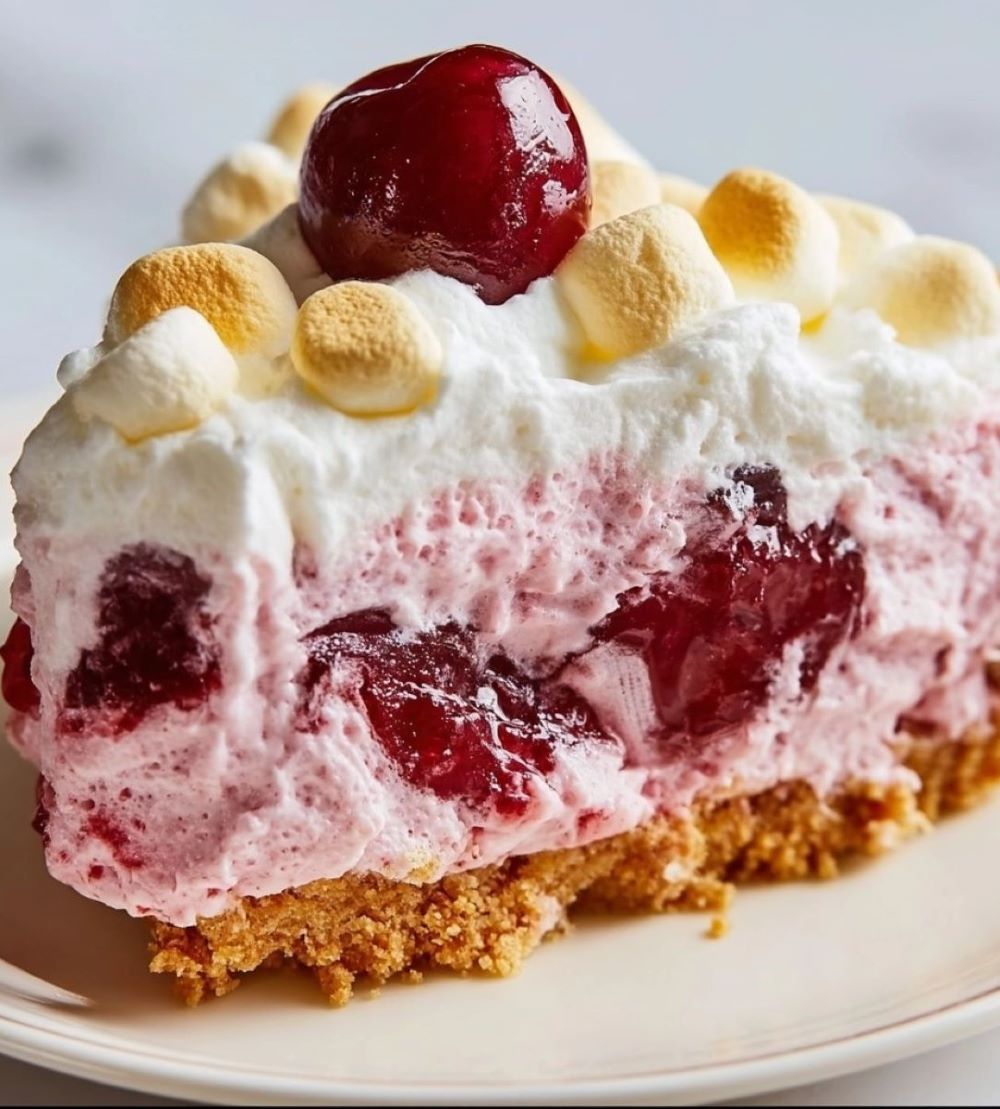
Some desserts just scream summer - bright, fruity, and refreshing. This Cherry Pineapple Pie is one of those dreamy, fuss-free creations that reminds me of family picnics, backyard BBQs, and potlucks where everyone brought their favorite chilled dessert. I first tasted it at a church gathering, and it instantly became one of my go-to no-bake recipes.
What makes this pie truly magical is how quickly it comes together. In just five minutes and with only a few simple ingredients, you'll have a vibrant, creamy pie that looks as beautiful as it tastes. Perfect for busy days, last-minute guests, or when you just want something sweet without heating up the oven. It's light enough to enjoy after a big meal, yet flavorful enough to satisfy even the strongest dessert craving.
I love how this recipe takes ingredients you might already have in your pantry and turns them into something that feels like a celebration. Whether it's a Sunday dinner, a casual potluck, or a special holiday gathering, this pie always earns its place at the table.
Why You'll Love Cherry Pineapple Pie
- No-bake convenience: No oven required, making it ideal for hot summer days or busy schedules.
- Takes just 5 minutes: Seriously quick, with just a few steps to follow.
- Tropical fruity flavor: The combination of tart cherries and sweet pineapple is refreshing and crowd-pleasing.
- Kid-friendly: Sweet, creamy, and loved by all ages - even picky eaters!
- Make-ahead friendly: Prepares in minutes and gets better as it chills.
- Light and refreshing: A lovely way to end a rich or spicy meal.
- Versatile: Easy to customize with mix-ins or alternate pie fillings.
- Budget-friendly: Uses affordable, pantry-staple ingredients.
Ingredients You'll Need
- 1 can (21 oz) cherry pie filling - Use a high-quality brand with whole cherries for the best texture.
- 1 can (20 oz) crushed pineapple, drained - Be sure to drain well to prevent the pie from being too runny.
- 1 can (14 oz) sweetened condensed milk - Adds creamy sweetness and binds everything together.
- 8 oz whipped topping, thawed - Such as Cool Whip; it adds lightness and fluffiness.
- 1 cup mini marshmallows - Adds texture and a touch of extra sweetness.
- 1 (9-inch) graham cracker crust - Store-bought or homemade; choose gluten-free if needed.
Step-by-Step Instructions
- Prepare the filling: In a large mixing bowl, combine cherry pie filling and well-drained crushed pineapple. Stir gently to blend.
- Add sweetened condensed milk: Pour in the can and stir until the mixture is smooth and evenly combined.
- Fold in whipped topping: Gently fold in the whipped topping with a spatula to keep the texture airy and light.
- Mix in mini marshmallows: Stir in the marshmallows, distributing them evenly throughout the filling.
- Assemble the pie: Spoon the mixture into the graham cracker crust. Use the back of a spoon or spatula to smooth the top.
- Chill: Refrigerate the pie for at least 2-4 hours, preferably overnight, until it's fully set and firm to the touch.
Serving and Storage Tips
- Serve cold: This pie is best served directly from the fridge for a refreshing bite.
- Add extra flair: Garnish with whipped cream, fresh cherries, or a sprinkle of shredded coconut.
- Cut cleanly: Use a sharp knife dipped in hot water for smooth slices.
- Store leftovers: Cover loosely with plastic wrap and keep in the fridge for up to 4 days.
- Avoid freezing: Freezing can change the texture of the whipped topping and make the crust soggy.
- Bring to gatherings: Keep chilled during transport, especially in warmer months.
Helpful Notes
- Crust tips: For extra flavor, brush the crust with a bit of melted butter and bake at 350°F for 5 minutes before filling (optional).
- Homemade crust: Make your own with 1 ½ cups graham cracker crumbs, ¼ cup sugar, and 6 tablespoon melted butter pressed into a pie dish.
- Use different fillings: Try blueberry, strawberry, or even apple pie filling for fun flavor twists.
- Tropical twist: Add shredded coconut or a splash of coconut extract for more island vibes.
- Make it lighter: Use light whipped topping and fat-free condensed milk.
- Marshmallow swap: Omit or replace with coconut flakes or white chocolate chips.
- Individual servings: Layer the filling in mini pie shells or small dessert cups for parties or portion control.
Frequently Asked Questions
- Can I make this pie ahead of time?
Absolutely! It's even better when made the day before, giving it plenty of time to chill and set. - What's the best way to drain pineapple?
Use a fine mesh strainer or press gently in a sieve to remove excess liquid. You can also blot with paper towels. - Can I use fresh fruit instead of canned?
You can, but you'll need to cook the fruit with sugar to match the sweetness and consistency of pie filling. - Can I use homemade whipped cream?
Yes, but make sure it's stabilized with powdered sugar or gelatin so it holds its shape. - Why is my pie runny?
The pineapple might not have been drained enough. Also, be sure to chill it thoroughly before slicing. - Can I skip the crust and make it a pudding?
Yes! Serve it in bowls or parfait glasses for a crust-free version - it's just as delicious.
Final Thoughts
This Cherry Pineapple Pie is one of those recipes that proves how little effort can deliver big flavor. It's cool, creamy, bursting with juicy fruit, and delightfully nostalgic. Whether you're short on time or just want something sweet without a lot of work, this no-bake gem is a winner every time.
Perfect for hot days, celebrations, or lazy afternoons, this pie belongs in your regular dessert rotation. Once you try it, you'll see why it's a favorite in so many households. Give it a go, customize it to your taste, and don't forget to share your creation with friends and family. Happy no-baking!


Leave a Reply