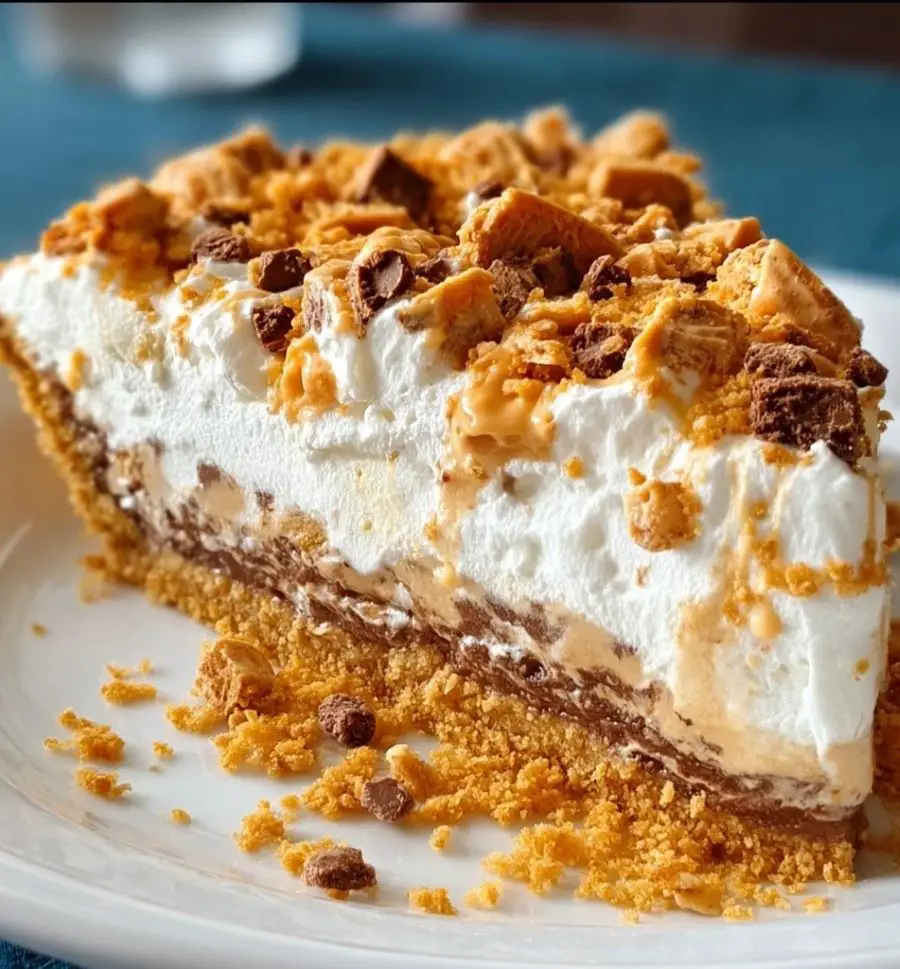
When you're craving something sweet, creamy, and irresistibly crunchy, there's nothing quite like a Butterfinger Pie to hit the spot. This no-bake dessert is the perfect union of creamy peanut butter, fluffy whipped topping, and the unmistakable crunch of crushed Butterfinger candy bars. One bite, and you'll be hooked - it's a pie that delivers both nostalgic flavor and irresistible texture.

I discovered this gem at a family reunion, where Aunt Carol always brought "the pie." It was rich but light, sweet but slightly salty, and had that amazing crispy candy surprise in every bite. Once I got the recipe, it quickly became one of my favorites for birthdays, summer get-togethers, or anytime I need a quick, satisfying dessert that wows the crowd. Now, it's a regular on my dessert table during holidays and potlucks - and it's always the first to go!
Why You'll Love Butterfinger Pie
- No-bake and foolproof: Just mix, chill, and serve with no oven time.
- Incredibly creamy: Thanks to a combo of cream cheese and whipped topping.
- Loaded with Butterfinger crunch: A candy lover's dream come true.
- Quick to make: Only 10 minutes of prep for a dessert that feels gourmet.
- Perfect for all occasions: Birthdays, BBQs, school events, or weeknight cravings.
- Make-ahead friendly: Actually tastes better after setting overnight.
- Kid-approved: With peanut butter and candy bars, it's an instant hit.
- Customizable: Easy to tweak with different candies or add-ins.
Ingredients You'll Need
- 1 package (8 oz) cream cheese, softened - Creates a smooth, tangy base.
- 1 container (8 oz) whipped topping - Adds lightness and fluff.
- 1 cup powdered sugar - Sweetens and stabilizes the filling.
- ½ cup creamy peanut butter - Deepens the flavor and complements the Butterfinger.
- 3 Butterfinger candy bars, crushed - Adds that signature toffee-peanut crunch.
- 1 pre-made graham cracker crust - Keeps things easy and delicious.
- ½ teaspoon vanilla extract - Enhances the flavor with a subtle warmth.
Step-by-Step Instructions
- Soften the cream cheese: Leave it at room temperature for about 30-45 minutes. This makes mixing easier and ensures a smooth filling.
- Beat the cream cheese: In a large bowl, beat with a hand mixer until it's smooth and lump-free.
- Add the sugar and vanilla: Mix in the powdered sugar and vanilla extract until well blended.
- Stir in peanut butter: Blend until creamy and fully incorporated.
- Fold in the whipped topping: Use a spatula and gently fold in the whipped topping until evenly mixed. Be careful not to deflate the mixture.
- Mix in crushed Butterfingers: Stir in about 2 ½ of the crushed candy bars, saving the rest for garnish.
- Fill the pie crust: Spoon the filling into the graham cracker crust and smooth the top.
- Chill thoroughly: Refrigerate for at least 4 hours, or preferably overnight.
- Garnish before serving: Top with the reserved crushed Butterfinger pieces and extra whipped cream if desired.
Serving and Storage Tips
- Serve chilled: The pie is best served straight from the fridge.
- Use a hot knife: For perfect slices, dip your knife in hot water and wipe between cuts.
- Dress it up: Add chocolate shavings, a peanut butter drizzle, or mini chocolate chips.
- Store leftovers: Cover tightly and keep refrigerated for 4-5 days.
- Freezer-friendly: Wrap in plastic wrap and foil, then freeze for up to 1 month.
- Make mini pies: Divide the mixture into individual graham crusts for portable desserts.
Helpful Notes
- Candy swap: Not a Butterfinger fan? Try Reese's, Snickers, or Heath bars for a twist.
- For extra peanut flavor: Stir in a handful of chopped salted peanuts.
- Lighten it up: Use reduced-fat cream cheese and sugar-free whipped topping.
- Homemade crust: Mix 1 ½ cups crushed graham crackers with 6 tablespoon melted butter and ¼ cup sugar. Press into a pie pan and chill.
- Chocolate version: Add 2 tablespoon cocoa powder to the filling for a chocolate-peanut butter combo.
- Add a layer of ganache: Pour a thin chocolate ganache layer over the crust before adding filling for extra indulgence.
Frequently Asked Questions
- Can I use homemade whipped cream?
Yes! Whip 1 cup of heavy cream with 2 tablespoon powdered sugar until stiff peaks form, then use in place of store-bought. - Can I use crunchy peanut butter?
Definitely - it adds great texture if you like a bit more crunch. - Is this pie overly sweet?
It is rich, but the tangy cream cheese balances the sweetness. You can cut the powdered sugar to ¾ cup if desired. - Can I double the recipe?
Yes. Use a 9x13 baking dish or two pie crusts for a larger batch. - What's the best way to crush Butterfingers?
Place them in a zip-top bag and gently bash them with a rolling pin. - Can I make this in a chocolate crust?
Absolutely! A chocolate cookie crust pairs wonderfully with the peanut butter and Butterfinger. - What else can I top it with?
Try a drizzle of chocolate syrup, caramel, or a few dollops of peanut butter.
Final Thoughts
This Butterfinger Pie is the kind of dessert that brings out the kid in everyone - creamy, crunchy, chocolatey, and full of nostalgic flavor. It's the ultimate no-bake treat for when you want something easy and crowd-pleasing. Whether you're sharing it at a family reunion, holiday meal, or just because it's Tuesday, it's guaranteed to be a hit.
Best of all, it takes minimal effort to pull together, yet tastes like you spent hours. And since it stores beautifully, you can make it ahead and enjoy those leftovers (if there are any!).
Next time you're craving a dessert that's as fun as it is flavorful, give this Butterfinger Pie a try. Snap a photo, share it with your friends, and enjoy every crunchy, creamy bite. Happy no-baking!


Leave a Reply