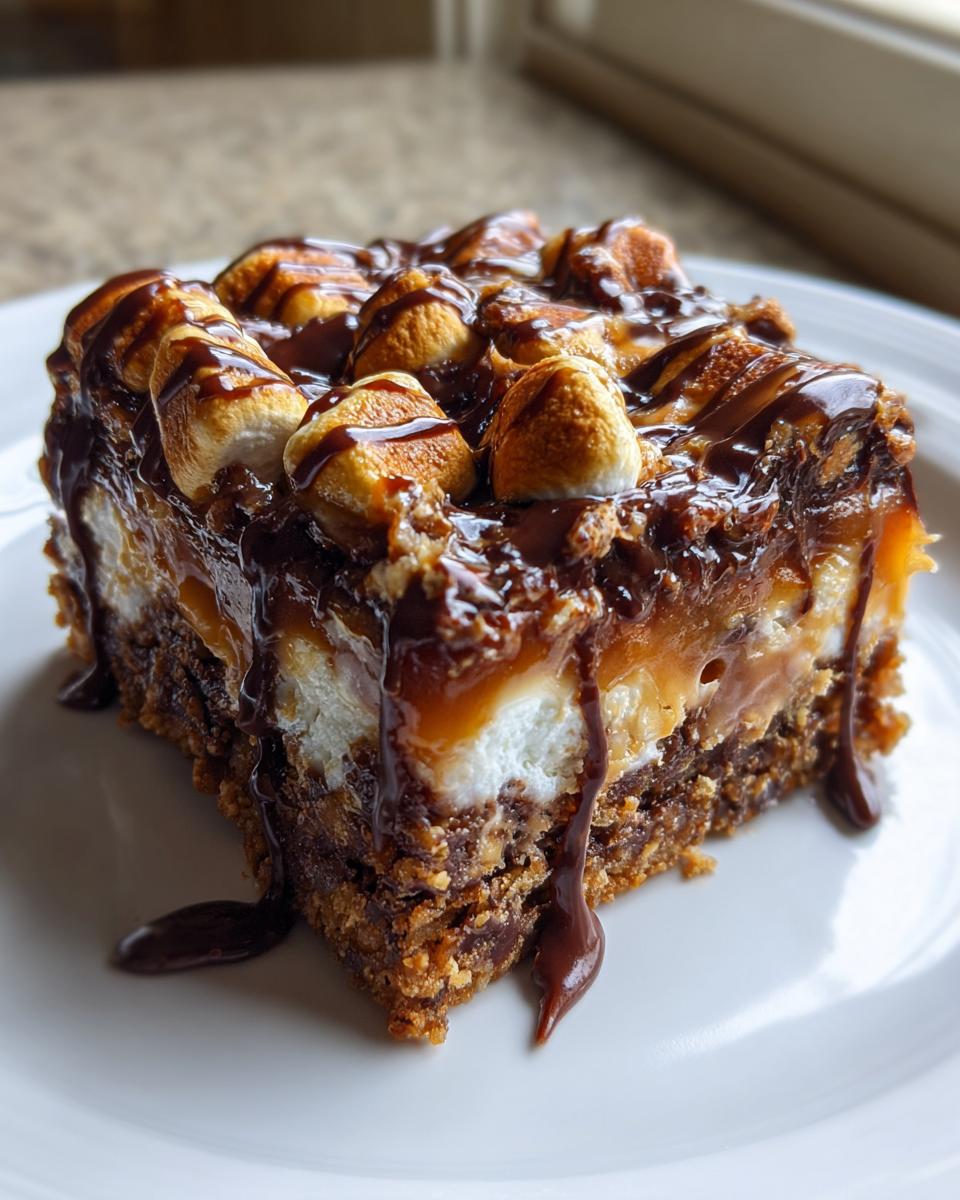
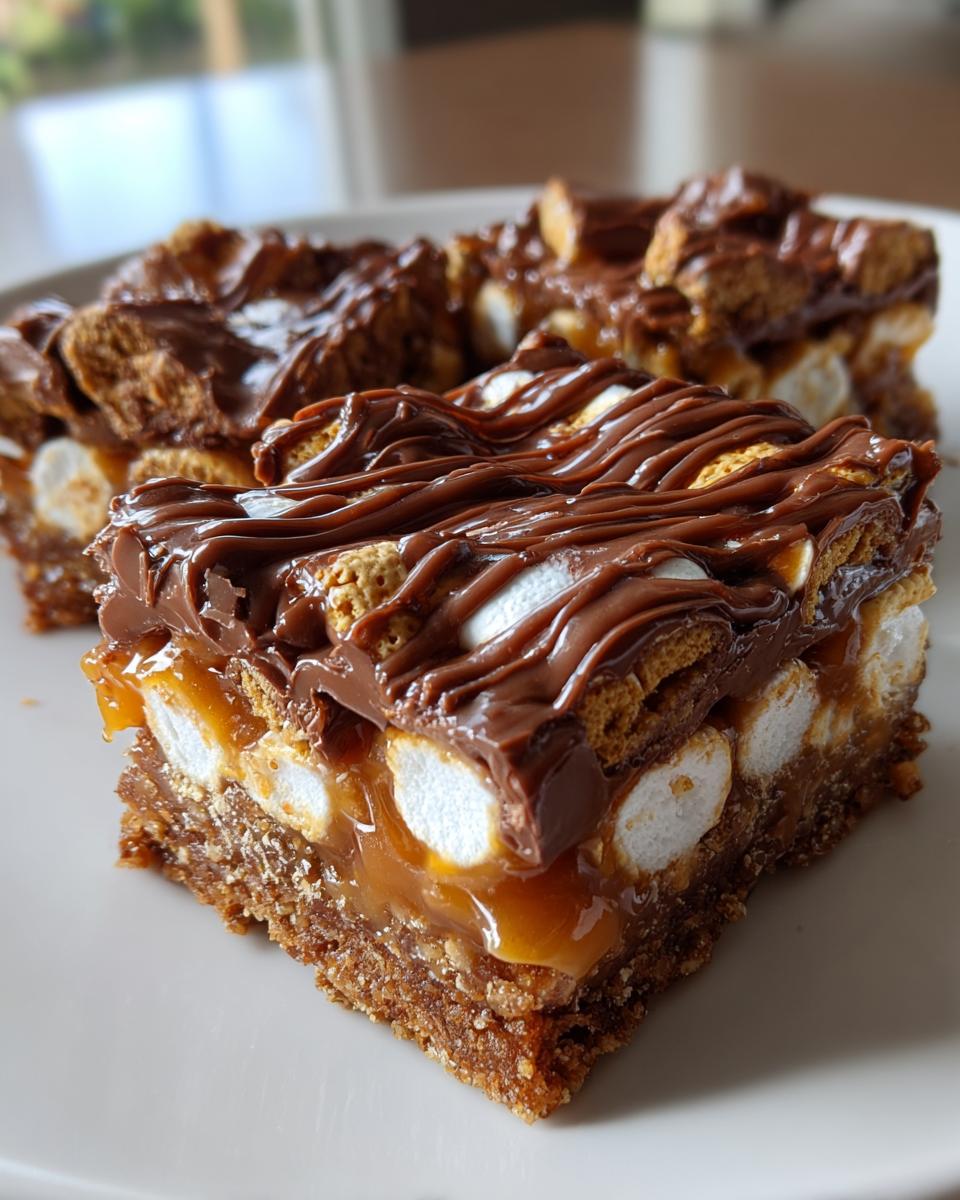
Let me tell you about my latest obsession - these Butterfinger Caramel Bars that disappeared faster than I could say "just one more bite!" at our last family gathering. Picture this: crunchy graham crackers layered with pillowy marshmallows, drowned in silky caramel and topped with those irresistible Butterfinger Bites that add the perfect crunch. The best part? You don't even need to turn on your oven! I've been making variations of these bars for years, but when I threw in chopped Butterfinger pieces last fall, it was like the dessert angels sang. My kids now request these weekly (and honestly? I don't mind one bit).

What makes these bars special isn't just their addictive sweet-salty combo - it's how shockingly simple they are to throw together. In about 15 minutes of active work, you've got a tray of caramel-y goodness that looks fancy but couldn't be easier. Pro tip: keep extra Butterfinger Bites on hand for "quality testing" (read: snacking) while you assemble. Trust me, you'll want to make a double batch because these disappear faster than you can say "peanut butter crunch."
Why You'll Love These Butterfinger Caramel Bars
Listen, I don't make the rules - but if I did, these Butterfinger Caramel Bars would be required at every potluck, bake sale, and "I need chocolate NOW" emergency. Here's why they've become my go-to dessert:
- No oven required! Seriously, just a saucepan and 15 minutes of your time. Perfect for summer when baking sounds like torture or when sudden dessert cravings strike at 9 PM (no judgment here).
- That magical texture combo - crispy graham crackers, melty marshmallows, gooey caramel, and crunchy Butterfinger bits all in one bite. It's like if a candy bar and a s'more had a delicious baby.
- Universal crowd-pleaser - I've served these to kids at birthday parties, picky teenagers, and even my "I don't usually like sweets" neighbor who came back for thirds. The caramel-to-candy ratio is just right.
- Impressively easy cleanup - thanks to parchment paper, you're not scrubbing caramel off your baking dish all night. Just lift, slice, and enjoy with minimal mess (though licking caramel spoons is half the fun).
Honestly? The hardest part is waiting for them to cool before diving in - but I won't tell if you "test" a corner piece early. These bars are the edible equivalent of a cozy sweater - comforting, reliable, and guaranteed to make people happy.
Ingredients for Butterfinger Caramel Bars
Here's everything you'll need to make these irresistible bars (measurements matter - this isn't the time for eyeballing!):
- 6 ½ graham crackers - the classic honey kind work best, but see my notes below if you want to mix it up
- 2 cups mini marshmallows - these melt perfectly without turning into a sticky mess
- 1 bag (11 oz) caramel bits - no unwrapping dozens of caramels! Lifesaver.
- 2 tablespoon milk - any kind works, I usually use 2% but almond milk does the trick too
- 1 bag (10 oz) Butterfinger Bites, coarsely chopped - the chunks give that signature crunch
- 2 oz semi-sweet chocolate - for drizzling, because everything's better with chocolate
Ingredient Notes & Substitutions
Listen, I'm all about sticking to the original recipe - but life happens! Here are my tested swaps:
- Caramel alternatives: Out of bits? Melt 35-40 regular caramels with the milk. In a pinch, thick caramel sauce works (reduce milk to 1 Tbsp).
- Graham cracker hacks: Can't find whole crackers? Use 1 cup crumbs pressed firmly. For gluten-free, try gluten-free grahams or even digestive biscuits.
- Butterfinger Bites alternatives: Chopped regular Butterfingers work (about 8 fun-size bars). For nut allergies, try crushed pretzels or toffee bits - different but delicious!
- Chocolate options: Milk chocolate gives a sweeter drizzle, or skip it entirely if you prefer pure caramel flavor.
Pro tip: Always have extra Butterfinger Bites - they mysteriously disappear during prep (wink). The caramel bits and pre-chopped candy make assembly stupid-easy, but I won't judge if you go homemade!
How to Make Butterfinger Caramel Bars
Okay friends, let's get down to business! These bars come together in a flash - I've made them so often I could probably do it in my sleep (and yes, that's happened after a long day). Follow these steps for foolproof results every time:
- Prep your pan: Line an 8x8 inch baking dish with parchment paper, letting it hang over the edges. This is your golden ticket to easy removal later - don't skip it unless you enjoy chiseling caramel off glass!
- Create the base layer: Arrange graham crackers in a single layer. No need to be perfect - just cover the bottom. I sometimes break them to fit better, like playing edible Tetris.
- Marshmallow time: Sprinkle those mini marshmallows evenly over the crackers. They'll melt slightly when the hot caramel hits, creating magic. Resist eating them by the handful!
- Melt the caramel: In a medium saucepan over low heat, stir caramel bits with milk until completely smooth (about 5 minutes). Low and slow is key here - burnt caramel is a tragedy we must avoid. The mixture should ribbon off your spoon.
- Pour with purpose: Immediately drizzle that glorious caramel over the marshmallows, moving quickly before it sets. Tilt the pan to spread evenly - I use the back of a spoon to help cover every inch.
- Candy crunch: While the caramel's still warm, sprinkle those chopped Butterfinger Bites across the top. Press gently so they stick - this is where the texture magic happens!
- Chocolate flourish: Melt your semi-sweet chocolate (20 seconds in the microwave, stir, then 10 more) and drizzle artfully over the top. Or just go wild with zigzags - no one complains about extra chocolate.
- The hardest part: Walk away. Let them cool completely at room temp (about 2 hours) or speed it up with 30 minutes in the fridge. Cutting too soon = caramel rivers everywhere. Patience pays off here!
Pro Tips for Perfect Bars
I've made every mistake so you don't have to! Here's how to avoid common pitfalls:
- Caramel consistency is everything: If it's too thick, add milk ½ teaspoon at a time. Too thin? Cook 1-2 minutes longer. Test by dipping a spoon - it should coat the back without running off immediately.
- Chill for clean cuts: For picture-perfect bars, pop them in the fridge for 30 minutes before slicing. Run your knife under hot water between cuts for smooth edges.
- Storage smarts: Layer bars between parchment in an airtight container. They keep 3 days at room temp or 1 week chilled (if they last that long!). The caramel stays soft but not sticky.
- Quick fix for hard caramel: If your caramel firms up too fast while pouring, zap the pan for 10 seconds to loosen it. No one will know!
- Kid-friendly shortcut: Let little helpers sprinkle the Butterfinger pieces - just watch those sneaky fingers going straight to mouths!
Remember: The caramel will seem runny at first but sets perfectly as it cools. And if your first batch isn't Instagram-worthy? Call them "rustic" and enjoy the delicious evidence anyway!
Serving and Storing Butterfinger Caramel Bars
Here's the beautiful thing about these bars - they taste amazing no matter how you serve them, but I've got some tried-and-true tricks to make them even better. First things first: resist the urge to cut them warm! I know it's hard when your kitchen smells like caramel heaven, but trust me, letting them cool completely (I usually wait 2 hours at room temp or 30 minutes in the fridge) gives you clean slices instead of gooey pools.
For serving, I love these options:
- Chilled - My personal favorite! The caramel firms up just enough to hold its shape while staying gloriously chewy. Perfect for hot summer days.
- Room temperature - When you need that immediate caramel pull (great for winter months when you want extra comfort).
- With ice cream - Warm them slightly in the microwave for 8 seconds and serve over vanilla bean. The contrast of temperatures is *chef's kiss*.
Storing is a breeze - just layer them between sheets of parchment paper in an airtight container. They'll stay fresh for:
- 3 days at room temperature (if your household doesn't devour them first)
- 1 week refrigerated - the caramel stays perfectly soft
- 2 months frozen - wrap individually in plastic wrap first
Pro tip: If they do harden in the fridge, don't panic! A quick 10-second zap in the microwave brings back that fresh-made texture. And if you're gifting them? Stack in a cute box with wax paper between layers - they travel surprisingly well (just avoid hot cars or the caramel might get ideas about melting!).
Fair warning: These disappear fast. I once left a batch on the counter and came back to find my husband "testing" them all afternoon. Now I hide a few in the vegetable crisper (shh, don't tell him!).
Variations of Butterfinger Caramel Bars
Look, I love the original version more than I probably should - but sometimes it's fun to play mad scientist with these bars! Here are my favorite twists that still keep that irresistible caramel-marshmallow magic:
- Salty-sweet upgrade: Sprinkle flaky sea salt over the warm caramel before adding Butterfinger pieces. The contrast makes the flavors pop like fireworks!
- Candy switcheroo: Swap Butterfinger for chopped Snickers (hello, nougat!), Reese's Pieces (peanut butter lovers unite), or even crushed Oreos for a cookies-and-cream vibe.
- Nutty edition: Toast some pecans or peanuts and press them into the caramel layer for extra crunch. My grandma adds chopped walnuts and calls it her "fancy version."
- Chocolate overload: Mix mini chocolate chips into the marshmallow layer before pouring caramel. Because more chocolate is always the right answer.
- Breakfast? Maybe: Add crispy rice cereal to the graham cracker base for extra texture. I won't tell if you eat these with your morning coffee!
The beauty of this recipe? It's like a blank canvas for your candy cravings. Last Halloween I used leftover trick-or-treat candy bars and it was glorious. Just promise me one thing - whatever variation you try, save me a piece!
Nutritional Information
Okay, let's be real - we're not eating Butterfinger Caramel Bars for their health benefits. But because I know some of you like to keep track (or need to justify that second helping to yourself), here's the scoop:
Note: These are estimates per bar based on standard ingredients. Your exact numbers may vary depending on brands and how generously you pour that caramel!
- Calories: 280 - consider it a balanced meal when paired with coffee
- Sugar: 32g - worth every sweet, sticky gram
- Fat: 10g (4g saturated) - most comes from the Butterfinger and chocolate
- Carbohydrates: 45g - perfect pre-workout fuel (kidding... mostly)
- Protein: 3g - hey, there's protein in peanut butter!
- Sodium: 150mg - practically health food compared to some snacks
Now, before you panic about the sugar content - remember these are meant to be an occasional treat. I like to cut them into smaller pieces (about 1-inch squares) when I'm feeling virtuous. But between us? The full-size bars are way more satisfying, and life's too short to count every gram when caramel is involved.
Dietary note: These bars are vegetarian but not vegan (thanks to the marshmallows and Butterfinger). For gluten-free friends, just swap in GF graham crackers. And if you're watching sugar intake... maybe admire these from afar while enjoying some fruit instead!
FAQs About Butterfinger Caramel Bars
I've answered so many questions about these bars from friends and family that I could probably write a book! Here are the ones that come up most often - with all my hard-earned tips:
Can I freeze Butterfinger Caramel Bars?
Absolutely! They freeze like a dream. Just wrap individual bars tightly in plastic wrap, then pop them in a freezer bag. They'll keep for 2 months. Thaw at room temp for about 30 minutes when the craving hits. The caramel stays perfect - I always keep a stash for emergencies (like surprise visitors or "I need chocolate now" moments).
How do you prevent the caramel from getting too sticky?
The key is in the cooling! Let them set completely at room temp first - the caramel firms up beautifully. If it's a hot day, I chill them for 30 minutes before cutting. Using the exact 2 tablespoon milk helps too - any more and the caramel stays gooey (which isn't bad, just messier!). My grandma's trick? A light dusting of powdered sugar on the cut edges.
Can I make these without marshmallows?
You can, but you'll lose that magical s'mores-like texture! If you must skip them, try adding an extra graham cracker layer instead. The marshmallows actually help "glue" everything together when the warm caramel hits them. Once I forgot them and ended up with caramel sliding right off - lesson learned!
Why did my caramel seize up when melting?
Ah, the heartbreak of grainy caramel! This usually happens if the heat's too high or you stir too vigorously. Low and slow is the mantra - keep that burner on medium-low and stir gently just until smooth. If it does seize, add 1 teaspoon warm milk and stir like your dessert depends on it (because it does!). Works like a charm.
How far in advance can I make these?
They're best within 3 days, but I've served them up to 5 days later with no complaints. The caramel does get firmer over time, so if making ahead, I suggest: 1) undercook the caramel slightly, and 2) store in the fridge then let sit at room temp 30 minutes before serving. The Butterfinger bits stay crunchy for days - it's magical!
Got more questions? Slide into my DMs anytime! After making roughly 87 batches of these bars (not that I'm counting), I've probably encountered - and solved - every possible issue. Now go forth and caramelize with confidence!
Share Your Butterfinger Caramel Bars
Nothing makes me happier than hearing how these bars turn out in your kitchen! Over the years, I've gotten the sweetest messages from friends who've made them for bake sales, potlucks, and even as edible gifts (one creative reader wrapped them in cellophane with curling ribbon - genius!). Whether yours come out picture-perfect or "rustically charming" like my first batch, I want to see your creations!
Some of my favorite reader stories so far:
- A mom who hid these in her teen's lunchbox as a surprise (instant cool-parent status)
- A college student who won her dorm's dessert contest with a peanut-butter-drizzled version
- A grandpa who accidentally used saltines instead of graham crackers (apparently still delicious!)
If you snap a photo, I'd love to see your masterpiece - the messy ones are usually the best stories anyway. And if you came up with an amazing variation? Spill your secrets! I'm always looking for new twists to try (currently obsessed with the idea of adding a sprinkle of espresso powder to the caramel).
Most importantly - enjoy every sticky, crunchy, caramel-dripping bite. These bars were made for sharing, whether that's passing the plate at a family gathering or sneaking a midnight snack straight from the fridge. Happy baking, friends!
Print
Irresistible Butterfinger Caramel Bars You Must Try Now
- Total Time: 25 minutes
- Yield: 12 bars 1x
- Diet: Vegetarian
Description
Delicious Butterfinger Caramel Bars with a graham cracker base, marshmallows, caramel, and chopped Butterfinger Bites.
Ingredients
- 6 ½ graham crackers
- 2 cups mini marshmallows
- 1 bag (11 oz) caramel bits
- 2 Tbsp milk
- 1 bag (10 oz) Butterfinger Bites, coarsely chopped
- 2 oz semi-sweet chocolate for drizzling
Instructions
- Line a baking dish with parchment paper.
- Arrange graham crackers in a single layer.
- Sprinkle marshmallows evenly over the graham crackers.
- In a saucepan, melt caramel bits with milk until smooth.
- Pour melted caramel over the marshmallows.
- Top with chopped Butterfinger Bites.
- Drizzle melted semi-sweet chocolate over the top.
- Let cool completely before cutting into bars.
Notes
- Store in an airtight container for freshness.
- For best results, chill before serving.
- Prep Time: 15 minutes
- Cook Time: 10 minutes
- Category: Dessert
- Method: No-Bake
- Cuisine: American
Nutrition
- Serving Size: 1 bar
- Calories: 280
- Sugar: 32g
- Sodium: 150mg
- Fat: 10g
- Saturated Fat: 4g
- Unsaturated Fat: 5g
- Trans Fat: 0g
- Carbohydrates: 45g
- Fiber: 1g
- Protein: 3g
- Cholesterol: 5mg


Leave a Reply